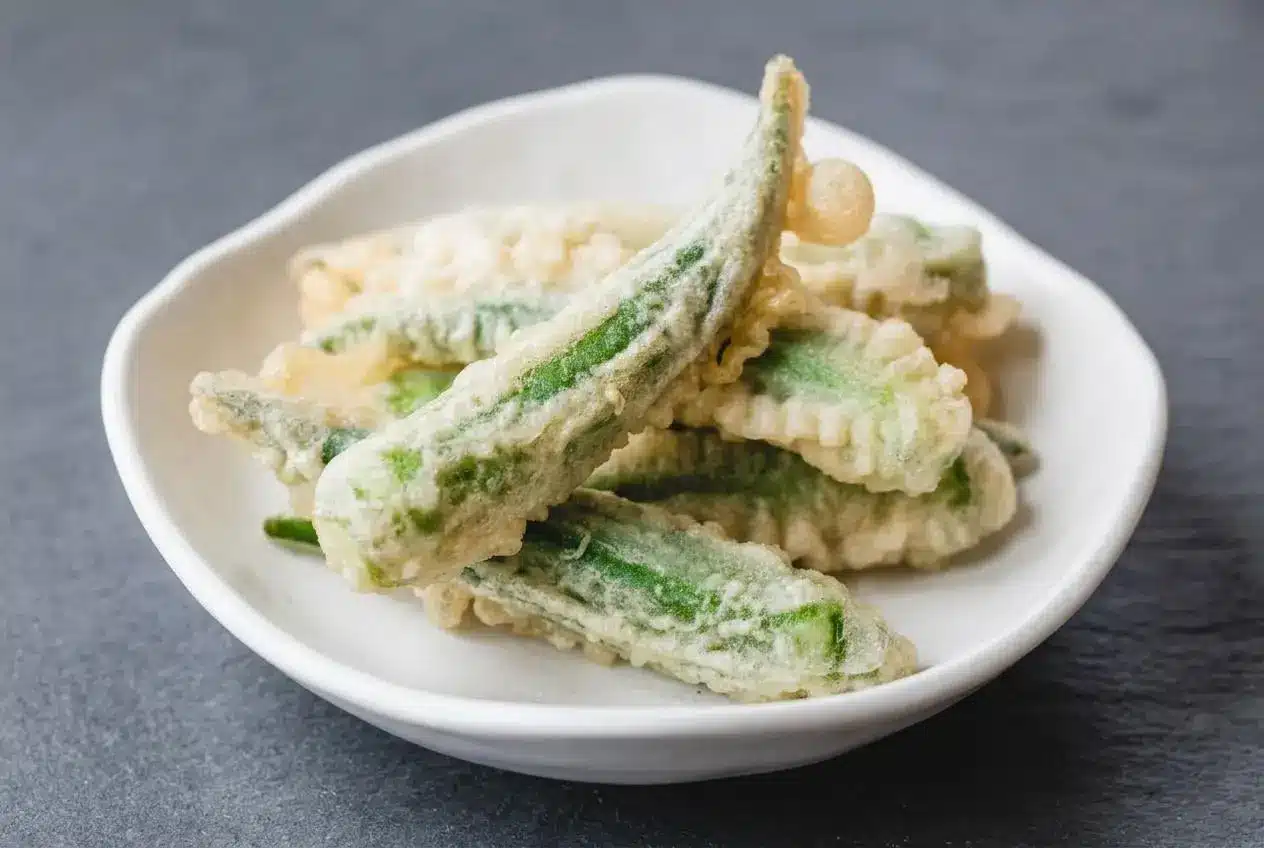
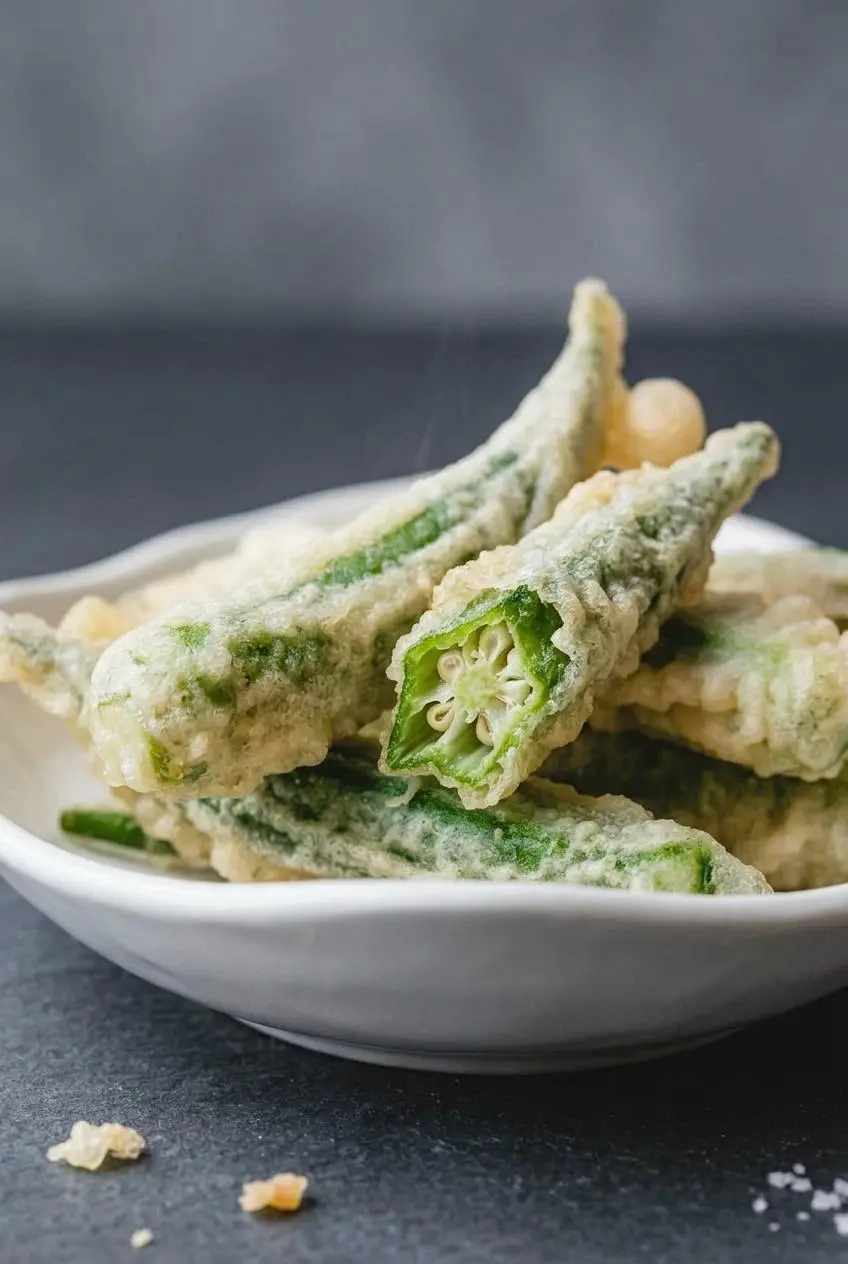
Okra tempura is whole okra coated in a cold, light batter and fried until crisp outside and tender inside. The keys are very cold water, a lightly mixed batter, and quick frying so the okra stays delicate instead of slimy.
okra tempura is a Japanese-style fried okra dish with a thin, airy coating rather than a thick crust. It cooks fast, tastes clean and crisp, and makes a great side or appetizer.
You’ll learn how to keep the batter light, prep the okra properly, and serve it with a classic dipping sauce. The best part? It’s very doable, even on a weeknight.
Set a wire rack over a tray before you start frying so the tempura stays crisp the moment it comes out of the oil.
What Is Okra Tempura?
This version of fried okra is all about a delicate shell. Japanese tempura uses a thin wheat-flour batter that fries up airy and brittle, while Southern-style fried okra usually has a thicker cornmeal coating with a heavier crunch.
That difference matters. Tempura lets the okra stay tender and fresh-tasting inside, instead of burying it under a dense crust.
Ingredients You’ll Need
Each ingredient has a clear job here: okra brings tenderness, cold water keeps the batter light, flour and baking powder build the crisp shell, oil fries it fast, and salt sharpens the finish.
- 6 Okra
- 5 Tbsp Water, 75g
- 4 Tbsp Wheat Flour, 32g
- ½ tsp Baking powder
- Vegetable Oil, for deep-frying
- A little Salt, for serving
I like to chill the water well before mixing because colder batter gives the coating a noticeably lighter crunch.
The Secret to Ultra-Crispy Tempura Batter
This is the part that makes or breaks tempura. A lot of home cooks ask why their tempura turns heavy or greasy, and the answer usually comes back to batter temperature and mixing.
- Use ice-cold water. Cold water slows gluten development, which helps the coating fry up crisp and airy instead of chewy. If your kitchen is warm, keep the water very cold right until mixing time.
- Do not mix until smooth. Stir only until the flour is moistened. The batter should look thin and a little uneven, with small lumps still visible. That scrappy look is exactly right.
- Know your flour options. This recipe uses wheat flour and works well as written. If you want an even lighter shell, cake flour can make the batter more delicate. Some cooks also replace part of the flour with starch for extra crispness, but that is optional and not needed for the main recipe.
- Baking powder helps the coating stay light. It gives a bit of lift, so the batter fries into a crisp, airy layer around the okra.
- Optional twists. A splash of sparkling water can make the coating a touch lighter. Some cooks also use a small splash of vodka for a crisper finish, but keep that as an optional experiment rather than part of the core recipe.
For this recipe, the base batter is simply cold water, wheat flour, and baking powder mixed briefly in a bowl. Trust me, if it looks a little lumpy, you’re on the right track.
How to Prepare Okra (and Avoid Slime)
If slimy okra is your main worry, this section is the fix. Tempura actually works in your favor because the okra cooks quickly over high heat.
Start with young, fresh pods if you can. They tend to be more tender and less fibrous, which gives you a better bite after frying.
Wash the okra, then dry it thoroughly. Really thoroughly. Any surface moisture makes it harder for the flour dusting and batter to cling, and it can encourage splattering in the oil too.
Trim off the stems and shave away the tough, dark part of the calyx without cutting too deeply into the pod. Then make a small slit in the center of each pod. That little cut helps steam escape during frying, so the inside cooks fast and the okra stays less slippery.
So yes, the trick is simple: dry well, slit lightly, fry quickly. No complicated soaking needed.
How to Make Okra Tempura
- Trim the stems from the okra, remove the tough black part of each calyx, and cut a small slit in the center of every pod.
The pods should stay mostly whole, with just enough opening to let steam escape as they fry. - Pour the cold water into a large bowl, sift in the wheat flour and baking powder, and stir briefly until the batter comes together.
The mixture should look thin and slightly lumpy, not smooth like pancake batter. - Lightly dust the okra with flour before dipping it into the batter.
This dry coating gives the batter something to grab onto so it sticks better in the oil. - Heat vegetable oil in a pan to 170 °C (335 °F), coat the okra in batter, and lower it into the oil carefully.
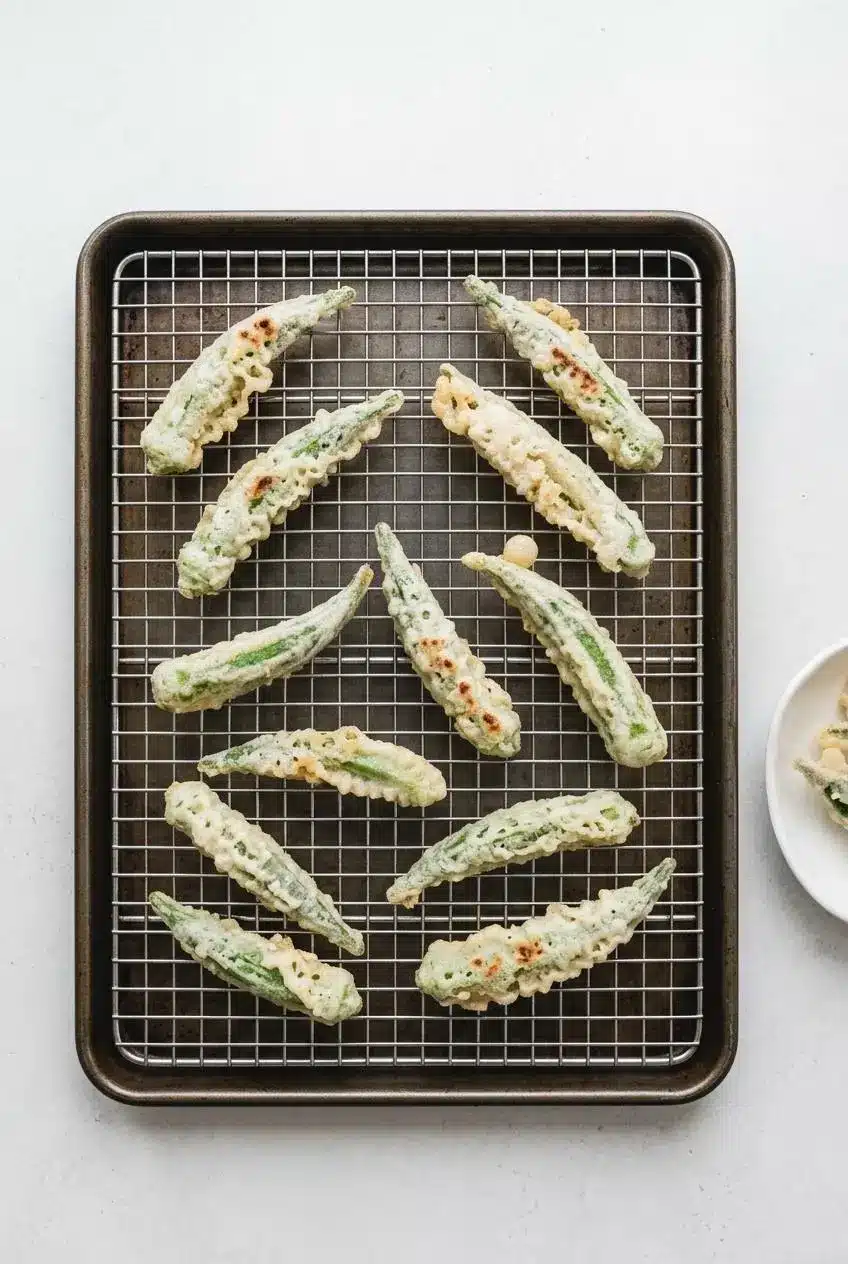
You should hear a lively, steady sizzle, not a harsh roar. - Fry for a couple of minutes until the coating is crisp, then transfer the okra to a wire rack to drain.
The tempura should look pale golden and feel brittle to the touch. - Arrange the fried okra on a plate and serve with a little salt for dipping.
Eat it while the coating is still crackly and the okra inside is hot and tender.
Essential Dipping Sauces for Tempura
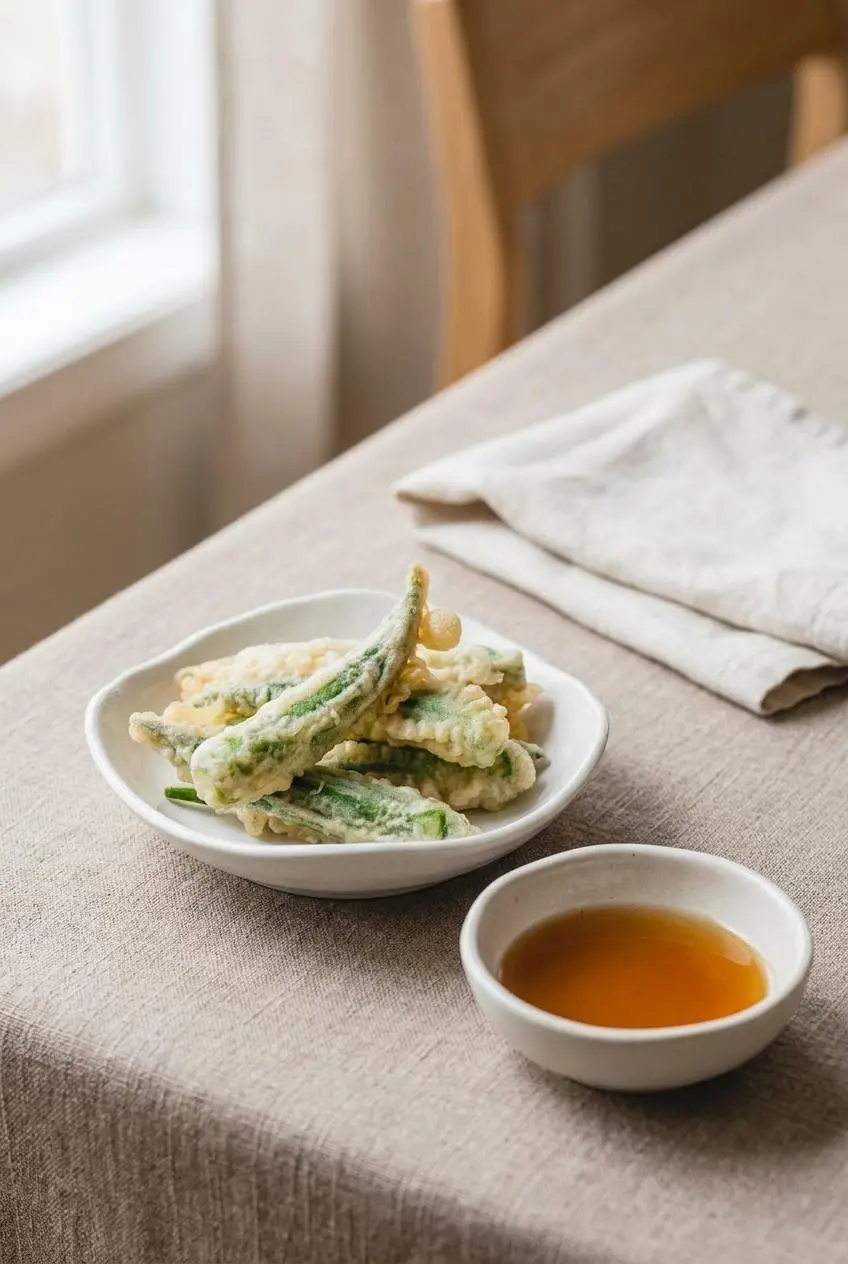
Salt is great here, but a proper sauce makes the plate feel complete. The classic choice is tentsuyu, a light Japanese dipping sauce that brings savory depth without burying the tempura’s crisp texture.
Classic Tentsuyu Sauce Recipe
Tentsuyu is usually made with dashi, soy sauce, and mirin. It tastes savory, lightly sweet, and clean, which is exactly what tempura wants.
Ingredients: dashi, soy sauce, mirin.
How to make it: Combine the dashi, soy sauce, and mirin in a small saucepan. Bring it just to a gentle simmer, then turn off the heat and let it cool slightly before serving. If you like, add grated daikon at the table for a more traditional finish.
The sauce should taste balanced and light, not thick or syrupy. Honestly, it’s one of those tiny extras that makes homemade tempura feel much more special.
Quick Sauce Alternatives
If you want something faster, use high-quality soy sauce or ponzu. Both keep the flavor sharp and clean.
A simple spicy mayo also works when you want a more modern twist. Just mix mayonnaise with sriracha until it tastes right to you, and keep it on the side so the tempura stays crisp.
Tips for Perfect Tempura Every Time
These small habits make the biggest difference when you fry. They’re the details that turn decent tempura into the kind you reach for straight off the rack.
- Keep the oil in the right range. Tempura fries best around 335 °F to 375 °F, or 170 °C to 190 °C. If you do not have a thermometer, drop in a little batter. It should sizzle right away and float up quickly.
- Fry in small batches. Crowding the pan drops the oil temperature, which leads to greasy coating and uneven color.
- Use a wire rack, not paper towels. Air can circulate underneath, so the bottom stays crisp instead of steaming itself soft. I think this is a total game-changer.
- Mix the batter right before frying. The colder and less worked the batter is, the lighter the crust will be.
- Serve immediately. Tempura is at its best when the shell is still delicate and audibly crisp.
Troubleshooting Common Tempura Problems
If your first batch looks a little off, don’t worry. Tempura is sensitive, but the fixes are usually simple.
| Problem | Likely Cause | Solution |
|---|---|---|
| Greasy tempura | The oil was not hot enough, or the pan was crowded. | Bring the oil back to temperature and fry fewer pieces at a time. |
| Tough, doughy coating | The batter was mixed too much. | Stir only until combined and leave some lumps in the batter. |
| Batter slid off | The okra was wet or skipped the flour dusting. | Dry the okra very well and coat it lightly with flour before dipping. |
Variations and Substitutions
The main recipe is classic and crisp, but you can take it in a few different directions without changing the basic method.
Spicy Tempura Batter
For gentle heat, add a pinch of cayenne pepper or shichimi togarashi to the dry flour mixture. It gives the crust a subtle kick without overpowering the okra.
Gluten-Free Tempura Batter
Use a good 1-to-1 gluten-free flour blend in place of the wheat flour. Check that your baking powder is also labeled gluten-free if that matters for your kitchen.
Southern-Style Cornmeal Batter
This is more of a fusion move than classic tempura, but it can be delicious. Replacing part of the flour with cornmeal gives you a heartier, crunchier crust that feels closer to Southern fried okra than Japanese tempura.
How to Store and Reheat Leftovers
Tempura is best fresh, when the shell is still light and brittle. If you do have leftovers, let them cool, then keep them in an airtight container in the refrigerator. For best food handling, refrigerate them within 2 hours of cooking.
To bring back some crispness, reheat the okra in the oven or an air fryer until hot and re-crisped. Skip the microwave, which turns the coating soft and steamy. If you prefer to check doneness with a thermometer when reheating leftovers, 165 °F is the standard target.
Conclusion
This is the kind of quick fry-up that feels far fancier than the effort involved. Cold water, a lumpy batter, and properly prepped okra do most of the heavy lifting.
Once you hear that steady sizzle and see that pale golden crunch, you’re there. Enjoy your homemade okra tempura while it’s hot and crisp.
Frequently Asked Questions
How do I keep okra tempura crispy?
Use very cold batter, fry in small batches, and drain the okra on a wire rack instead of paper towels. Serve it right away for the best texture. If you need to refresh leftovers, use the oven or air fryer, not the microwave.
Can I use an air fryer to make okra tempura?
No, not for the raw wet-batter version. Traditional tempura batter tends to drip off before it can set in an air fryer. An air fryer is much better for reheating already fried tempura and helping it crisp back up.
What’s the best oil for frying tempura?
Choose a neutral oil with a high smoke point, such as canola, vegetable, peanut, or safflower oil. Avoid extra virgin olive oil here because its flavor is too strong and it is less suited to this kind of frying.
Is okra tempura different from regular fried okra?
Yes. Okra tempura has a light, airy, wheat-flour-based coating that stays delicate and crisp. Regular Southern fried okra usually has a thicker cornmeal-and-buttermilk style crust with a heavier crunch.
What other vegetables can I make tempura with?
Sweet potato slices, eggplant, broccoli florets, and bell pepper rings all work well. Thin onion slices, green beans, and mushrooms are also good choices. The same basic batter works best with vegetables that can cook quickly.
Can I make the batter ahead of time?
No. Make the batter right before frying so it stays cold and the flour does not have time to develop too much gluten. That last-minute mix is a big part of what keeps tempura crisp.
Okra Tempura

Equipment
- Frying pan 22cm (9 inches)
Ingredients
- 6 Okra
- 5 Tbsp Water 75g
- 4 Tbsp Wheat Flour 32g
- ½ tsp Baking powder
- Vegetable Oil for deep-frying
- A little Salt for serving
Instructions
- Trim the stems from the okra, remove the tough black part of each calyx, and cut a small slit in the center of every pod. The pods should stay mostly whole, with just enough opening to let steam escape as they fry.
- Pour the cold water into a large bowl, sift in the wheat flour and baking powder, and stir briefly until the batter comes together. The mixture should look thin and slightly lumpy, not smooth like pancake batter.
- Lightly dust the okra with flour before dipping it into the batter. This dry coating gives the batter something to grab onto so it sticks better in the oil.
- Heat vegetable oil in a pan to 170 °C (335 °F), coat the okra in batter, and lower it into the oil carefully. You should hear a lively, steady sizzle, not a harsh roar.
- Fry for a couple of minutes until the coating is crisp, then transfer the okra to a wire rack to drain. The tempura should look pale golden and feel brittle to the touch.
- Arrange the fried okra on a plate and serve with a little salt for dipping. Eat it while the coating is still crackly and the okra inside is hot and tender.