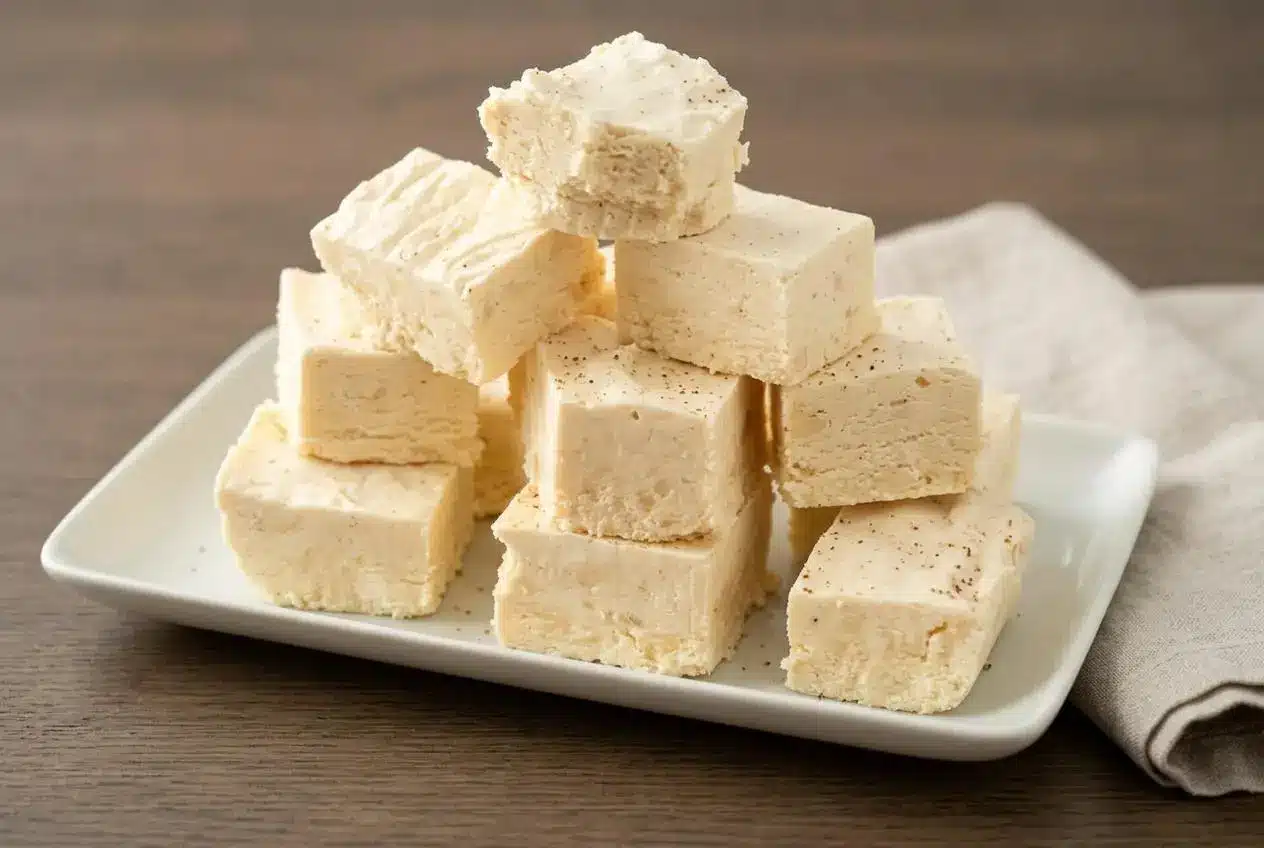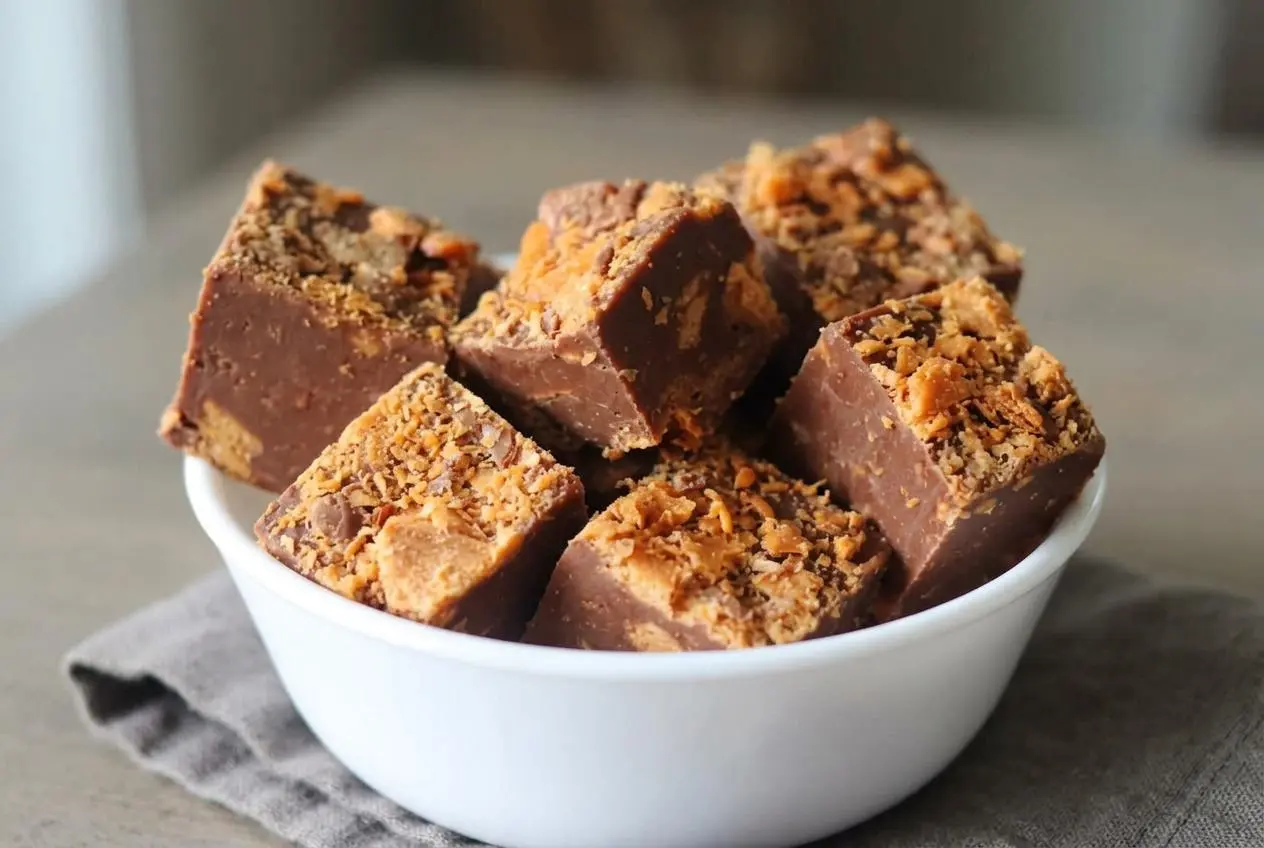
This butterfinger fudge takes 5 minutes of active work: melt milk chocolate chips, peanut butter chips, butter, and sweetened condensed milk, then fold in chopped candy bars. Chill in an 8×8 dish for about 1 hour to make 36 creamy squares with crispy peanut crunch.
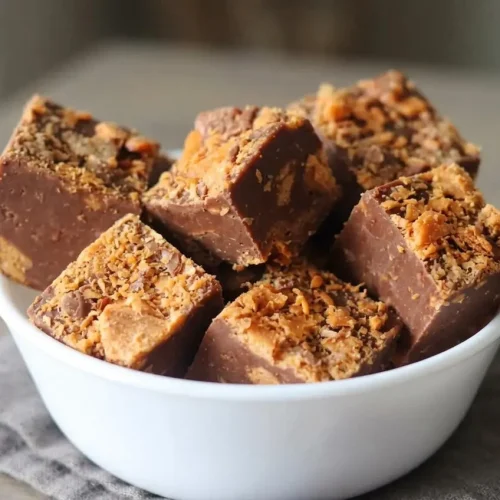
Chocolate and peanut butter run through every bite, with chopped Butterfingers tucked inside and pressed into the top. This is condensed milk fudge, so you don’t need to boil sugar or watch a candy thermometer.
The contrast makes it worth making: smooth, rich chocolate underneath, brittle candy pieces above. Most of the total time is hands-off chilling, leaving you with a candy-packed dessert for sharing or gifting. The topping deserves a little care.
Have the lined dish and chopped candy ready before turning on the burner; the melted mixture thickens quickly.
Ingredients You Need and Why Each One Matters
Chocolate and peanut butter chips provide flavor and structure, condensed milk creates a smooth consistency, butter adds richness, and chopped Butterfingers bring the crispy contrast that makes these squares distinctive.
- 1 12 oz. bag of milk chocolate chips
- 1 cup peanut butter chips
- 1 Tbsp. butter
- 1 14 oz. can sweetened condensed milk
- 1 1/2 cups chopped Butterfinger candies (about 12 fun size)
Milk chocolate and peanut butter chips echo the candy bar’s chocolate coating and peanut butter center. Together, they make the fudge taste like more than chocolate with candy scattered through it. The peanut butter flavor reaches the smooth portions, too.
Sweetened condensed milk supplies concentrated sweetness and moisture. Combined with the melted chips, its thick consistency produces fudge that firms as it cools, without a boiled sugar syrup. Check the can carefully: evaporated milk and regular milk are thinner and aren’t interchangeable here.
Butter adds richness and helps the mixture feel smooth. Keep the amount as written rather than adding more to loosen the fudge; changing that balance can affect how firmly it sets.
Butterfinger candies do two jobs: pieces inside add pockets of crunch, while the topping gives each square a more pronounced candy bite. About 12 fun-size bars provide the 1 1/2 cups needed, but measure after chopping because bar sizes and chunk sizes vary.
For distinct pieces rather than powder, chill the bars briefly before chopping. Use a sharp knife on a cutting board instead of pounding the wrappers.
I prefer chopping the bars with controlled downward cuts so there are still recognizable crispy chunks to fold into the fudge.
How to Make Butterfinger Fudge Step by Step
Plan on 3 minutes of prep, about 2 minutes at the stove, and 1 hour of chilling. Use the melting cues rather than turning up the heat to meet the clock.
- Fit parchment into an 8×8 baking dish, leaving enough above the sides to grip later, or grease the dish with butter instead.
The parchment should cover the bottom and create a sling for lifting the firm fudge. - Measure 1/2 cup of chopped Butterfingers into a separate bowl for the topping.
The remaining 1 cup will provide the candy pieces inside the chocolate mixture. - Combine both kinds of chips, the sweetened condensed milk, and butter in a medium saucepan, stirring over low heat until fully melted, then take the pan off the burner.
The finished mixture should look glossy and uniform, with no chip-shaped lumps or bubbling. - Fold the remaining 1 cup of chopped candy into the melted mixture while the saucepan is off the heat.
Stop once the pieces are distributed throughout, with crispy chunks still visible. - Transfer the thick fudge to the prepared dish and use a rubber spatula to guide it into the corners and level the surface.
An even layer gives the finished squares a consistent thickness. - Distribute the reserved 1/2 cup of candy over the warm surface and gently settle it into the fudge with the rubber spatula.
The pieces should sit partly embedded rather than resting loosely on top. - Place the filled dish in the refrigerator for about 1 hour, allowing the fudge to cool and firm.
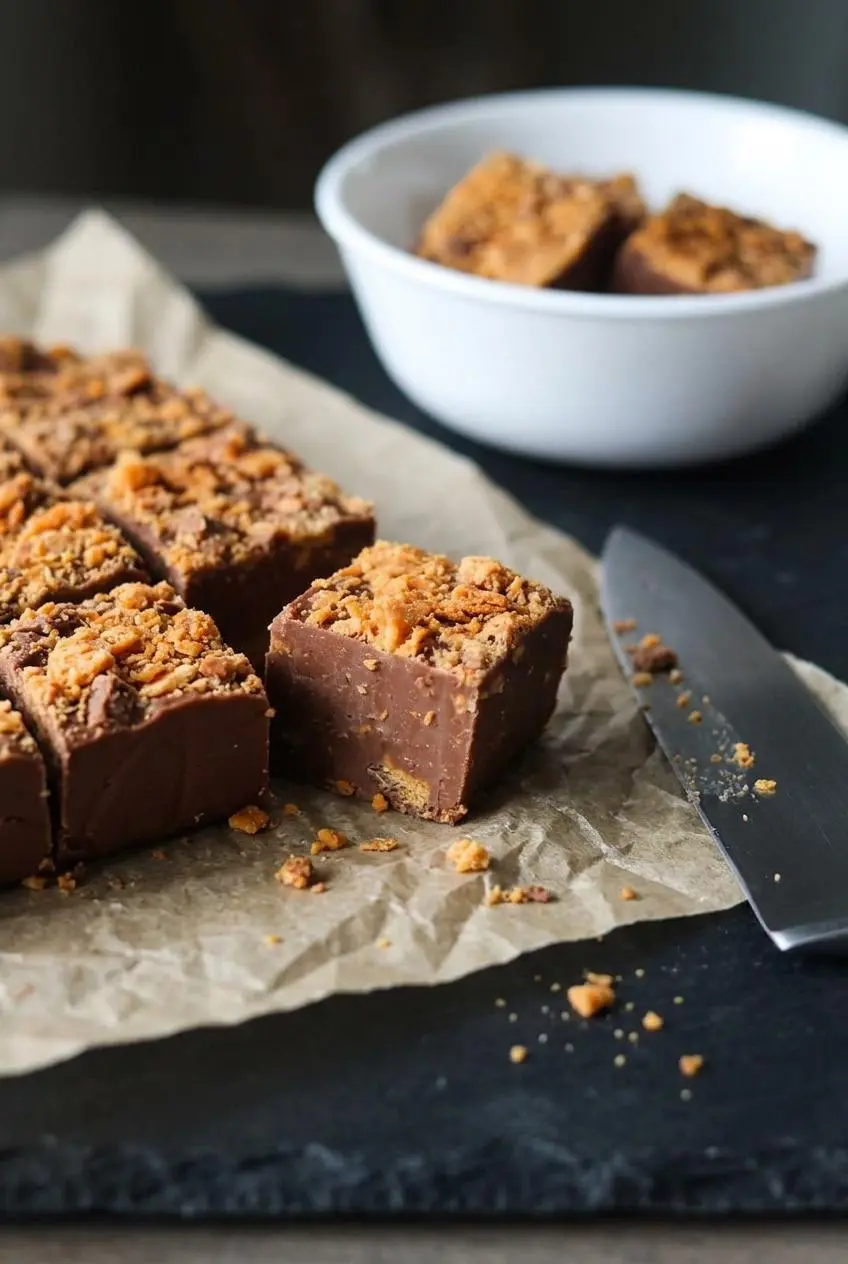
The center should hold its shape rather than shift when you gently move the dish. - Lift the set block onto a cutting board using the parchment handles, then use a sharp knife to divide it into 36 pieces.
A six-by-six cutting pattern produces evenly sized squares with candy throughout.
Expert Tips and Troubleshooting for Perfect Fudge
Most texture problems start with excess heat, an incorrect milk product, or slicing before the center has set. Resist the urge to rush any of those stages.
How to Keep the Chocolate Mixture Smooth and Creamy
Keep the burner on low. Chocolate and peanut butter chips can scorch quickly, especially against the bottom of the pan. Stir across the bottom and into the edges so the mixture heats evenly.
Don’t let it boil. If only tiny soft lumps remain, move the pan off the burner and keep stirring so residual heat finishes the melt before adding the candy.
- Dry or grainy fudge: Excess heat may have damaged the mixture; remove it from the burner promptly and stir gently, recognizing that scorched chocolate won’t become smooth again.
- Soft, unset fudge: Check that you used sweetened condensed milk and the full chip quantities; if those are correct but the center is still warm, continue chilling until firm.
- Crumbled edges or smeared slices: Use a sharp, clean blade and deliberate downward cuts rather than sawing through the candy.
For an optional sweetness-balancing finish, add a light pinch of flaky sea salt after pressing in the topping.
How to Keep the Butterfinger Pieces Crispy
Fold the candy in off the heat and avoid prolonged stirring. Crushing the bars into dust sacrifices the distinct chunks that give this fudge its texture.
Press the topping gently so pieces stay attached during cutting. Wipe the knife between cuts to avoid dragging chocolate across the edges, a useful habit for chunky treats such as crunchy rocky road fudge, too.
Delicious Variations to Try
Keep these optional adaptations separate from the milk chocolate version above. Changing the chips or adding chewy candy changes the balance of sweetness and texture.
White Chocolate Butterfinger Fudge
Try white baking chips in place of the milk chocolate chips for a sweeter, lighter-colored version. Keep the peanut butter chips and chopped candy for their roasted peanut flavor and crunch.
White baking chips vary in how they melt and set, so use especially gentle heat and judge firmness after chilling rather than assuming identical results across brands.
Butterfinger Fudge With Caramel Bits
For a chewy contrast, optionally fold caramel bits into the warm mixture off the heat, or scatter them across the topping. A drizzle of melted peanut butter adds another peanut layer without changing the official ingredient list.
Caramel bits can feel firm when cold, so consider that texture before adding them throughout. For another chocolate-and-peanut candy dessert, try peanut butter cup fudge.
Candy Corn and Peanut Butter Copycat Method
The candy corn style is a separate confection, not a direct substitution in this recipe. It uses melted candy corn, creamy peanut butter, and white chocolate chips, often finished with chocolate ganache.
- Real candy bar version: Uses a saucepan, condensed milk, and chopped Butterfingers, with about 5 minutes of active work and recognizable crispy candy pieces.
- Candy corn copycat version: Uses repeated microwave heating and mixing, plus a separate ganache topping, to create a chewy, sweet peanut butter center.
Melted candy corn and peanut butter suggest the candy bar’s sweet peanut filling, but they don’t recreate its brittle layers exactly. Use a recipe formulated for that method rather than swapping candy corn into this one.
Storage and Crunch Preservation
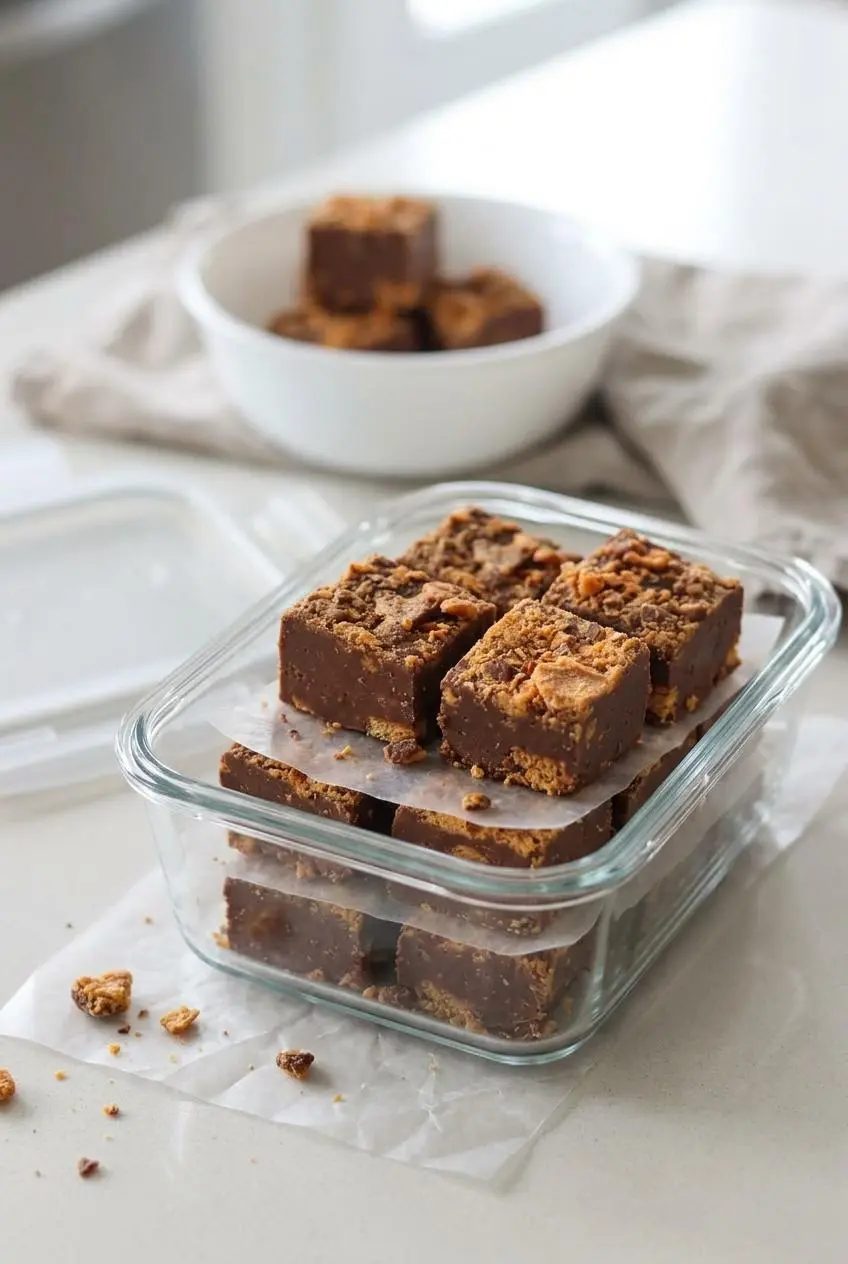
Protect the fudge from air and moisture once it has cooled and set. Place the squares in a tightly closed container, using wax paper between layers to prevent sticking and protect the candy topping.
Keep the container chilled rather than leaving the fudge uncovered in the refrigerator. A snug lid helps limit drying and shields the chocolate from refrigerator odors.
The candy’s texture can change during storage as moisture moves from the soft fudge into the brittle pieces. The topping may gradually lose its snap even while the chocolate portion remains firm. For the strongest contrast, serve the fudge soon after it sets rather than planning extended storage.
For gift boxes, let the fudge become fully firm before packing. Keep the pieces covered until you arrange or package them, and avoid repeatedly handling the candy-covered tops.
Serving and Gifting Ideas
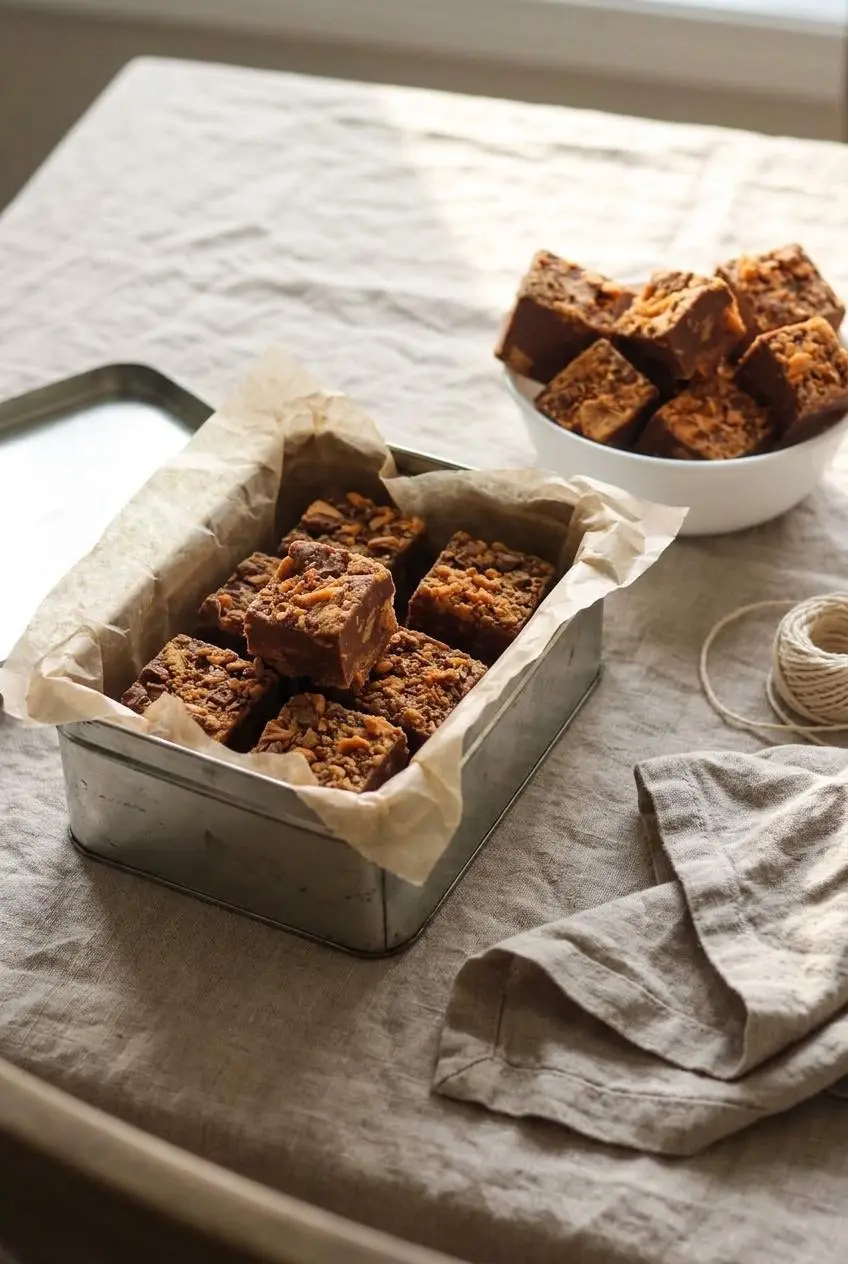
The 36-piece yield makes these rich squares easy to portion without cutting oversized servings.
- Holiday tins: Line the tin with wax paper and separate stacked layers so the toppings don’t rub against neighboring squares.
- Halloween platters: Use leftover fun-size bars for a candy-themed dessert tray, keeping the fudge covered until serving.
- Potlucks and game day: Arrange the bite-sized squares in a shallow container that protects their edges during transport.
For a seasonal assortment, pair the chocolate squares with easy holiday fudge. Label gift packages with the ingredients so recipients can check what’s inside.
Conclusion
This quick stovetop fudge delivers smooth chocolate, peanut butter flavor, and real Butterfinger crunch without a candy thermometer. The refrigerator handles the setting while you handle something else.
Melt gently, fold the candy in off the heat, and press the topping into place before chilling. Those small details help every neatly cut square keep its candy-packed bite.
Frequently Asked Questions
Can I Substitute Sweetened Condensed Milk for Something Else in Fudge?
Keep the sweetened condensed milk as written. Its thick consistency and concentrated sweetness help the chips set into sliceable fudge; evaporated milk and regular milk won’t behave the same way.
How Long Does Butterfinger Fudge Stay Fresh?
Keep it chilled in an airtight container and serve it promptly for the best candy crunch. There isn’t a verified storage duration for this particular recipe, so avoid treating an extended room-temperature timeline as established.
How Should I Store Leftover Butterfinger Fudge?
Arrange the firm squares in a tightly closed container with wax paper between layers. Keep them chilled and covered to protect the chocolate and prevent the candy topping from rubbing off.
Why Do Some Butterfinger Fudge Recipes Use Candy Corn?
Melted candy corn and creamy peanut butter create a sweet, chewy filling that resembles the flavor of a Butterfinger center. That copycat style differs from this condensed milk fudge, which uses real candy bars for distinct crispy pieces.
Butterfinger Fudge

Equipment
- 8×8 baking dish
- Parchment Paper
- Medium saucepan
- Rubber spatula
- Sharp knife
Ingredients
- 1 12 oz. bag of milk chocolate chips
- 1 cup peanut butter chips
- 1 Tbsp. butter
- 1 14 oz. can sweetened condensed milk
- 1 1/2 cups chopped Butterfinger candies (about 12 fun size)
Instructions
- Fit parchment into an 8×8 baking dish, leaving enough above the sides to grip later, or grease the dish with butter instead. The parchment should cover the bottom and create a sling for lifting the firm fudge.
- Measure 1/2 cup of chopped Butterfingers into a separate bowl for the topping. The remaining 1 cup will provide the candy pieces inside the chocolate mixture.
- Combine both kinds of chips, the sweetened condensed milk, and butter in a medium saucepan, stirring over low heat until fully melted, then take the pan off the burner. The finished mixture should look glossy and uniform, with no chip-shaped lumps or bubbling.
- Fold the remaining 1 cup of chopped candy into the melted mixture while the saucepan is off the heat. Stop once the pieces are distributed throughout, with crispy chunks still visible.
- Transfer the thick fudge to the prepared dish and use a rubber spatula to guide it into the corners and level the surface. An even layer gives the finished squares a consistent thickness.
- Distribute the reserved 1/2 cup of candy over the warm surface and gently settle it into the fudge with the rubber spatula. The pieces should sit partly embedded rather than resting loosely on top.
- Place the filled dish in the refrigerator for about 1 hour, allowing the fudge to cool and firm. The center should hold its shape rather than shift when you gently move the dish.
- Lift the set block onto a cutting board using the parchment handles, then use a sharp knife to divide it into 36 pieces. A six-by-six cutting pattern produces evenly sized squares with candy throughout.