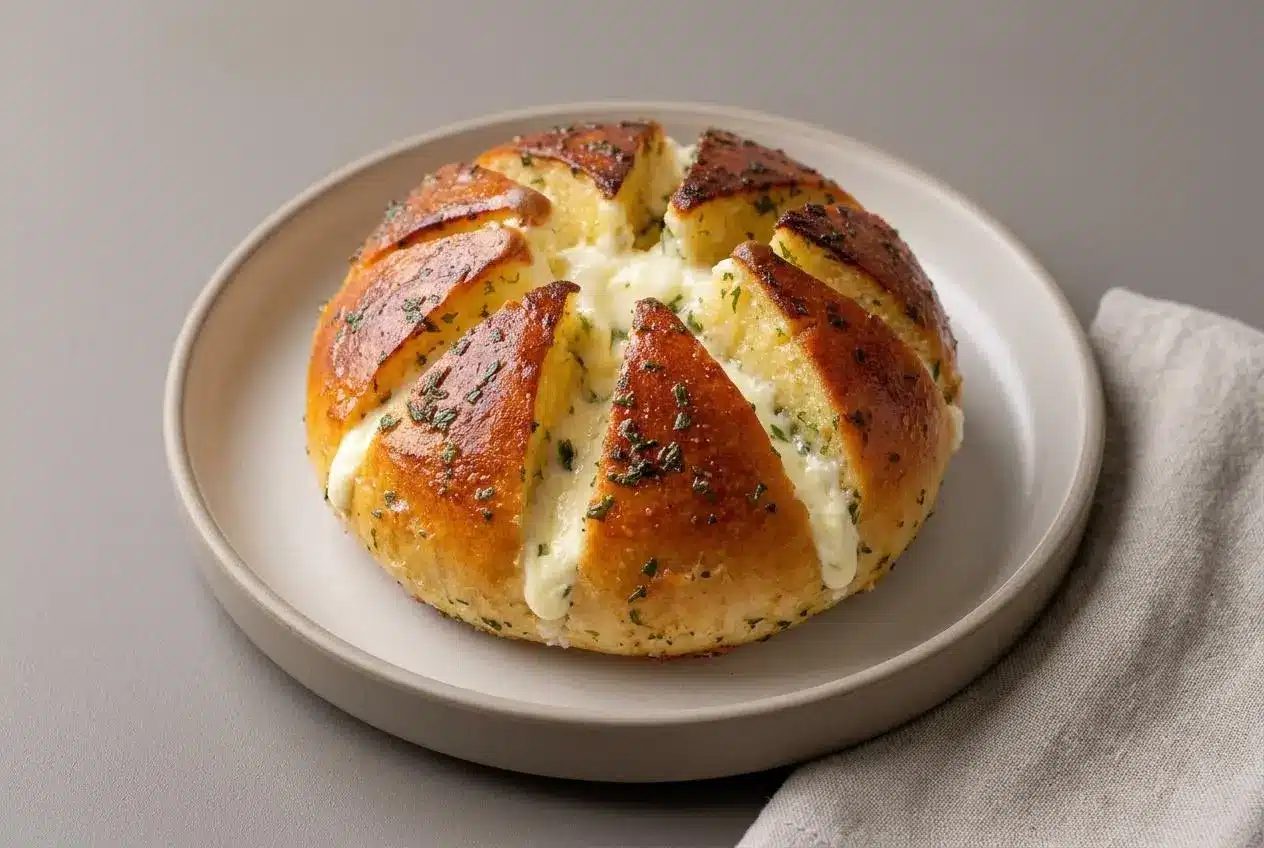
Korean cream cheese garlic bread combines a crunchy exterior with a soft, custardy center. Cut soft rolls into connected wedges, pipe in sweetened cream cheese, coat them in egg-enriched garlic butter, and bake until the edges turn crisp and golden.
With korean cream cheese garlic bread, each pull-apart petal carries tangy filling, fragrant garlic, and buttery crust. This Korean bakery and street-food favorite brings sweet and savory flavors together in one generously filled bun.
Make the rolls from scratch for a gently chewy crumb, or use unsliced bakery buns when you want to skip the yeast dough. Either way, the dipping technique makes the difference. Let the extra butter drip away.
Before filling, let the rolls cool enough to handle so you can cut clean seams without crushing the crumb.
What Makes Korean Garlic Bread Unique
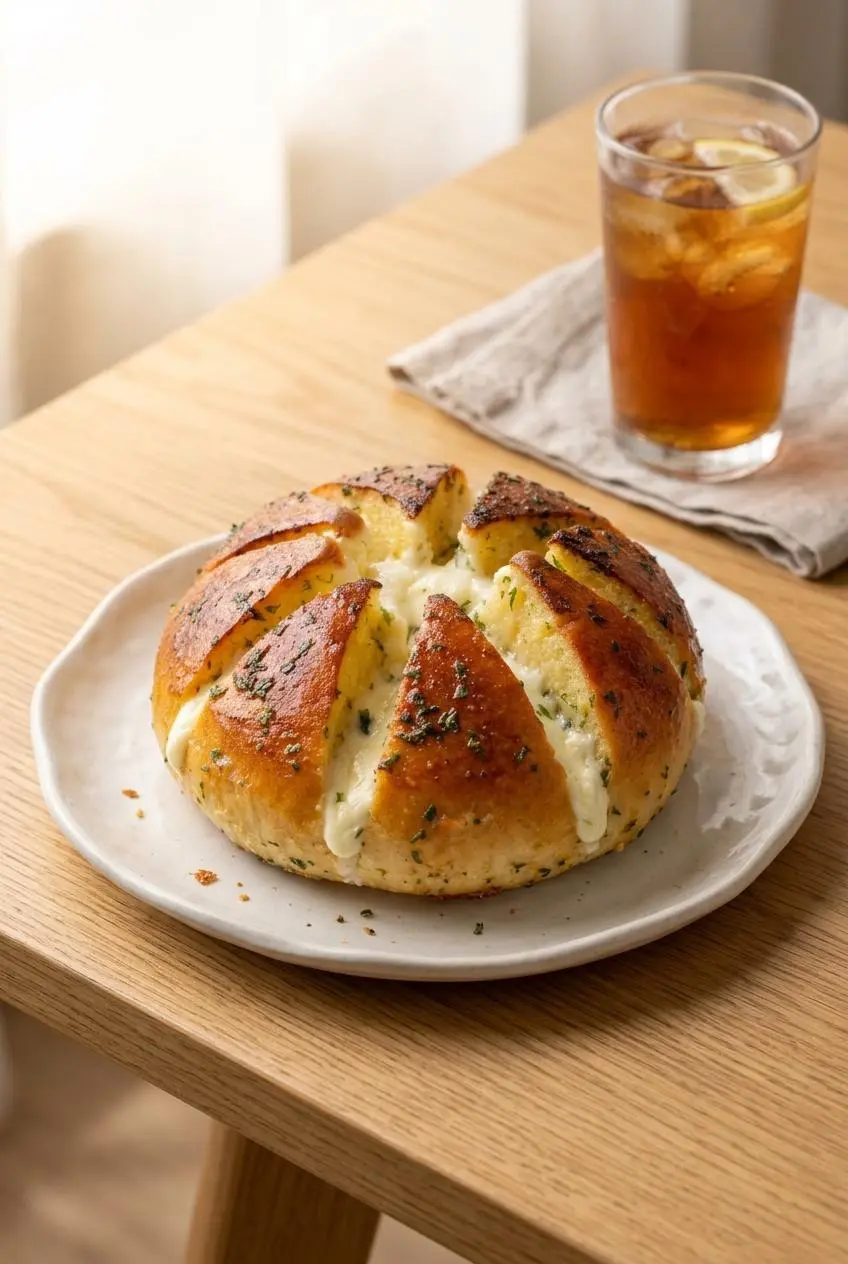
The sweet cream cheese filling sets this bread apart from familiar savory garlic bread. It adds tang and sweetness against the garlic, while the egg-enriched butter coating bakes into a custardy layer around the soft crumb.
Unlike typical cheesy garlic bread, which leans toward melted cheese and savory butter, this version deliberately keeps sugar in both the filling and the garlic dip. The sweetness softens the impression of pungent garlic without hiding its aroma.
The flower shape serves a practical purpose, too. Eight connected wedges open up space for filling and let the garlic butter reach inside the bun. Keeping the bottom intact holds those petals together through dipping and baking.
Serve the bread warm after its brief cooling period, when the filling is soft and the crust still crackles. It works as an afternoon snack with iced tea, or alongside spicy tteokbokki for a rich, cooling contrast.
Ingredients
Flour builds the rolls’ structure, yeast gives them lift, and sugar balances the garlic and tangy cream cheese. Butter brings richness, milk adds moisture, eggs help the coating set, and parsley and salt round out the aroma and flavor.
For the bread
- 1½ cup warm water (around 90-110°F)
- 1 teaspoon active dry yeast
- 4½ cup all-purpose flour (spooned & leveled)
- ¼ cup granulated sugar
- ½ teaspoon kosher salt
- 1 large egg, beaten (optional for egg wash)
For the cream cheese filling
- 8 ounce cream cheese, softened
- ¼ cup granulated sugar
For the garlic butter
- 1 cup unsalted butter, melted (or 2 sticks)
- ½ cup whole milk (or half & half)
- 2 Tablespoon granulated sugar
- 2 Tablespoon garlic, minced (or to your preference)
- 1½ Tablespoon dry parsley flakes (or to your preference)
- 2 large egg
- Kosher salt (for sprinkling)
All-purpose flour develops the gluten needed to hold the rolls together after filling and dipping. Spoon it into the measuring cup and level the top rather than packing it down, which can make the dough unnecessarily stiff.
Softened cream cheese supplies a thick, pipeable filling. Milk and eggs help turn the melted butter into a cohesive coating that sets during baking, rather than leaving the bread coated only in liquid fat.
I look for cream cheese that yields easily under a spatula before mixing; cold, firm patches make smooth piping much harder.
How to Make the Korean Cream Cheese Garlic Bread
This recipe makes 6 rolls, with 35 minutes of prep, about 35 minutes of baking, and a listed total time of 2 hours 40 minutes. Allow some flexibility for proofing: the dough’s growth matters more than the clock.
Set out a stand mixer with a dough hook, a half sheet pan, parchment, mixing bowls, a whisk, and a piping bag or zip-top bag. A serrated bread knife helps you cut the petals without pressing the buns flat.
For the bread
- Combine the active dry yeast with the warm water and wait about 2-3 minutes for it to dissolve.
Stir away any remaining yeast clumps before mixing the dough. - Use the dough hook on low speed to mix the flour, sugar, and salt in the stand mixer bowl, then add the yeast water.
Stop this initial mixing stage when the loose flour gathers into a rough, shaggy dough. - Knead at medium-high speed for about 8-10 minutes, then form a ball and cover it in a bowl in a warm spot for 45 minutes to 1 hour.
The kneaded dough should stretch into a thin, translucent windowpane without tearing, and the first rise should double its volume. - Press the risen dough to release gas, fold it several times, and divide it into 6 equal portions; tuck each portion into a taut ball and arrange on a parchment-lined sheet pan with 2-3 inches between them.
Cover the rolls and let them rise in a warm spot for another 45 minutes to 1 hour, until nearly doubled. - Set the oven to 350°F while the shaped rolls finish rising.
The buns should look fuller and puffier than they did immediately after shaping. - Brush the nearly doubled rolls with the beaten egg if using, then bake for about 20-25 minutes.
Look for a golden exterior and a center temperature of 190°F as the bread’s doneness cue. - Leave the baked rolls to cool at room temperature before cutting.
The crust should feel comfortable to hold rather than hot against your fingers.
For the cream cheese filling
- Whisk the softened cream cheese with the sugar until evenly blended, then spoon the filling into a piping bag or zip-top bag.
The mixture should look smooth and pliable, without firm cream cheese lumps.
For the garlic butter
- Whisk the melted butter, milk, sugar, garlic, parsley, and eggs in a large bowl, then keep whisking over a pot of gently simmering water until the sugar dissolves; keep the mixture warm without overheating.
The dip should flow freely and look evenly blended, with no cooked egg flecks, while the kosher salt stays reserved for sprinkling.
To assemble the Korean cream cheese garlic bread
- Raise the oven setting to 400°F for the finishing bake.
This hotter bake crisps the coating around the already-baked rolls. - Cut each cooled roll into 8 equal wedges, stopping before the knife reaches the bottom crust.
The wedges should open slightly while remaining attached at the base. - Squeeze a line of cream cheese filling into every cut seam.
Keep the filling between the wedges so each petal has a creamy edge. - Submerge each filled roll in the garlic butter, letting the dip reach the seams, then turn it upside down to drain before setting it on a parchment-lined sheet pan.
The coating should cling to the bread without leaving a large puddle underneath. - Add the remaining filling to the centers, sprinkle with kosher salt, and bake for 8-10 minutes.
Remove the rolls when the crust is crisp and golden, with slight bubbling around the edges, before it becomes overly brown. - Wait a few minutes before handling or serving the finished bread.
The filling and buttery coating remain hot even after the crust looks ready to pull apart.
Key Ingredients and Flavor Roles
The bread, filling, and coating each contribute a different texture. A sturdy yeast crumb supports the filling, cream cheese stays rich and tangy, and the garlic custard moistens the cut surfaces while the exposed edges crisp.
This scratch dough uses water, not milk, and relies on kneading for its structure. Sugar adds sweetness to the crumb, while salt keeps the dough from tasting flat. The cream cheese’s tang gives the filling enough contrast to stand up to the butter.
Scratch Yeast Dough Versus Store-Bought Brioche
Unsliced, palm-sized brioche or soft dinner rolls make a useful shortcut. Choose round buns with enough height to cut deep seams and enough structure to stay together when dipped.
- Scratch yeast rolls: Give you control over the shape and a gently chewy crumb that holds up to filling and soaking.
- Brioche rolls: Bring an already rich, tender texture, making the finished bread especially indulgent.
- Soft dinner rolls: Offer a less rich starting point, letting the sweet cream cheese and garlic coating lead.
For the shortcut, skip the dough preparation, proofing, and first bake. Start with the cooled, baked rolls, then follow the filling, dipping, draining, and finishing bake. Very small rolls won’t hold the same amount of filling, so avoid forcing every seam wide open.
If you prefer an entirely savory roll, garlic bread rolls offer a different direction. Here, the bread needs to support both a sweet filling and a liquid custard coating.
The Custard Garlic Butter Emulsion
Whisking disperses the butter through the milk and egg mixture. Egg yolks help that mixture stay cohesive, while egg proteins set during baking, giving the coated crumb its custardy character.
Gentle heat keeps the butter fluid and helps dissolve the sugar. It should warm the dip, not cook it. If you see steam rising strongly from the mixture or egg beginning to form flecks, lift the bowl away from the water bath and keep whisking.
Skipping the eggs changes the result: the coating loses some of its ability to set and may taste oilier. Keep them in for the characteristic texture.
For an optional savory variation, whisk Kewpie mayonnaise into the butter dip for extra tang and umami. Keep it separate from the main recipe’s ingredient list and remember that the sweet cream cheese still defines the flavor.
How to Slice and Fill Without Breaking the Petals
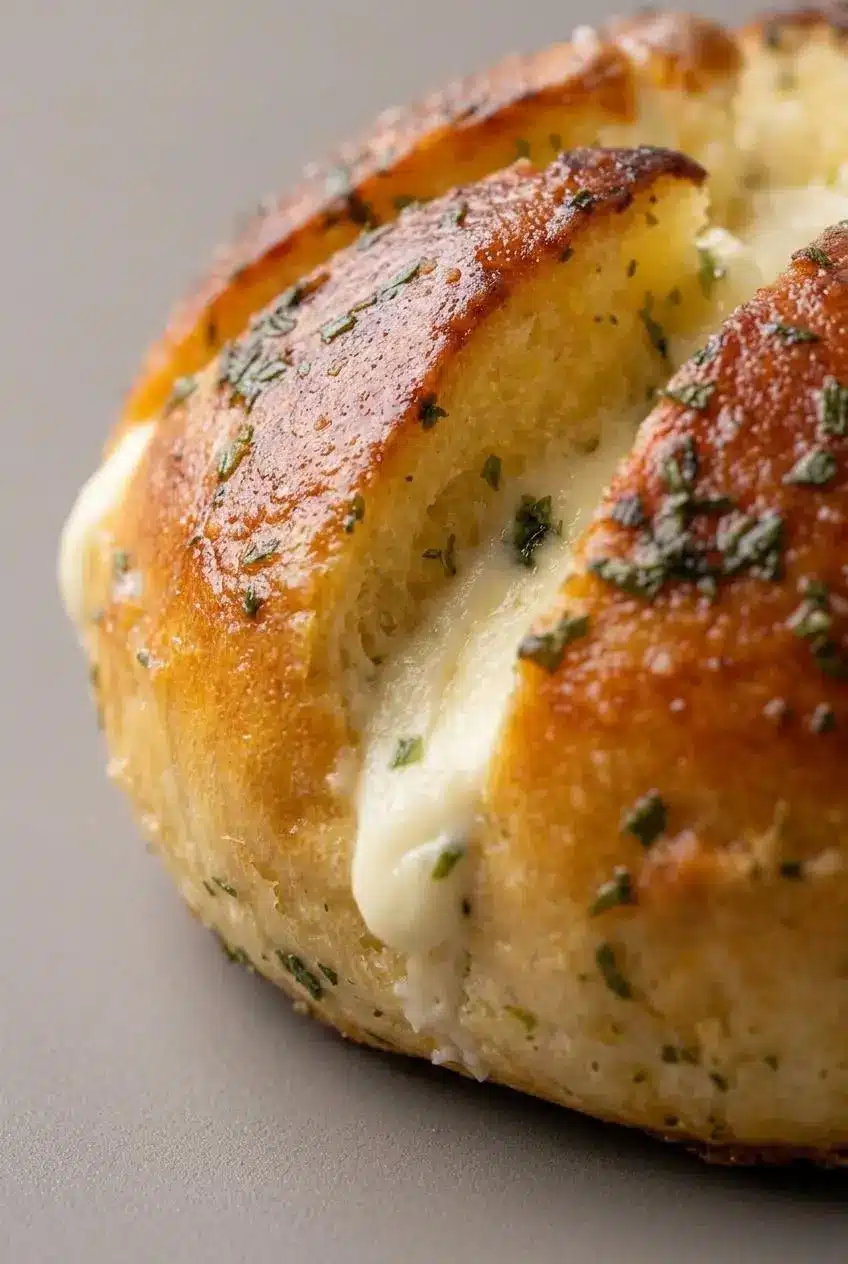
A connected bottom crust is what keeps the roll intact during dipping. Use a serrated knife and a gentle sawing motion rather than pushing straight down through the soft bread.
Steady the roll with your free hand, keeping your fingers away from the blade. Make evenly spaced cuts that form eight wedges, stopping roughly half an inch above the bottom crust. Don’t chase perfectly even petals at the expense of the base.
For filling, gently open one seam at a time. Place the piping tip down inside the cut, squeeze steadily, and lift as the seam fills. This puts cream cheese below the surface instead of piling it across the top.
Stop spreading a wedge if the bread starts tearing. A softened, lump-free filling needs less pressure from the bag, which also reduces strain on the petals. Finish with the remaining filling in the center, where it helps create the flower-like appearance.
Troubleshooting Common Baking Mistakes
Most problems come from excessive heat, too much retained dip, or pressure on the bread. Use the texture of each component to catch trouble early.
- Egg flecks in the garlic dip: The water bath is heating the mixture too aggressively; remove the bowl from the heat and whisk, then use gentler heat if needed. Fully cooked egg curds won’t whisk back into a silky custard.
- An oily layer on the dip: Butter can separate while the bowl sits; whisk it back together before dipping so each bun gets an even coating.
- A petal breaks off: The cut went through the base; support the bun with a small strip of aluminum foil on the baking sheet to hold the pieces together during the finishing bake.
- Soggy bottoms: Excess custard collected underneath; hold each dipped roll upside down until the heavy dripping subsides before putting it on the tray.
- Dark edges before the finish: Sugar in the coating browns readily in the hot oven; watch the exposed petal tips and remove the buns when crisp and golden rather than waiting for a darker color.
- Lumpy filling: The cream cheese was still firm when mixed; let it soften until pliable, then whisk smooth before transferring it to the bag.
Storage and Reheating Guide
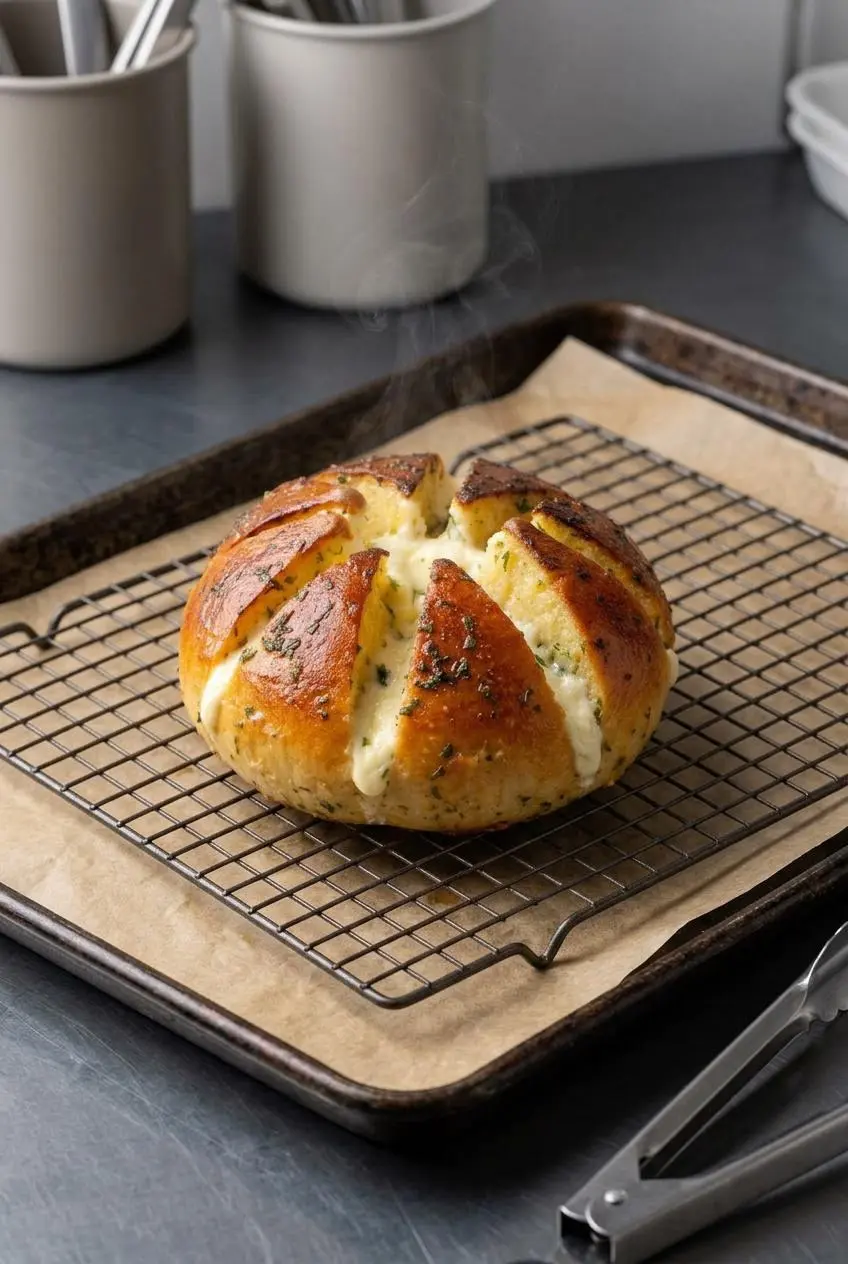
Keep leftover cream cheese and egg-enriched bread covered and refrigerated rather than treating it like plain bread. Use an airtight container, avoid stacking rolls tightly against their fillings, and refrigerate promptly after serving.
The crust softens as moisture moves through the bread during storage. Reheat only the portion you plan to eat, and use dry heat to help restore the outside texture.
Restoring Crispness in the Oven or Air Fryer
An oven or air fryer works better for restoring crunch than a microwave. Microwave heating can soften the crust and overheat the filling before the bread warms evenly.
- Oven: Place refrigerated rolls on a parchment-lined tray and warm gently until the centers heat through and the crust firms up, watching the sweet coating for excessive browning.
- Air fryer: Warm a single roll with space around it for airflow, checking frequently because the exposed petal tips can brown before the center warms.
Let the reheated bread settle briefly before pulling it apart. Hot butter and cream cheese can burn your fingers or mouth even when the outer crust feels manageable.
Conclusion
These pull-apart rolls bring together crisp garlic-coated edges, soft bread, and a tangy, sweet cream cheese center. Scratch dough gives you a satisfying baking project, while unsliced buns offer a convenient shortcut.
Keep the bottom crust connected, warm the custard gently, and drain the rolls well before the final bake. Serve them warm after a brief cooling pause, when every petal has that creamy center and crisp edge.
Frequently Asked Questions
Why Is Korean Garlic Bread Sweet?
Sugar in the cream cheese filling and garlic butter creates its characteristic sweet-savory balance. It softens the impression of sharp garlic and complements the rich dairy, while the cream cheese’s tang keeps the filling from tasting purely sweet.
Can I Use Store-Bought Dinner Rolls Instead of Making Dough?
Yes. Choose unsliced round brioche or soft dinner rolls sturdy enough to hold the filling and dip. Skip the dough-making stages and first bake, then cut, fill, coat, drain, and finish them in the oven as directed.
Why Do You Add Eggs to the Garlic Butter?
Eggs help bring the butter and milk together and allow the coating to set during baking. They create the custardy texture inside the cut surfaces; without them, the coating behaves more like liquid garlic butter and can leave an oilier result.
What Is the Best Way to Reheat Leftovers?
Use an oven for several rolls or an air fryer for a single portion. Warm the bread until the center heats through and the outside firms up, checking closely to avoid over-browning the sweet coating. A microwave warms it but won’t restore the same crunch.
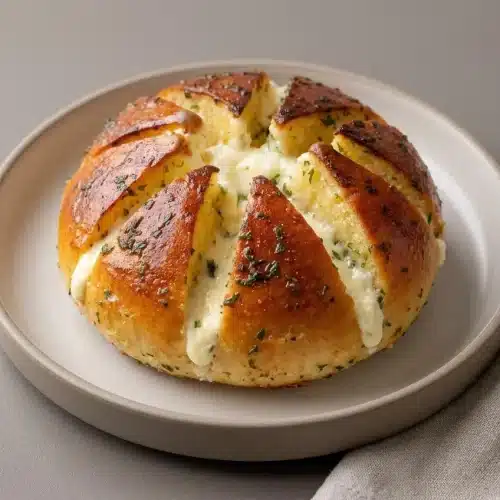
Korean Cream Cheese Garlic Bread

Equipment
- Stand mixer
- Half sheet pan
- Mixing Bowl
- Whisk
Ingredients
For the bread
- 1 1/2 cup warm water around 90-110°F
- 1 teaspoon active dry yeast
- 4 1/2 cup all-purpose flour spooned & leveled
- 1/4 cup granulated sugar
- 1/2 teaspoon kosher salt
- 1 large egg beaten (optional for egg wash)
For the cream cheese filling
- 8 ounce cream cheese softened
- 1/4 cup granulated sugar
For the garlic butter
- 1 cup unsalted butter melted (or 2 sticks)
- 1/2 cup whole milk or half & half
- 2 Tablespoon granulated sugar
- 2 Tablespoon garlic minced (or to your preference)
- 1 1/2 Tablespoon dry parsley flakes or to your preference
- 2 large egg
- Kosher salt for sprinkling
Instructions
For the bread
- Combine the active dry yeast with the warm water and wait about 2-3 minutes for it to dissolve. Stir away any remaining yeast clumps before mixing the dough.
- Use the dough hook on low speed to mix the flour, sugar, and salt in the stand mixer bowl, then add the yeast water. Stop this initial mixing stage when the loose flour gathers into a rough, shaggy dough.
- Knead at medium-high speed for about 8-10 minutes, then form a ball and cover it in a bowl in a warm spot for 45 minutes to 1 hour. The kneaded dough should stretch into a thin, translucent windowpane without tearing, and the first rise should double its volume.
- Press the risen dough to release gas, fold it several times, and divide it into 6 equal portions; tuck each portion into a taut ball and arrange on a parchment-lined sheet pan with 2-3 inches between them. Cover the rolls and let them rise in a warm spot for another 45 minutes to 1 hour, until nearly doubled.
- Set the oven to 350°F while the shaped rolls finish rising. The buns should look fuller and puffier than they did immediately after shaping.
- Brush the nearly doubled rolls with the beaten egg if using, then bake for about 20-25 minutes. Look for a golden exterior and a center temperature of 190°F as the bread’s doneness cue.
- Leave the baked rolls to cool at room temperature before cutting. The crust should feel comfortable to hold rather than hot against your fingers.
For the cream cheese filling
- Whisk the softened cream cheese with the sugar until evenly blended, then spoon the filling into a piping bag or zip-top bag. The mixture should look smooth and pliable, without firm cream cheese lumps.
For the garlic butter
- Whisk the melted butter, milk, sugar, garlic, parsley, and eggs in a large bowl, then keep whisking over a pot of gently simmering water until the sugar dissolves; keep the mixture warm without overheating. The dip should flow freely and look evenly blended, with no cooked egg flecks, while the kosher salt stays reserved for sprinkling.
To assemble the Korean cream cheese garlic bread
- Raise the oven setting to 400°F for the finishing bake. This hotter bake crisps the coating around the already-baked rolls.
- Cut each cooled roll into 8 equal wedges, stopping before the knife reaches the bottom crust. The wedges should open slightly while remaining attached at the base.
- Squeeze a line of cream cheese filling into every cut seam. Keep the filling between the wedges so each petal has a creamy edge.
- Submerge each filled roll in the garlic butter, letting the dip reach the seams, then turn it upside down to drain before setting it on a parchment-lined sheet pan. The coating should cling to the bread without leaving a large puddle underneath.
- Add the remaining filling to the centers, sprinkle with kosher salt, and bake for 8-10 minutes. Remove the rolls when the crust is crisp and golden, with slight bubbling around the edges, before it becomes overly brown.
- Wait a few minutes before handling or serving the finished bread. The filling and buttery coating remain hot even after the crust looks ready to pull apart.