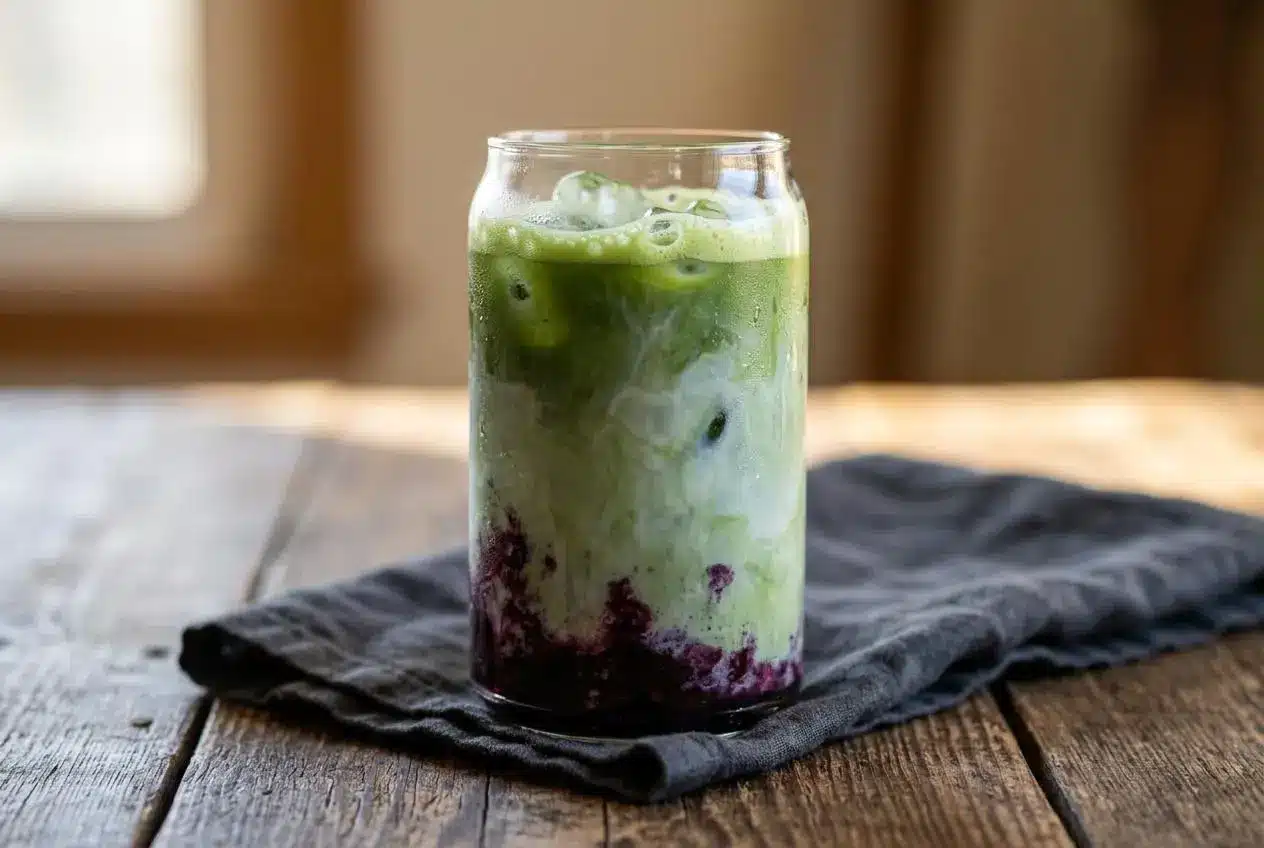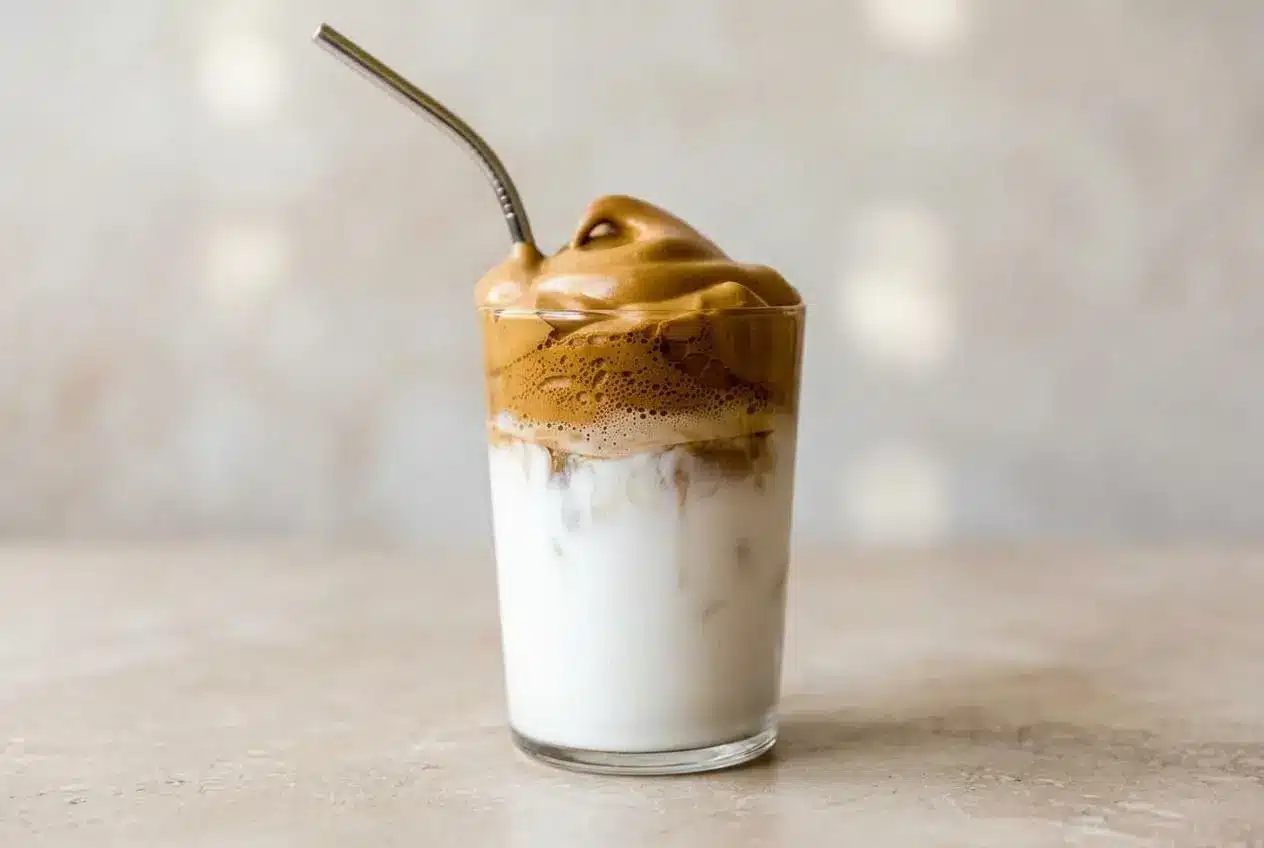
Coconut Whipped Coffee is a dairy-free Dalgona-style drink made by whipping espresso powder, sugar, and hot water into a fluffy foam, then spooning it over iced coconut milk.
Coconut Whipped Coffee gives you that viral cloud coffee look with a creamy coconut twist. The foam turns pale, thick, and glossy, while the coconut milk keeps the drink cool and smooth.
It feels a little café-style without asking much from you besides a mixer and a few minutes. The best part is watching the foam hold its shape like mousse.
Use hot water from the start so the coffee and sugar dissolve fully and whip up faster.
What Is Iced Coconut Whipped Coffee?
This drink is the coconut milk version of Dalgona coffee. You whip espresso powder, sugar, and hot water until they form a light, fluffy coffee foam, then spoon that foam over ice and coconut milk.
The signature texture is what makes it fun. Instead of tasting like regular iced coffee with a splash of milk, you get a cloud-like top layer and a creamy base underneath.
It also helps to clear up one common mix-up. This recipe whips the coffee itself, not whipped cream or coconut cream. A coffee topped with a dollop of cream is delicious too, but it is a different style of drink.
Ingredients You’ll Need
Each ingredient has a job here, from building the foam to balancing bitterness and creating that cool, creamy finish in the glass.
- 3 tablespoons espresso powder
- 3 tablespoons sugar
- 3 tablespoons hot water
- 3 cups coconut milk
- Ice
Espresso powder is the key to the foam structure, sugar helps the mixture whip into a stable, glossy texture, and hot water dissolves both so the whisk can do its job. Coconut milk gives the drink its smooth base, and refrigerated carton coconut milk is especially nice when you want an easy sipping texture.
I usually reach for carton coconut milk here because it pours smoothly over ice and gives the drink a clean, creamy finish.
How to Make Iced Coconut Whipped Coffee

- Add the espresso powder, sugar, and hot water to the bowl of an electric mixer fitted with the whisk attachment, then whip on medium speed for 5 to 8 minutes.
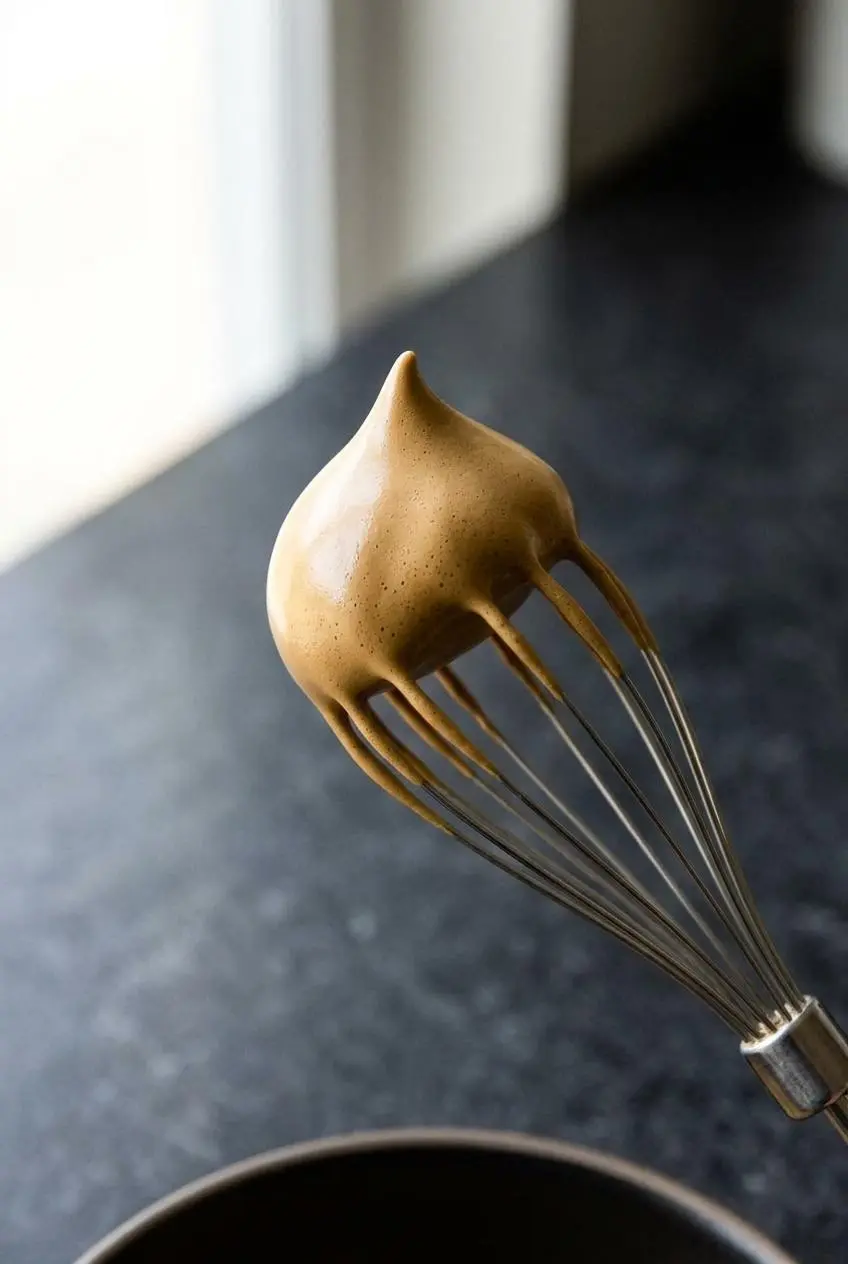
The mixture will go from dark and loose to pale, thick, and glossy, and it is ready when the whisk lifts up and the foam holds its shape without dripping. - Fill two glasses with ice, divide the coconut milk between them, and spoon the whipped coffee evenly over the top.
You should see a clear two-tone layer with creamy milk underneath and a fluffy coffee cap on top.
For the prettiest finish, serve it in a clear glass and stir just before drinking if you want the foam worked all the way through. A light dusting of cocoa powder or a pinch of toasted coconut on top also fits the flavor nicely.
Tips for the Fluffiest Coffee Foam
If your goal is thick, spoonable foam instead of a thin coffee froth, a few small details make a big difference.
The first rule is to use instant-style coffee, which in this recipe is espresso powder. Regular ground coffee will not whip, and brewed coffee will not turn into that airy foam either. This method works because instant coffee dissolves completely and traps air when beaten with sugar and water.
Sugar matters for more than sweetness. It helps the mixture build a more stable, meringue-like structure, so the foam stays thick instead of collapsing quickly. If you swap in coconut sugar, expect a slightly darker color and a bit more whipping time.
Hot water is worth paying attention to. If the water is too cool, the coffee and sugar may not dissolve fully, and the foam can turn grainy or stay loose longer than it should.
An electric hand mixer or stand mixer gives the best results and usually gets you there within 5 to 8 minutes. Hand-whisking can work, but it takes serious patience and arm strength, and it may take 15 minutes or more before you see stiff peaks.
The easiest success cue is visual. The foam should look pale and glossy, almost like a thick mousse, and it should cling to the whisk instead of sliding right off.
| Problem | Likely Cause | Fix |
|---|---|---|
| Foam stays thin | Wrong coffee type | Use espresso powder or another instant coffee product |
| Mixture looks grainy | Water was not hot enough | Start with hot water so the coffee and sugar dissolve properly |
| Foam never reaches stiff peaks | It needs more whipping time | Keep going until the mixture turns pale, thick, and holds its shape |
| Foam is darker and slower to whip | Coconut sugar was used | Whip a little longer and expect a deeper color |
Recipe Variations and Ingredient Swaps
The classic version is great as is, but this drink is also easy to tweak depending on whether you want deeper flavor, a lighter finish, or a totally different topping style.
The ‘Whipped Coconut Cream Topping’ Method
This is where a lot of confusion starts. Some coconut coffee drinks whip the coffee itself, like this recipe, while others top regular coffee with whipped coconut cream. Both are tasty, but the texture and method are different.
| Style | What Gets Whipped? | Base Liquid | Final Texture |
|---|---|---|---|
| Whipped Coffee Foam | Espresso powder, sugar, and hot water | Coconut milk | Light, airy, and mousse-like |
| Whipped Coconut Cream Topping | Coconut cream | Regular coffee or cold brew | Rich, creamy, and more like dessert topping |
If you want the viral Dalgona look, whip the coffee. If you want something richer and softer, go with coconut cream on top of your coffee instead.
Coconut Sugar Variation
You can swap regular sugar for coconut sugar in a 1:1 exchange. The foam will taste a little more caramel-like, look slightly darker, and may need an extra minute or two of whipping before it reaches stiff peaks.
Lighter Coconut Water Version
For a more refreshing drink, replace the coconut milk with chilled coconut water. You will lose some creaminess, but the result is lighter, brisk, and especially good on a hot day.
Adding Extra Flavor
If you want to lean harder into the coconut flavor, add a small drop of coconut extract before whipping. Vanilla works too and rounds out the bitter coffee notes nicely.
If you are in the mood for another iced coffee idea after this one, another iced coffee with a fruitier twist can be a fun next stop.
Storage and Make-Ahead
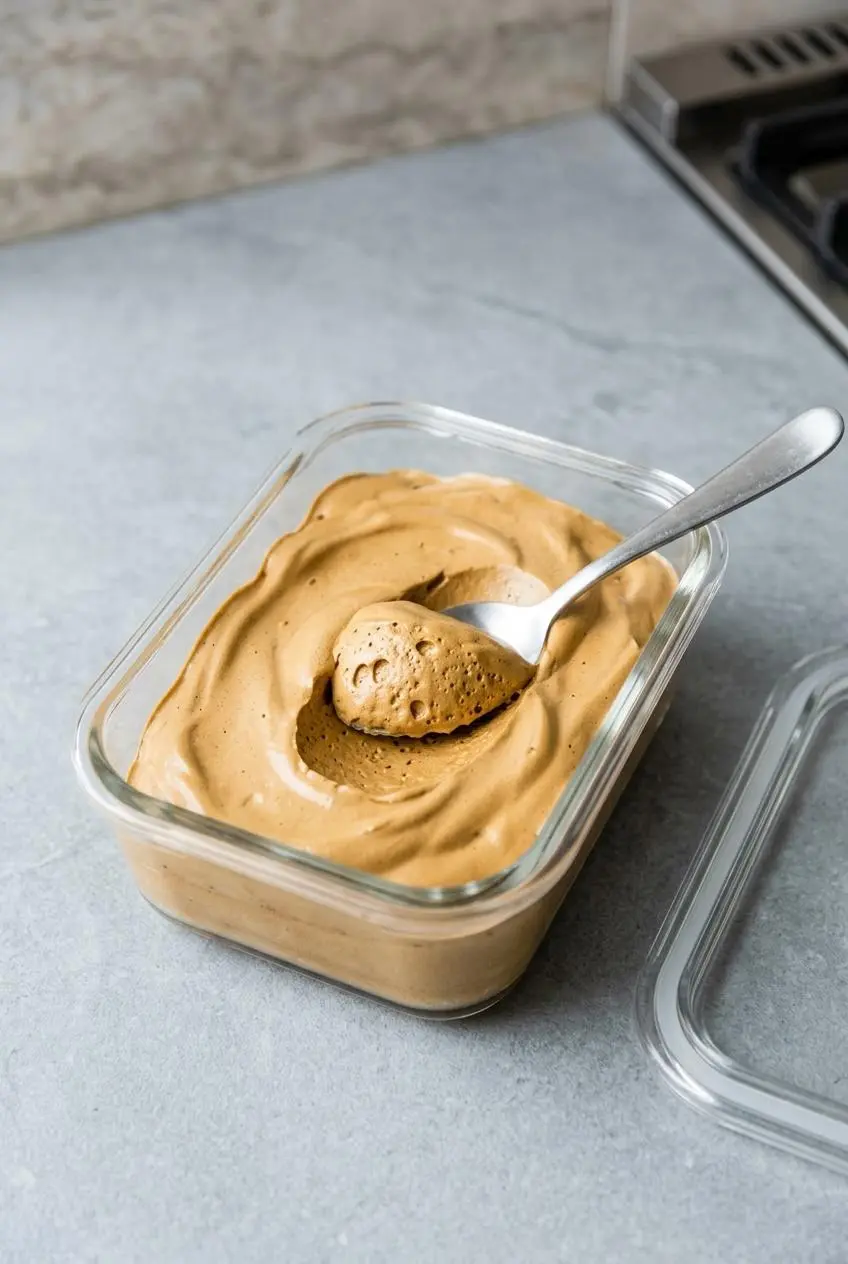
The whipped coffee foam holds surprisingly well, so you can prepare it ahead if that makes your mornings easier.
Store leftover foam in an airtight container in the refrigerator. It can keep its fluffy texture for up to 2 to 3 days, and opened coconut milk is commonly kept chilled for 7 to 10 days based on storage guidance for opened non dairy milk alternatives.
Before serving, give the foam a quick stir or brief whisk if it has firmed up too much in the cold. Keeping the milk and foam separate until the last minute gives you the best layered texture.
If you make extra on purpose, it is a fun excuse to try Dalgona Coffee Brownies later.
Conclusion
This is an easy way to make a café-style iced coffee that looks impressive and tastes creamy, cool, and airy. Once you know the equal-parts whip and the right texture cue, it comes together fast.
Use instant-style coffee, keep the water hot, and whip until the foam holds its shape. After that, the hardest part is not taking a spoonful before it reaches the glass.
Frequently Asked Questions (FAQ)
Why isn’t my coffee getting fluffy?
Most often, the coffee type is the issue. Brewed coffee and regular grounds will not create the same foam. The second common problem is stopping too soon. With an electric mixer, it usually takes 5 to 8 minutes for the mixture to become pale, thick, and stiff. Also check the water temperature. Hot water helps the coffee and sugar dissolve so the mixture can whip properly.
Can I use regular brewed coffee or ground coffee?
No. This method depends on instant-style coffee, because it dissolves and whips into a stable foam. Regular brewed coffee is too liquid, and ground coffee leaves particles behind instead of forming a smooth whipped texture.
What kind of coconut milk is best?
For the smoothest drinking texture, refrigerated carton coconut milk is usually the best choice. It pours easily over ice and tastes closest to a coffee shop style iced drink. Canned coconut milk also works, but it is thicker. You may want to stir it well before using so the drink is easier to sip. If you want the richest result, canned full-fat coconut milk gives more body. If you want a lighter drink, carton milk or coconut water works better.
Can I make this a hot drink?
Yes. Spoon the whipped coffee over warmed or steamed coconut milk instead of iced milk. You still get that fluffy top layer, but the drink feels more like a cappuccino with a cozy hot-and-cool contrast. Stir before sipping if you want the foam fully blended in.

Iced Coconut Whipped Coffee

Equipment
- Electric Mixer
Ingredients
- 3 tablespoons espresso powder
- 3 tablespoons sugar
- 3 tablespoons hot water
- 3 cups coconut milk
- Ice
Instructions
- Add the espresso powder, sugar, and hot water to the bowl of an electric mixer fitted with the whisk attachment, then whip on medium speed for 5 to 8 minutes. The mixture will go from dark and loose to pale, thick, and glossy, and it is ready when the whisk lifts up and the foam holds its shape without dripping.
- Fill two glasses with ice, divide the coconut milk between them, and spoon the whipped coffee evenly over the top. You should see a clear two-tone layer with creamy milk underneath and a fluffy coffee cap on top.