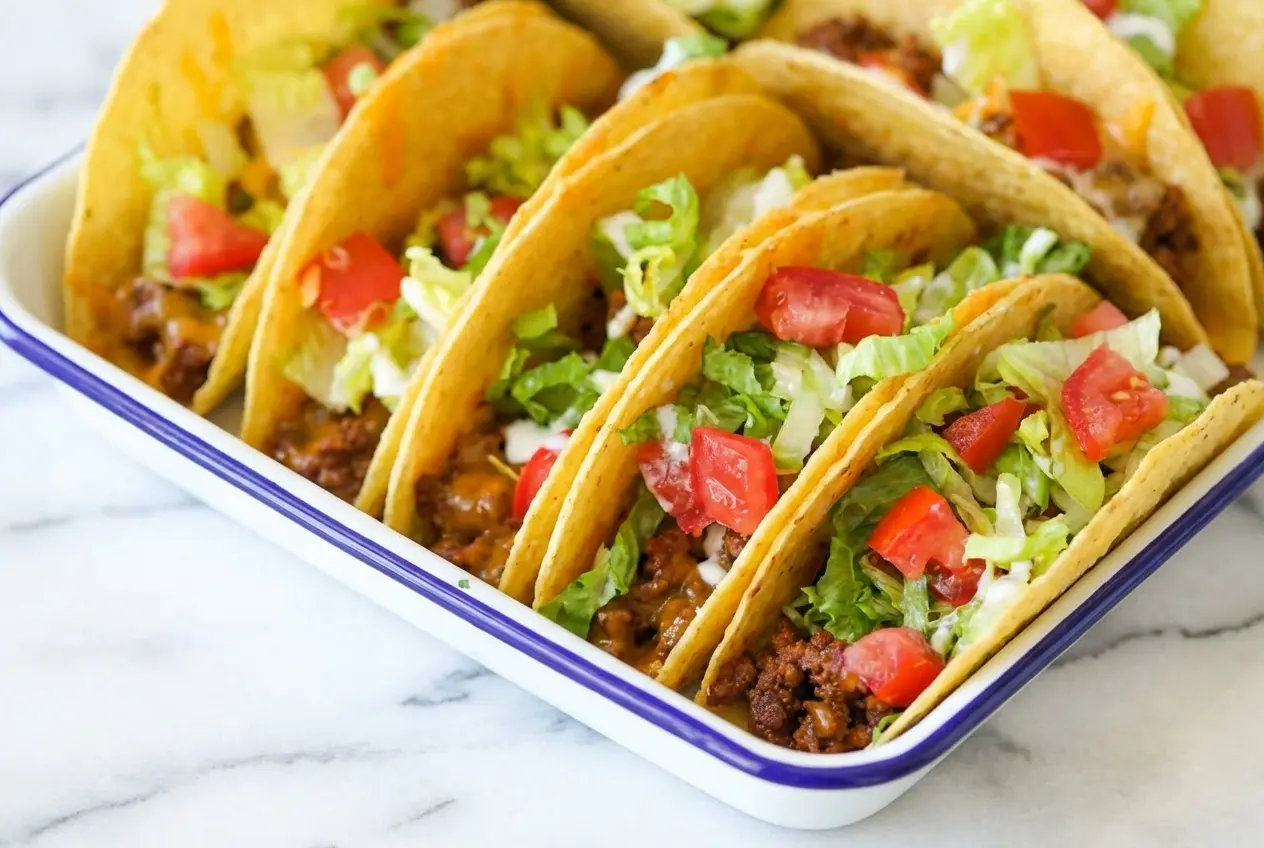
Taco Tuesday has a way of pulling everyone into the kitchen, but nothing ruins the mood faster than a shell that turns soft and soggy before it even hits the plate. I have had that happen more times than I care to admit, and it is exactly why these Oven Baked Cheesy Tacos earned a permanent spot in my dinner rotation.
This method is built for busy family dinners, casual game nights, and those evenings when you want something crispy, cheesy, and deeply satisfying without standing at the stove making tacos one by one. The best part is that every step is designed to help you get a crunchy, party-ready taco every single time.
Why You Will Love This Recipe
Weeknight Friendly: These oven baked tacos are one of the easiest ways to feed a table full of hungry people without juggling a skillet and a stack of plates. I can line them up in one pan, bake them together, and serve the whole batch while they are still hot and melty.
The Secret Twist: In my kitchen, the double barrier method changed everything. Pre-baking the hard taco shells for 4 minutes, then adding about 1 tablespoon of warm refried beans and a pinch of cheese in the bottom, creates a reliable moisture barrier before the hot beef goes in.
Crunch Meets Creaminess: That little layer of beans and cheddar gives you more than insurance against soggy bottoms. It adds a creamy center under the savory ground beef, so every bite has that perfect crispy shell and soft, cheesy contrast that makes Tex-Mex dinners so comforting.
Ingredients and Substitutions
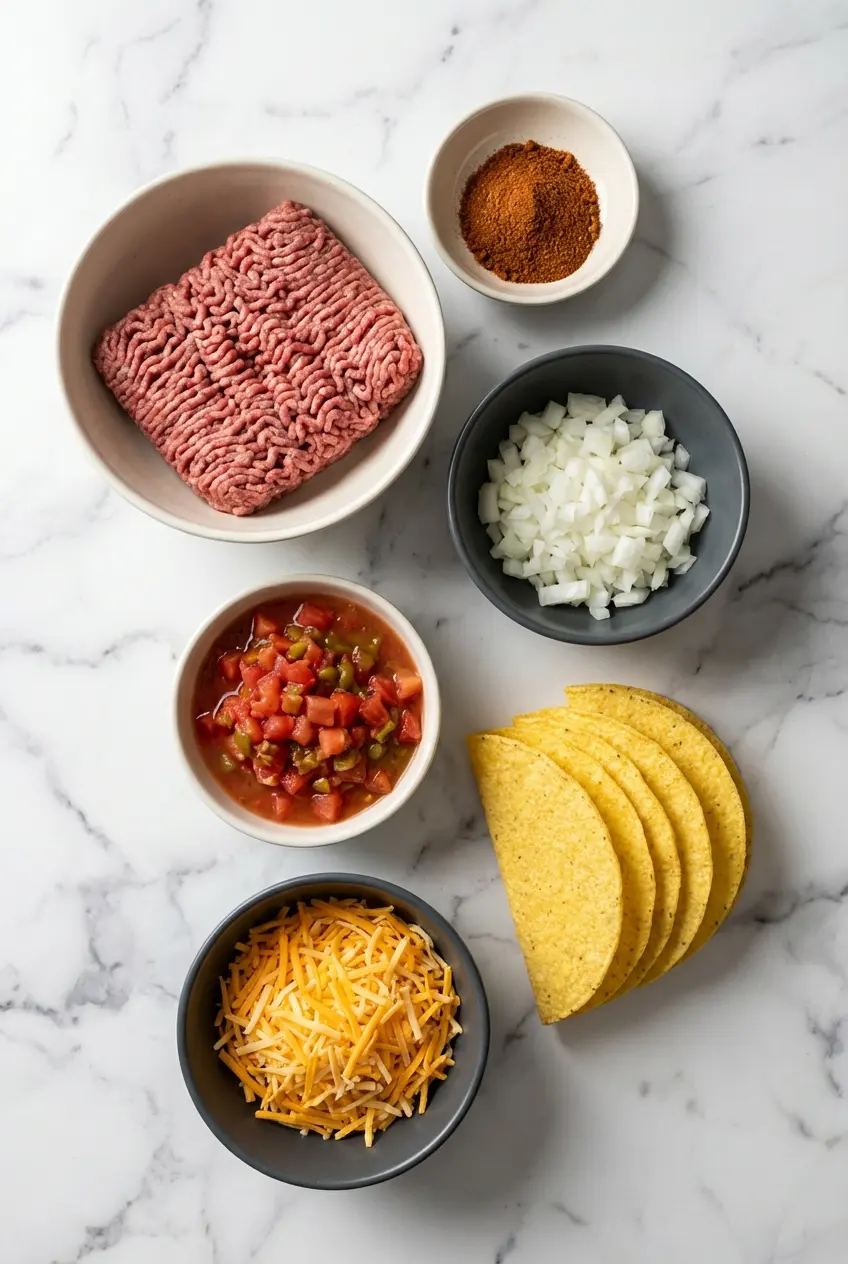
You only need a handful of familiar staples to build tacos that come out crisp, cheesy, and full of bold taco night flavor.
Ingredients
- 1 pound lean ground beef
- 1 ounce taco seasoning 1 packet, or 2 tablespoons homemade taco seasoning
- 1 onion diced
- 10 ounces canned diced tomatoes with chilies such as Rotel
- 12 to 14 taco shells
- 2 1/2 cups shredded cheddar cheese blend divided
Ingredient Notes & Substitutions
Lean ground beef: This is the best choice for a crispy result because it gives you plenty of rich flavor without flooding the shells with extra grease. If your beef releases a lot of fat, draining it thoroughly is not optional.
Refried beans: The double barrier twist depends on a spoonful of warm refried beans in the base of each taco, about 1 tablespoon per shell. That soft layer acts as the first seal against the juices from the meat and helps protect the crispy shell.
Cheddar cheese blend: A classic cheddar blend melts beautifully and gives you that golden, bubbly top everyone wants. If you like a little heat, I often use a mix of sharp cheddar and pepper jack for a spicier finish.
Rotel diced tomatoes: Canned diced tomatoes with chilies bring moisture, acidity, and a gentle kick to the filling. They work especially well in this style of oven baked tacos because they keep the beef flavorful without needing extra sauce.
Taco shells: Hard taco shells are essential here because they are sturdy enough to hold the beef and cheese through baking. Stand and Stuff shells are especially handy if you want easier filling and less tipping in the pan.
Ground turkey or chicken: If you want a lighter dinner, both are easy swaps for the beef. I still recommend simmering the filling until the pan looks almost dry, because that step matters just as much with leaner meats.
How to Make Oven Baked Cheesy Tacos
Preheat and Build the Filling
- Heat your oven to 400°F so it is fully ready by the time the shells are filled. A properly hot oven helps the tacos bake quickly and keeps the shells from lingering long enough to soften.
- In a large skillet, cook the ground beef and diced onion over medium heat until the beef is fully browned and no pink remains. Drain the fat completely, then stir in the taco seasoning, the undrained tomatoes with chilies, and 1/4 cup water. Let everything simmer for about 5 minutes, stirring often, until the mixture smells rich and savory and there is absolutely no visible liquid left in the pan.
Prepare the Shells and Add the Double Barrier
- Arrange the 12 to 14 taco shells in a 9×13 casserole dish, setting them upright so they are snug but not crushed. If a few want to tip, tuck small balls of aluminum foil between every second shell to help them stay standing.
- Place the empty shells in the oven for 4 minutes. This quick pre-bake firms them up and wakes up that toasted corn aroma, which gives the finished tacos a sturdier, crunchier bite.
- As soon as the shells come out, spread about 1 tablespoon of warm refried beans into the bottom of each one, then add a pinch of shredded cheese right over the beans. This is the small step that keeps the bottoms from going soggy once the hot beef filling is added.
Fill and Finish Baking
- Divide 1 1/2 cups of cheese among the shells, counting the base pinch as part of that amount, then spoon in the hot meat mixture evenly. Finish with the remaining cheese on top so each taco has a generous, melty cap.
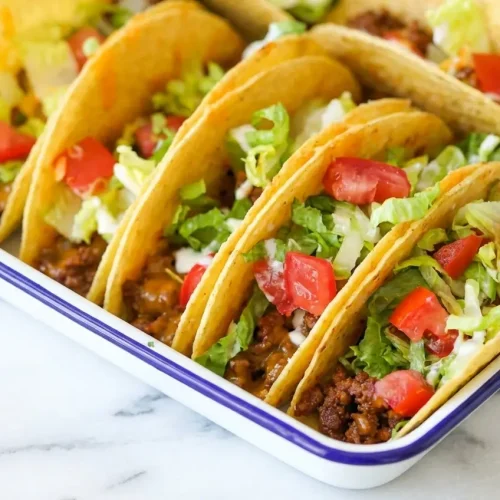
- Bake for 15 to 18 minutes, until the cheese is fully melted and bubbling and the edges of the shells look deeply crisp. Add your favorite fresh toppings and serve right away while the tacos are still satisfyingly crunchy.
Chef Secrets For Perfect Crispy Shells
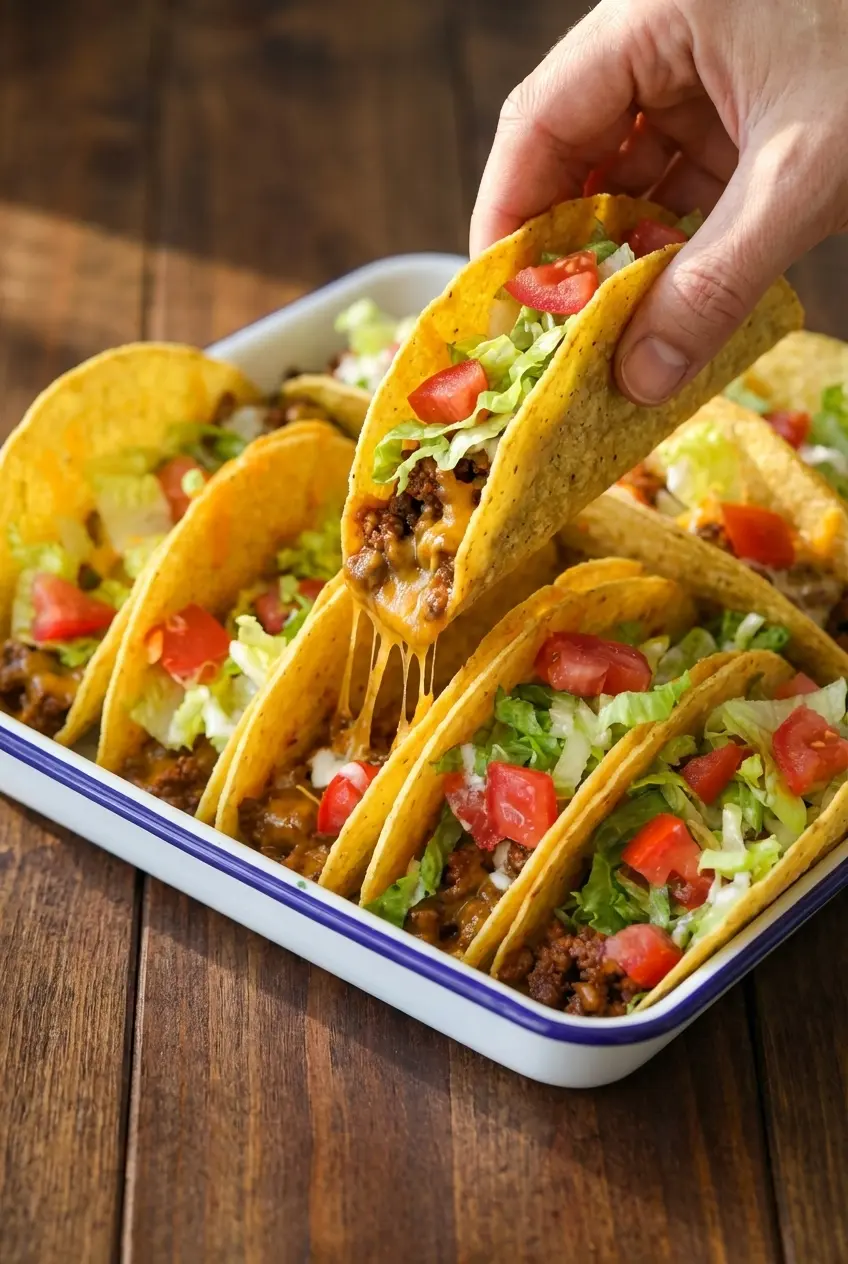
When I reheat leftover baked tacos, I use 350°F for 10 minutes. That temperature is warm enough to bring the filling back to life and re-crisp the shell, but gentle enough that the delicate edges do not scorch before the center heats through.
Stand and Stuff shells make assembly noticeably easier because their flat bottoms sit more securely in the pan. Traditional V-shaped shells still work beautifully, but they often need a little help from foil spacers if you want a neat row of upright tacos.
For a larger crowd, skip the smaller baking dish and use a large rimmed baking sheet so the shells have breathing room. If tacos are packed too tightly together, they trap steam instead of baking cleanly, and that is when shells start softening or cracking under pressure.
The Science Of The Moisture Barrier
The reason this method works is simple kitchen science. Warm refried beans form a dense base, and once the cheese melts into them, you get a dual layer that slows the movement of meat juices into the hard taco shells, which is exactly what a good moisture barrier should do in Mexican cuisine and Tex-Mex cooking.
There is real food science behind that idea too. Research on water migration through lipid barriers helps explain why fat-containing layers, like cheese and beans, can protect a crispy shell from turning limp too quickly when moist fillings are involved.
Pre-baking matters just as much. Those 4 minutes in the oven sharpen the shell’s structure and deepen the roasted corn flavor, so the shells taste toastier and hold up better once the ground beef is tucked inside.
Choosing The Best Baking Dish
A heavy ceramic 9×13 casserole dish is wonderful for family dinners because it keeps the tacos upright, bakes them evenly, and stays warm on the table. I also love that it goes straight from oven to serving, much like other crowd-pleasing snacks such as cheesy potato puffs, which benefit from steady retained heat.
An aluminum baking sheet is often the smarter choice when you are making a bigger batch for a party appetizer spread. It gives each taco more space, and because metal responds quickly to oven heat, it encourages better browning instead of the steaming that happens when shells are crowded too tightly.
The material of the pan changes the bake more than most people realize. A helpful breakdown of thermal conductivity properties shows why metal and ceramic behave differently in the oven, and that difference can affect how crisp your taco shells become.
Pro Tips And Troubleshooting
Expert Tips
- Use small crumpled balls of aluminum foil between shells if they will not stay upright in the baking dish.
- Simmer the ground beef mixture until all visible liquid has evaporated. If the filling looks wet, keep cooking a little longer.
- Pre-bake the empty shells for 4 minutes so they firm up before the filling goes in.
- Add a spoonful of warm refried beans and a pinch of cheese to the base of each shell to create a stronger moisture barrier.
- If you are using traditional V-shaped shells instead of flat-bottomed ones, give them a little extra support in the pan so they do not tip while filling.
Common Mistakes to Avoid
- Do not leave grease or excess water in the meat mixture, because that is the fastest way to ruin the bottom of the shell.
- Do not assemble the tacos too far ahead of time. The shells start absorbing moisture long before they reach the oven.
- Do not overcrowd the pan so tightly that the shells press into each other and steam instead of bake.
- Do not skip the pre-bake if you want the best crispy shell texture from start to finish.
Serving And Storage
Serving Ideas
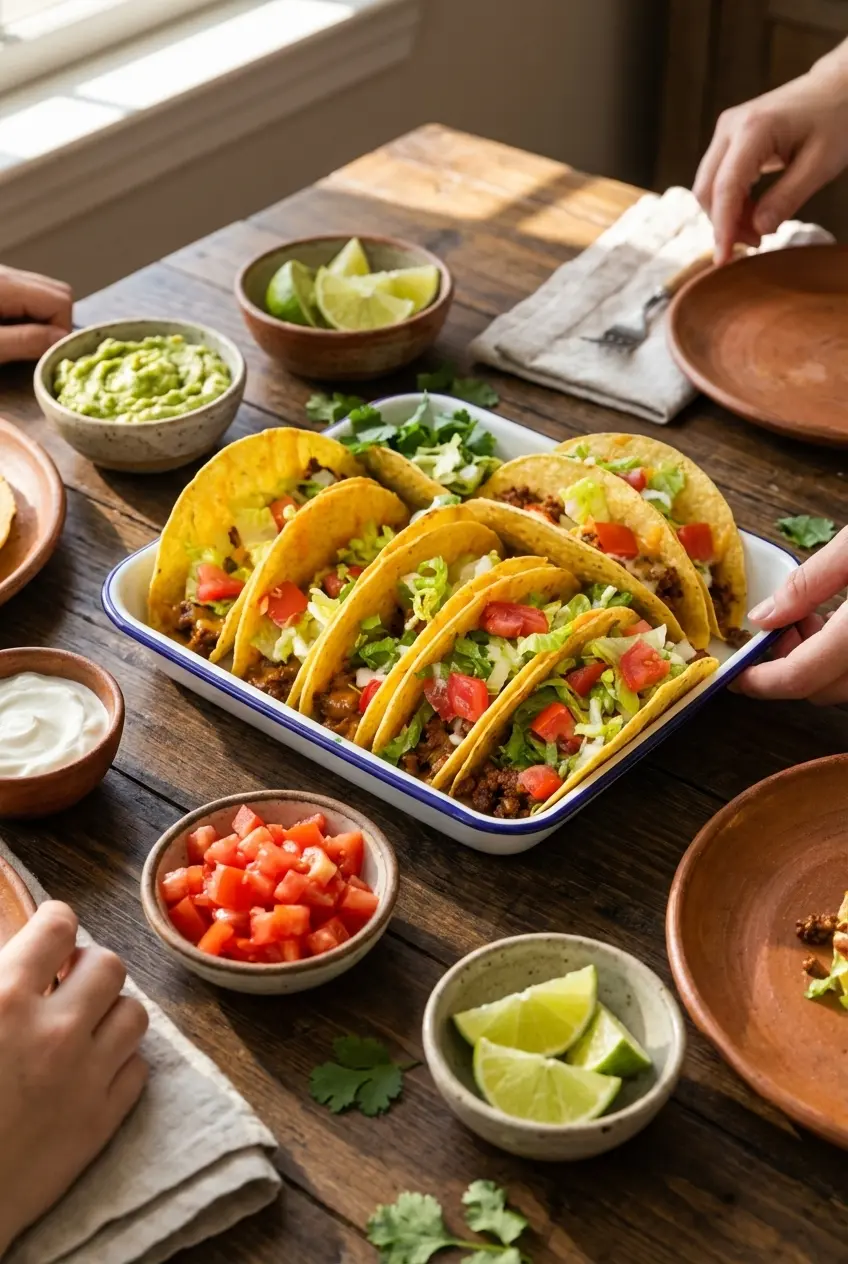
These tacos are made for a topping bar. I like to set out shredded lettuce, diced tomatoes, sour cream, guacamole, sliced jalapeños, cilantro, and lime wedges so everyone can build their plate exactly the way they like it.
For a relaxed Taco Tuesday dinner, I often serve the tacos right from the hot 9×13 casserole dish so they stay organized and easy to grab. On the side, classic Spanish rice is always a good call, and something creamy like Mexican green spaghetti also pairs beautifully if you want a fuller Tex-Mex spread.
If the night calls for a festive touch, freshly squeezed margaritas are hard to beat. The bright citrus cuts through the rich cheddar cheese and savory ground beef in the best way.
Storage And Make Ahead Advice
You can cook the meat filling ahead and keep it in an airtight container in the fridge for up to 3 days. That little bit of prep makes dinner much faster, especially on busy weeknights.
I do not recommend fully assembling the tacos in advance. For the best crispy shell, wait until just before the pre-bake and final bake to add the beans, cheese, and beef.
Leftovers keep best when the components are stored separately whenever possible. If you happen to have extra cooked filling and fresh toppings, they slide nicely into a next-day lunch like a Frito taco salad, which is a smart way to use everything without losing texture.
If your tacos are already baked and leftover, reheat them at 350°F for 10 minutes. They come back warm, melty, and pleasantly crisp without burning the shell edges.
Easy Oven Baked Cheesy Tacos

Equipment
- 9×13 casserole dish
- Large Skillet
Ingredients
- 1 pound lean ground beef
- 1 ounce taco seasoning 1 packet, or 2 tablespoons homemade taco seasoning
- 1 onion diced
- 10 ounces canned diced tomatoes with chilies such as Rotel
- 12 to 14 taco shells
- 2 1/2 cups shredded cheddar cheese blend divided
Instructions
Preheat and Build the Filling
- Heat your oven to 400°F so it is fully ready by the time the shells are filled. A properly hot oven helps the tacos bake quickly and keeps the shells from softening.
- In a large skillet, cook the ground beef and diced onion over medium heat until the beef is fully browned and no pink remains. Drain the fat completely, then stir in the taco seasoning, the undrained tomatoes with chilies, and 1/4 cup water.
- Let everything simmer for about 5 minutes, stirring often, until the mixture smells rich and savory and there is absolutely no visible liquid left in the pan.
Prepare the Shells and Add the Double Barrier
- Arrange the 12 to 14 taco shells in a 9×13 casserole dish, setting them upright so they are snug but not crushed. If a few want to tip, tuck small balls of aluminum foil between every second shell to help them stay standing.
- Place the empty shells in the oven for 4 minutes. This quick pre-bake firms them up and gives the finished tacos a sturdier, crunchier bite.
- As soon as the shells come out, add a pinch of shredded cheese into the bottom of each one. If you have warm refried beans on hand, you can spread about 1 tablespoon in the base before the cheese to create an even stronger moisture barrier against the hot beef.
Fill and Finish Baking
- Divide 1 1/2 cups of cheese among the shells (counting the base pinch as part of that amount), then spoon in the hot meat mixture evenly. Finish with the remaining cheese on top so each taco has a generous, melty cap.
- Bake for 15 to 18 minutes, until the cheese is fully melted and bubbling and the edges of the shells look deeply crisp. Add your favorite fresh toppings and serve right away while the tacos are still satisfyingly crunchy.
Notes
Conclusion
Once you try the double barrier method, it is hard to go back. That quick pre-bake, plus the layer of warm refried beans and cheese, gives you Oven Baked Cheesy Tacos that stay crisp, hold together, and deliver that deeply satisfying crunch in every bite.
They are exactly the kind of family dinner recipe that feels easy but still gets cheers at the table. Save them for your next Taco Tuesday, and feel free to play with the cheese blend or toppings to make the tray your own.