Skip to content
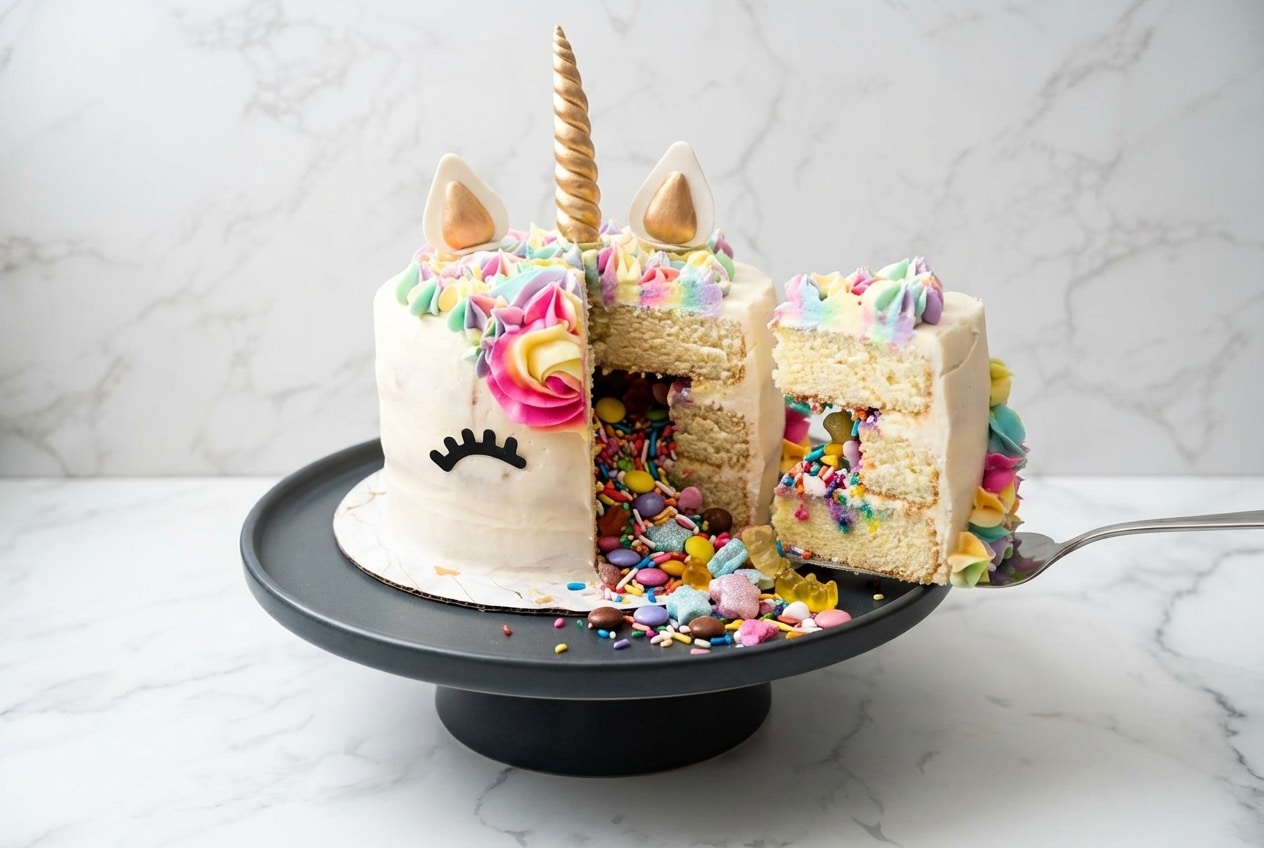
In my kitchen, unicorn cakes aren’t just dessert, they’re theater. The moment you cut in, the buttercream frosting gives way, the pastel mane catches the light, and everyone leans in like it’s story time. That’s exactly what this unicorn cake recipe is built for.
It looks like something from a pro bakery case, but the steps are totally doable at home, even if you’ve never piped a rosette in your life. And yes, there’s a hidden pinata surprise, because birthdays deserve a little magic.
Why You’ll Love This Recipe
The Magical Pinata Center: In my kitchen, that first slice is the moment everyone remembers, pastel chocolate pearls and gold stars tumble out like confetti.
Professional Results at Home: A proper crumb coat and stable buttercream frosting keep the finish smooth, so your colors look crisp instead of “birthday-party chaotic.”
Interactive, Photo-Ready Fun: The 1M piping tip mane turns into a swoopy, camera-loving centerpiece, and the rosettes hold their shape for the whole party.
Color Palette Freedom: Gel food coloring lets you go soft pastel, bold rainbow, or anything in between without thinning the frosting.
Ingredients and Substitutions

This unicorn cake comes together with baked layers, a sturdy buttercream, and a few decorating essentials. The list is short on purpose, the magic comes from how you assemble and pipe.
Ingredients
- 2 or 3 baked cake layers, cooled
- Buttercream frosting (recipe below)
- Gel food coloring (in pastel or rainbow hues)
- Unicorn horn and ear decorations (fondant, paper, or plastic)
- 1M piping tip
- Piping bags and plastic wrap
- Offset spatula and cake scraper
- Cake board or stand
Unicorn Cake Buttercream Recipe:
- 2 sticks (1 cup) unsalted butter, softened
- 2 tbsp heavy whipping cream
- 3 ½ cups powdered sugar, sifted
- 1 tsp vanilla extract (or any extract of choice)
Ingredient Notes & Substitutions
Cake Flour: If you’re baking your layers from scratch, I always reach for cake flour because it bakes up tender and light, which helps the stacked cake feel plush instead of heavy.
Gel Food Coloring: Gel is non-negotiable for clean piping, liquid coloring loosens buttercream and makes rosettes droop before you’re done decorating.
Vegan Swap: High-fat vegan butter sticks work well here, and coconut cream can stand in for the heavy whipping cream so the frosting still pipes with structure.
Flavor Variations: Almond extract gives a bakery-style vibe, and strawberry extract leans into the “pink party” theme while keeping the buttercream sweet and dreamy.
How to Make unicorn cake recipe
Whip a Bright, Stable Buttercream Base
- Whip the butter on high for 5 minutes until it looks pale and fluffy, it should lighten in color noticeably.
- Add the heavy cream and whip on high for 2–3 minutes until the frosting looks airy and cloudlike.
- Add the powdered sugar in 2 batches, mixing well and scraping the bowl between additions so you don’t get hidden sugar pockets.
- Once incorporated, mix on low and add the vanilla extract so the flavor blends in smoothly.
- Continue mixing on low until smooth and creamy, it should hold soft peaks without feeling greasy.
Stack the Cake and Set the Crumb Coat
- Stack your cake layers using a small amount of the buttercream between each, think of it as edible glue.
- Apply a thin crumb coat to the outside of the stacked cake using an offset spatula, this is the “messy layer” that traps crumbs.
- Chill the crumb-coated cake for 20 minutes in the fridge to set the base, your final coat will look cleaner.
Color the Buttercream and Build the Multi-Color Piping Log
- Divide the buttercream evenly into separate bowls based on how many colors you want.
- Use gel food coloring to tint each bowl a different color, then mix well until the shade is even.
- On a sheet of plastic wrap, add a line of each color side-by-side to form a long strip.
- Fold the plastic wrap over to seal the colors, then roll it gently into a log and twist the ends closed.
- Cut one end of the plastic wrap just above the buttercream.
- Place the buttercream log into a piping bag fitted with a 1M star tip.
Pipe the Unicorn Mane and Finish the Face
- Start with the front of the cake and pipe a rose-shaped swirl using your 1M tip, let the colors naturally ribbon together.
- Continue piping rosettes, stars, and swirls in a cascading pattern to the side and back of the cake to create the flowing unicorn mane.
- Insert your unicorn horn and ears at the top center of the cake.
- Optionally, add small piped rosettes around the base or eyes drawn with edible black marker or icing for extra detail.
Secrets for a Flawless Unicorn Cake

Stability is Key: If your layers aren’t level, your cake will lean, especially once the mane goes on. I always trim any domed tops so each layer sits flat, then the crumb coat acts like a “jacket” that helps everything hold steady.
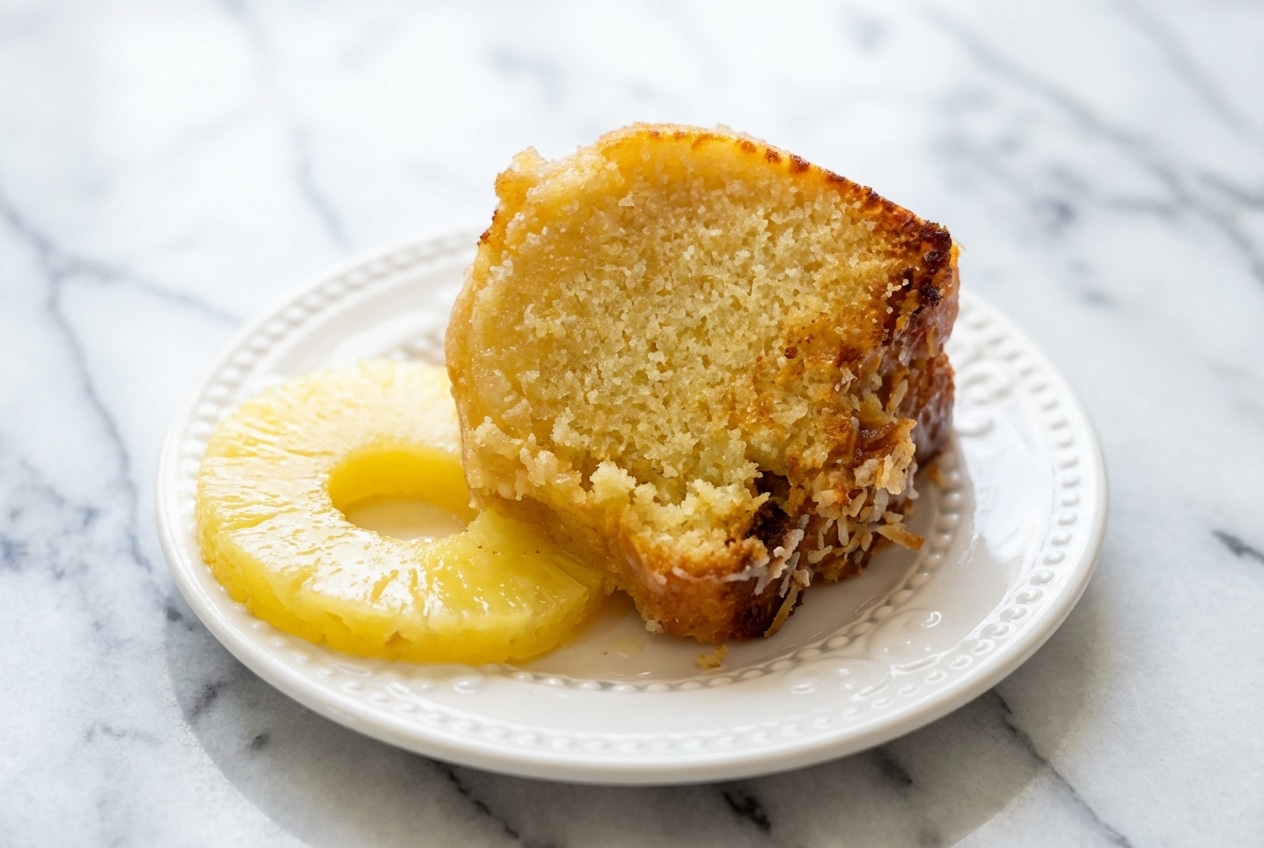
For celebration cakes that need to stand tall, I often use a sturdier sponge style, and a classic butter cake texture is a great example. That denser crumb carries decorations without compressing, so the unicorn face stays crisp.
Hand-Sculpting a Fondant Horn: Roll two tapered “ropes,” thicker at one end and thinner at the other, then twist them together like a candy-cane braid. I shape the base flat so it seats well on the cake, then let it dry upright so it hardens straight.
Easy Fondant Ears Without a Kit: Flatten fondant and cut two teardrop shapes, then pinch the bottom to create the ear cup. A smaller teardrop in a second color pressed inside gives that sweet inner-ear detail.
Bright White Buttercream Base: That full 5-minute butter whip is more than texture, it pulls in air and visibly lightens the frosting. A whiter base makes pastel gel food coloring look clean and “storybook,” not muddy.
Metallic Finishes: A light coat of gold color mist on the horn takes it from crafty to bakery-window luxe. I spray lightly, let it dry, then add a second whisper-thin layer for shine.
Pro Tips & Troubleshooting
Pro Tips
- Work with fully cooled cake layers, warm cake is the fastest path to frosting slide.
- Whip butter for the full 5 minutes, it helps both color and structure.
- Trim any darker “edge crust” for a cleaner, whiter profile under frosting.
- Use gel food coloring only, it keeps piping buttercream stable.
- Chill after the crumb coat for 20 minutes, it locks crumbs down.
Common Mistakes to Avoid
- Using liquid food coloring, it thins buttercream and makes rosettes droop.
- Skipping the crumb coat, crumbs will show through the final smooth layer.
- Overhandling the piping bag, warm hands can soften buttercream quickly.
- Trying to decorate a wobbly base, level layers matter more than fancy sprinkles.
Serving, Storage & Transportation

Serving Ideas
Serve this cake at room temperature so the buttercream is creamy and soft, not stiff. A little edible glitter around the base makes the whole cake look like it wandered out of a fairytale.
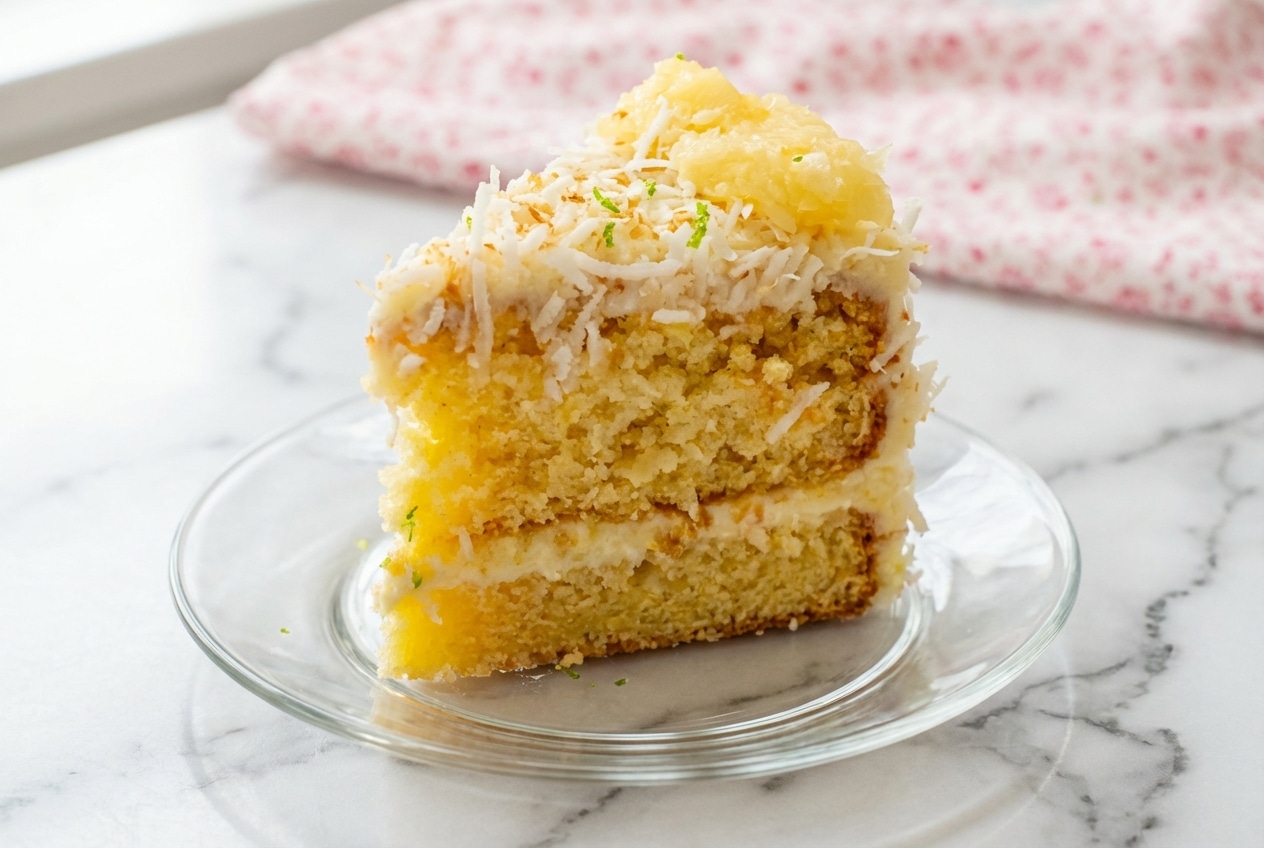
At parties, I like pairing it with a second cake option for variety, and a chilled, fruity tres leches cake offers a lighter texture alongside the rich rosettes. A sparkly pink lemonade or punch also plays beautifully with the unicorn theme.
Storage & Transportation Logistics
Buttercream can be safe at cool room temperature for short periods, but heat changes everything fast. Practical guidance on refrigeration requirements for buttercream helps you decide when chilling is the smarter move.
If you refrigerate, avoid sealing the cake in an airtight container, trapped humidity can soften fondant and make metallic pieces sweat. I loosely tent the cake with a large box or cake carrier lid so air can circulate.
For transport, remember this cake is top-heavy once the mane and horn go on. I place it on a flat surface like the car floor, and if the cake is especially tall, I pack the horn separately and insert it when I arrive.

Magical Unicorn Cake Recipe
Equipment
- 1M piping tip
- Piping bags
- Plastic wrap
- Offset spatula
- Cake scraper
- Cake board
Ingredients
- 2 baked cake layers, cooled can use 3 layers
- Buttercream frosting recipe below
- Gel food coloring pastel or rainbow hues
- Unicorn horn and ear decorations fondant, paper, or plastic
- 1 1M piping tip
- Piping bags and plastic wrap
- Offset spatula and cake scraper
- 1 Cake board or stand
Unicorn Cake Buttercream Recipe:
- 1 cup unsalted butter, softened 2 sticks
- 2 tbsp heavy whipping cream
- 3.5 cups powdered sugar, sifted
- 1 tsp vanilla extract or any extract of choice
Instructions
Whip a Bright, Stable Buttercream Base
- Whip the butter on high speed for 5 minutes until it is pale, fluffy, and noticeably lightened in color.
- Add the heavy cream and continue to whip on high for another 2 to 3 minutes until the frosting achieves a cloudlike consistency.
- Incorporate the powdered sugar in two separate batches, mixing well and scraping the sides of the bowl to avoid sugar pockets.
- Reduce the mixer to low speed, add the vanilla extract, and continue mixing until the buttercream is smooth, creamy, and holds soft peaks.
Stack the Cake and Set the Crumb Coat
- Stack the cake layers, using a small amount of buttercream between each layer to act as edible glue.
- Apply a thin crumb coat over the entire exterior of the cake using an offset spatula to trap any loose crumbs.
- Place the cake in the refrigerator for 20 minutes to allow the crumb coat to set firmly.
Color the Buttercream and Build the Multi-Color Piping Log
- Divide your buttercream into separate bowls and tint each with gel food coloring until you reach your desired shades.
- Lay out a sheet of plastic wrap and pipe a line of each color side-by-side to create a long strip.
- Roll the plastic wrap into a log, twist the ends closed, and snip one end before sliding it into a piping bag fitted with the 1M tip.
Pipe the Unicorn Mane and Finish the Face
- Begin at the front of the cake and pipe rose-shaped swirls, allowing the colors to ribbon together naturally.
- Continue piping rosettes and stars in a cascading pattern down the side and back to form the unicorn mane.
- Insert the unicorn horn and ears into the top center of the cake and add eyes or base details as desired.
Notes
Nutrition
Frequently Asked Questions
How do I make the unicorn mane have multiple colors in one swirl?
The plastic wrap log is the trick, stripe the colors side-by-side, roll, then slide the log into your piping bag. As you pipe with the 1M piping tip, the colors naturally ribbon together in each rosette.
Why is my buttercream melting off the cake?
Usually it’s temperature, either the cake is still warm or the room is hot. Give the crumb coat its full 20-minute chill, and keep the buttercream mixing time exact so it holds shape instead of turning slack.
How far in advance can I make the fondant horn?
Two to three days is ideal so it fully hardens and stands straight. I let it dry upright, then store it uncovered in a dry spot so it doesn’t trap moisture.
Can I use store-bought frosting for the decorations?
Most tubs are too soft for defined 1M rosettes and tend to slump. A sturdier homemade option like this buttercream frosting recipe holds piping ridges and keeps the mane looking crisp.
What is the best way to transport a unicorn cake safely?
Keep it cold enough to stay firm, but not sealed in a steamy container. Drive it on a flat surface, not a seat, and consider adding the horn at your destination to reduce top wobble.
Conclusion
This unicorn cake recipe is all about the little gasp when the first slice reveals the party inside. Between the creamy buttercream, the rainbow mane, and that pinata-style surprise, it turns a simple cake into a full-on birthday moment.
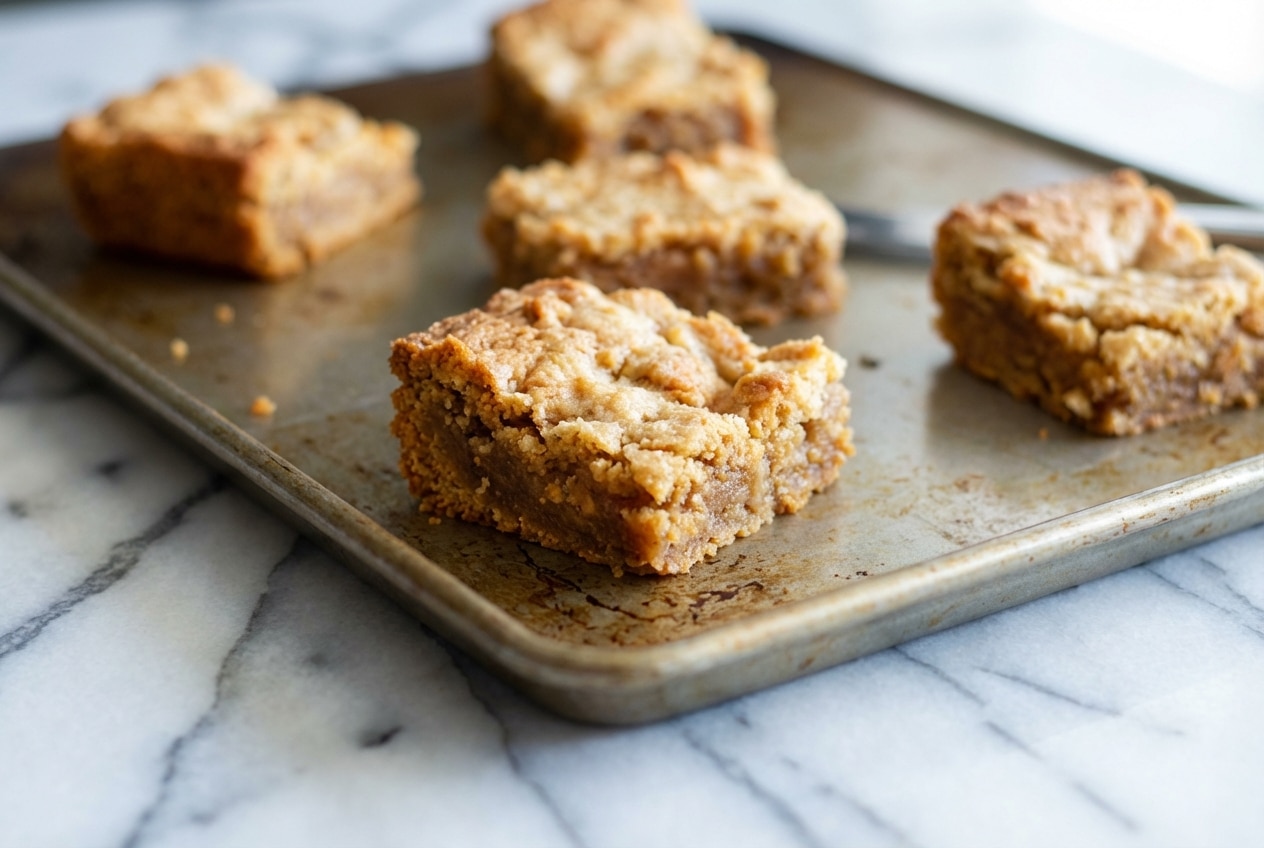
If you want to keep the celebration table extra colorful, the bright look of cosmic brownies fits right in alongside the pastel swirls. However you decorate it, the secret is letting yourself have fun with it, the magic shows in the final bite.