Skip to content
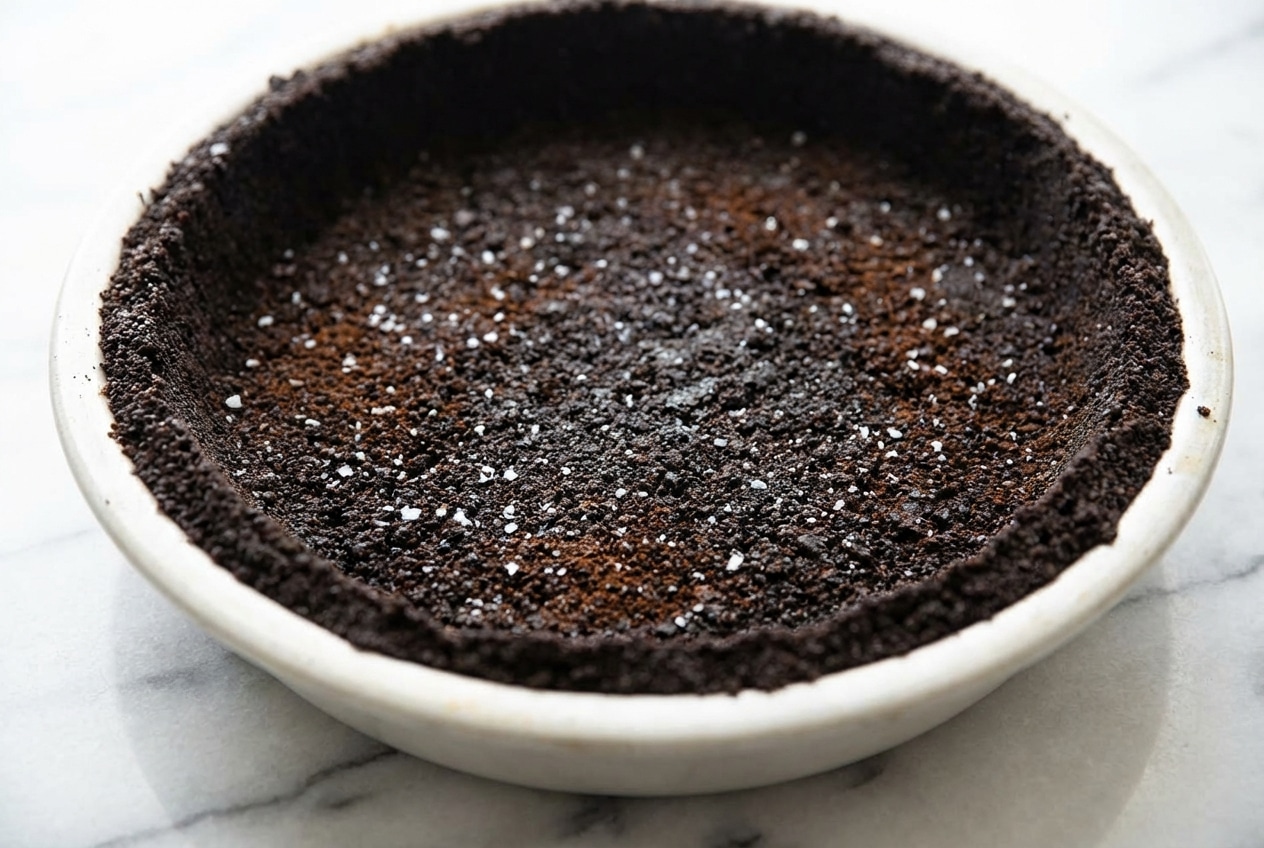
In my American kitchen, an Oreo pie crust is the little black dress of dessert, it goes with everything and never lets you down. But I learned the hard way that “cookies plus butter” can swing wildly from crumbly to greasy, especially when the filling is soft or the slices need to look clean on a holiday table.
This version is my go-to when I want a crunchy, dark chocolate base that holds its shape. It stays simple, but one pro secret gives it that bakery-level depth, the kind that makes people pause after the first bite.
Why You Will Love This Recipe
The flavor multiplier: I whisk 1/2 teaspoon of fine sea salt and 1/4 teaspoon of instant espresso powder into the warm butter, and the cocoa suddenly tastes deeper, darker, and more grown-up.
Scientific balance: The salt reins in the sweetness from the cookie filling, and the espresso works like a catalyst for chocolate sandwich cookies, it boosts cocoa without turning your crust into “coffee dessert.”
Versatile texture: This crumb crust can be chilled for no-bake dessert fillings, or baked for a sturdier snap, either way it presses neatly into a pie plate and slices with confidence.
Ingredients and Substitutions

You only need two staples to build a reliable Oreo base. The cookies bring the cocoa solids and the cream acts as a binding agent, while melted unsalted butter makes everything pack and set.
Ingredients
- 24 Oreo cookies
- 4 tablespoons unsalted butter, melted
Ingredient Notes & Substitutions
Oreo cookies: If you are using another brand of chocolate sandwich cookies, aim for about 260-280 grams total, since cookie sizes and fillings vary a lot between boxes.
Cookie variations: Standard Oreos are my gold standard for a classic cocoa profile, but Golden or Mint cookies can be fun when you want a vanilla-forward pie or a cool, grassy edge.
Gluten-free option: Certified gluten-free Oreo-style cookies work well here, and you can keep the same count, just watch crumb texture since some gluten-free cookies crush a touch finer.
Unsalted butter: I stick with unsalted butter so seasoning stays in my control, especially because the “secret” salt is doing real work balancing sweetness.
How to make oreo pie crust
Crumb prep and the “sand” texture
- Pile the cookies into a food processor, cream filling and all. Pulse until the crumbs look like fine, damp sand, with no big chunks hiding at the bottom.
- Tip the crumbs into a large bowl, and give them a quick stir so the texture is even throughout.
Infuse the butter, then bind
- Melt the butter, then whisk in 1/2 teaspoon fine sea salt and 1/4 teaspoon instant espresso powder until the butter looks glossy and smells faintly toasty and chocolatey.
- Pour the butter over the crumbs and stir until every bit of cocoa looks evenly coated and lightly glistening, like it would hold together if you squeezed a handful.
Pressing and setting the crust
- Pour the mixture into a 9-inch ungreased pie plate, then press firmly across the bottom and up the sides. I like the flat bottom of a 1/3 or 1/4 cup measuring cup for that tight, smooth “bakery wall” finish.
- For a no-bake filling, refrigerate about 30 minutes until the crust feels set and cool. For a sturdier, toasted base, bake at 350°F for 8 to 10 minutes, then cool completely before filling.
Secrets for a Perfect Pie Foundation

The pan factor: A glass pie plate is perfect for classic pies and easy slicing, because you can really pack the crumbs into the curve. A springform pan is my pick for tall cheesecakes or frozen treats, since clean sides are the whole point when you unmold.
The moisture fix: If the crumbs feel dry and sandy and won’t hold when you squeeze them, the crust will crumble later. At that moment, I add 1-2 extra teaspoons of melted butter, stirring until the mixture clumps like wet sand.
Temperature control: When you bake this crumb crust, let it cool completely to room temperature before adding any cold filling. Trapped steam is the sneaky culprit that turns a crisp base into a soggy one.
If you like the added insurance of a quick bake, the idea behind par-baking for structural integrity is simple. A short oven set helps stabilize texture and limits moisture migration.
Pro Tips & Troubleshooting
Pro Tips
- If you do not have a food processor, crush the cookies in a gallon zip-top bag with a rolling pin, and leave a small corner unzipped so air can escape.
- The same bag-and-pin crumb trick is handy for festive treats like turkey Oreo balls, since you want evenly crushed cookies without dusty powder.
- Let the melted butter cool slightly before mixing, so it does not instantly liquefy the Oreo cream and turn the crumbs pasty.
- Press harder than you think you need to, especially where the bottom meets the sides, that “corner seam” is where cracks love to start.
Common Mistakes to Avoid
- Using Double Stuf or Mega Stuf cookies, the extra filling adds too much fat and sugar, and the crust can turn greasy and refuse to set.
- Scraping out the cream, because the filling is a key binding agent that helps the crust hold together.
- Using Thins, since they do not have enough cocoa solids to build a sturdy base.
- Pressing too lightly, which guarantees crumbling when you slice and lift the first piece.
Serving & Storage

Creative Serving Ideas
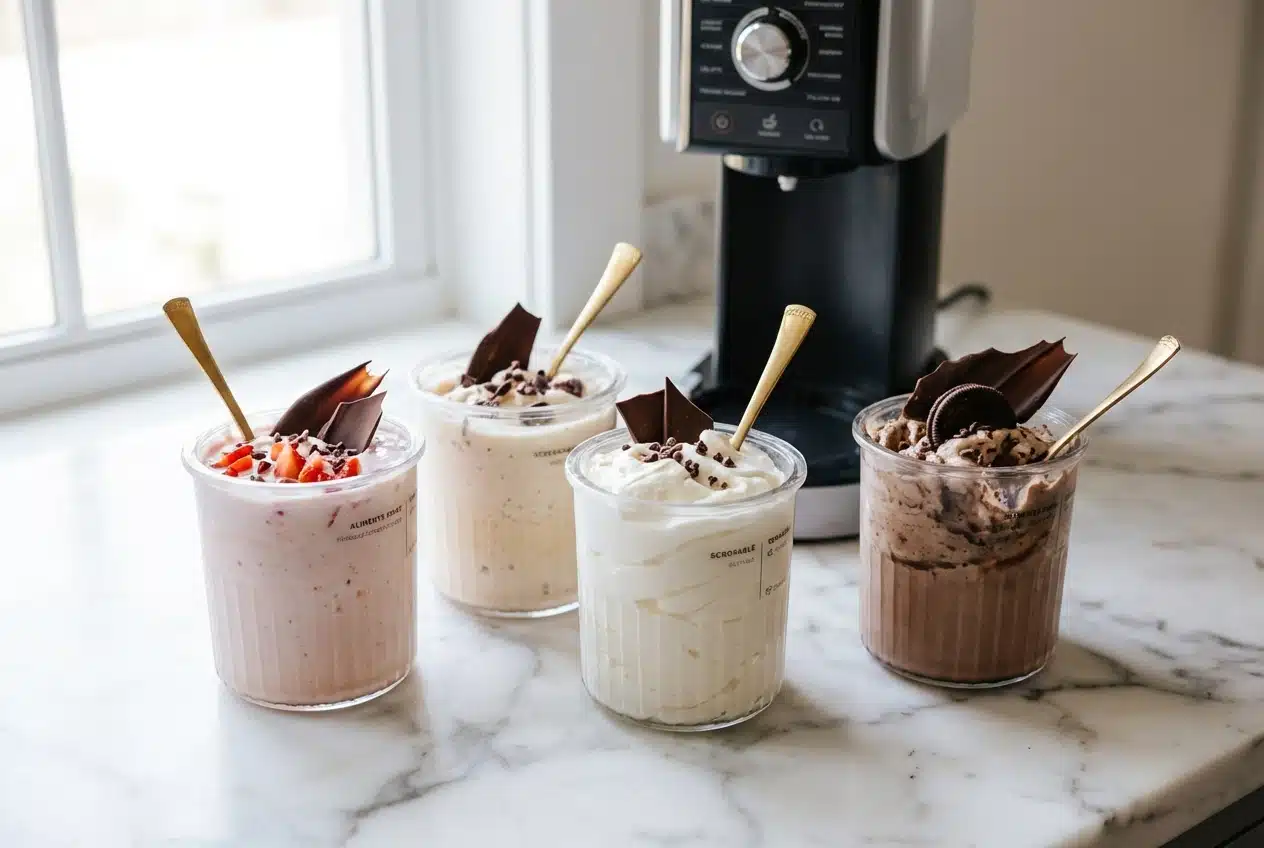
This Oreo pie crust is a dream under Peanut Butter Pie, Chocolate Silk Pie, or a classic New York-style cheesecake, it’s rich enough to keep up. It also makes a fun base for no-churn ice cream cakes, especially with extra crushed cookies sprinkled over the top.
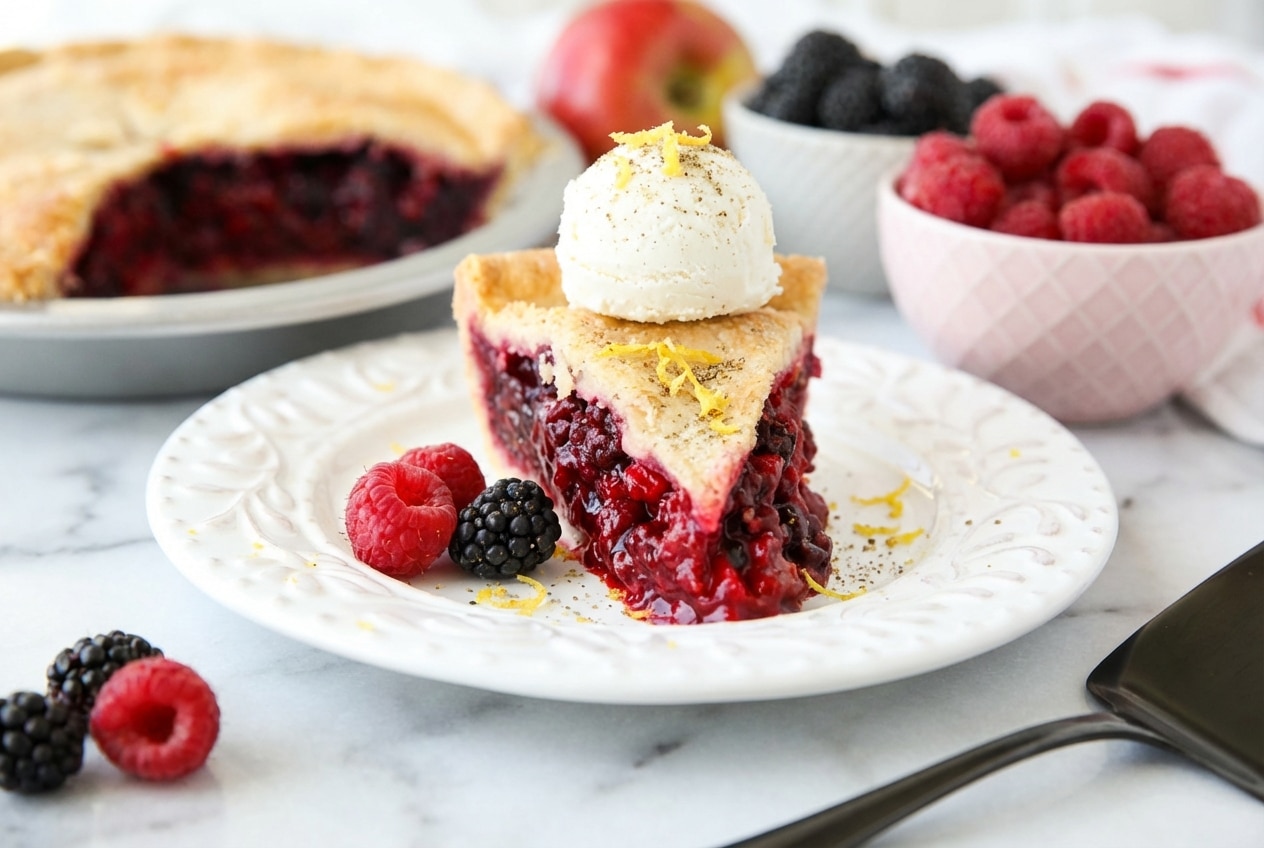
Chocolate crust also plays surprisingly well with berries when the filling is bright. The technique is similar to a fruit-forward razzleberry pie, even though the flavors land in totally different places.
If you are going all-in on cookies-and-cream, a full Oreo cake recipe makes a great party companion. I like keeping both on the menu for a “choose your chocolate” dessert table.
Storage and Make-Ahead Instructions
Refrigeration: Make the crust up to 3 days ahead, keep it covered in the fridge so it does not pick up odors or soften.
Freezing: Wrap the set crust tightly in plastic wrap and then foil, and freeze up to 3 months. Thaw overnight in the fridge so the texture stays crisp instead of sweating.
A New Standard for Homemade Pie
Once you taste what salt and a whisper of espresso do to cocoa, plain cookie crust feels a little flat. Add firm pressing and smart cooling, and you get a professional-grade base that slices clean and stays crunchy.
When I serve a chilled pie on a winter night, a mug of French hot chocolate makes the cocoa notes feel even more luxurious. After that, it’s hard not to start dreaming up fillings just to have an excuse to bake again.

Best Homemade Oreo Pie Crust
Equipment
- Food processor
- 9-inch pie plate
- Measuring cup
- large bowl
- Whisk
Ingredients
Ingredients
- 24 Oreo cookies
- 4 tablespoons unsalted butter, melted
Instructions
Crumb prep and the sand texture
- Place the Oreo cookies into a food processor, keeping the cream filling intact. Pulse the cookies until they reach a fine consistency that resembles damp sand without any large chunks.
- Transfer the crushed crumbs into a large mixing bowl and stir briefly to ensure an even texture throughout the mixture.
Infuse the butter, then bind
- Melt the unsalted butter and whisk in 1/2 teaspoon of fine sea salt and 1/4 teaspoon of instant espresso powder until the mixture is glossy and well-combined.
- Pour the seasoned butter over the cookie crumbs and stir until every crumb is evenly coated and the mixture begins to hold together when squeezed.
Pressing and setting the crust
- Pour the crumb mixture into a 9-inch ungreased pie plate. Use the flat bottom of a measuring cup to press the crumbs firmly across the bottom and up the sides of the dish.
- For a no-bake recipe, refrigerate the crust for at least 30 minutes until set. For a sturdier base, bake at 350°F for 8 to 10 minutes and allow it to cool completely before filling.