I have made more disappointing high-protein desserts than I care to admit, and most of them had the same problem: great macros, terrible texture. This protein cheesecake is the one I kept returning to in my kitchen because it actually tastes like dessert, creamy, rich, tangy, and deeply satisfying.
It is perfect for anyone who wants a high-protein dessert that feels indulgent rather than “healthy” in the sad way. With a smart blend of cream cheese, Greek yogurt, cottage cheese, and protein powder, you get a cheesecake that slices beautifully and chills into something truly luscious.
Why You’ll Love This Protein Cheesecake
Actually creamy: If you have been burned by chalky protein cheesecake before, this one changes the conversation. In my kitchen, the dairy base creates that dense, velvety bite you expect from a classic cheesecake.
The secret twist: Blended cottage cheese and a whey-casein blend protein powder give this protein cheesecake far better texture than recipes that rely on whey protein alone. The result is smooth, stable, and never oddly spongy.
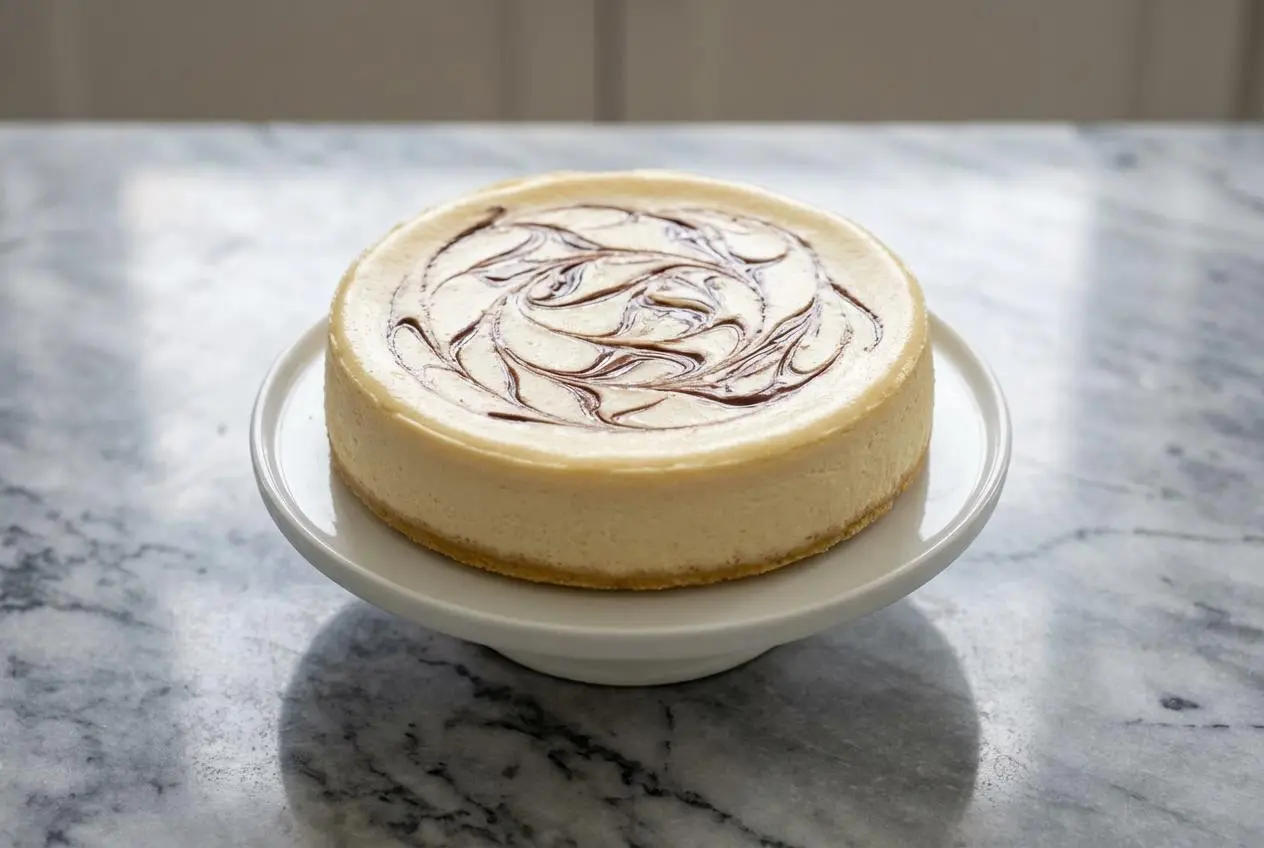
Balanced flavor: Cream cheese brings richness, Greek yogurt adds a clean tang, and vanilla extract rounds everything out. That little swirl of chocolate on top makes it feel bakery-worthy without much extra effort.
Reliable results: The low-and-slow finish is what makes this recipe such a keeper. Once you know what the center should look like, this high-protein dessert becomes wonderfully easy to repeat.
Ingredients and Substitutions
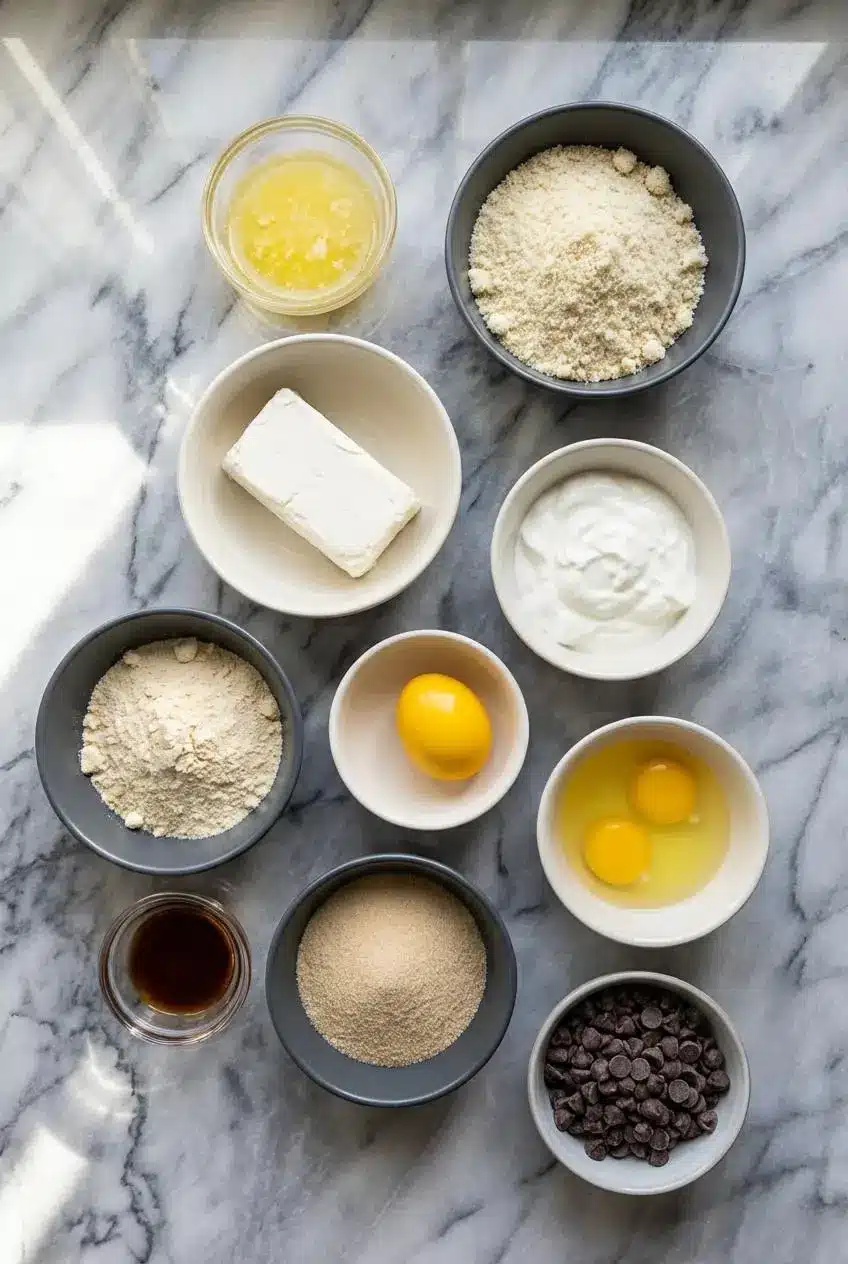
These simple ingredients work together to create a smooth, sliceable cheesecake with plenty of protein and a classic dessert feel.
Ingredients
Crust:
- 2 Tablespoons Butter or Coconut Oil
- ½ Cup Almond Flour
Cheesecake:
- 16 Ounces Cream Cheese, Reduced, Full, or Fat Free
- 2 Containers Greek Yogurt, Fat Free
- 2 Scoops Vanilla Protein Powder
- 1 Large Whole Egg
- 2 Large Egg Whites
- 2 Teaspoons Vanilla Extract
- ¼ Cup Sweetener of your choice
- 1-2 Tablespoons Semi-Sweet Chocolate Chips
Ingredient Notes & Substitutions
Protein Powder: A whey-casein blend is the best choice if you want that classic baked cheesecake texture. Pure whey protein can bake up a little rubbery or dry, while casein protein adds body and helps the filling stay dense and creamy.
Cream Cheese: This recipe works with reduced, full, or fat free cream cheese as written, but I get the richest texture from full-fat blocks. If you want the most decadent finish, let the cream cheese soften fully before mixing so the batter stays silky instead of lumpy.
Greek Yogurt: Use a thick Greek yogurt rather than a thinner regular yogurt. If your tubs seem loose, give them a quick strain, because firmer yogurt helps the filling bake up smooth instead of watery.
Cottage Cheese: Even though it is not listed in the core ingredient line-up, it is part of my preferred triple-protein approach when I want an extra creamy texture and deeper flavor. If you decide to work it in as a variation, blend it until completely smooth first so it melts right into the batter.
Sweetener: Erythritol and allulose are both common choices for a low-carb cheesecake or keto cheesecake. Granulated sweeteners with a clean, neutral flavor work best here, because strong aftertastes become very noticeable in chilled desserts.
Crust Options: The almond flour crust keeps things simple and tender, but a graham cracker crust works beautifully too if you want a more traditional American cheesecake feel. You can also skip the crust altogether for a crustless version that is lighter and even easier.
How to Make Protein cheesecake
Prepare the Crust
- Start by melting the butter or coconut oil until fully liquid. Stir it together with the almond flour in a bowl until the mixture looks like damp sand and holds together when pressed between your fingers.
- Line a 6×2 inch pan with parchment paper, then press the crust mixture firmly across the bottom in an even layer. Bake at 350°F (176°C) for 8 to 12 minutes, until lightly browned and fragrant with a toasty, nutty aroma.
Mix the Filling
- In a large bowl, combine the cream cheese, Greek yogurt, vanilla protein powder, whole egg, egg whites, vanilla extract, and sweetener. Mix until the batter is smooth and creamy, with no visible streaks or lumps.
- Pour the cheesecake filling over the baked crust and smooth the top so it settles evenly into the pan.
Create the Chocolate Swirl
- Warm the chocolate chips in the microwave using 15-second bursts, stirring between each round, until the chocolate is glossy and fully melted. This slow approach keeps it from scorching or turning grainy.
- Drizzle the melted chocolate over the surface of the cheesecake, then drag a knife gently through the top to create a marbled pattern. A few loose swirls are all you need for that pretty bakery-style finish.
Bake and Chill
- Bake the cheesecake at 325°F (162°C) for 30 to 35 minutes. The edges should begin to look set while the center still has some movement.
- Lower the oven temperature to 200°F (93°C) and continue baking for another 50 minutes to 1 hour. You are looking for a center that is no longer liquid but still has a gentle wobble when the pan is nudged.
- Take the cheesecake out and let it cool completely before wrapping it well. Refrigerate for several hours or overnight, because that long chill is what gives the filling its firm, creamy slice and fuller flavor.
The Secrets to a Perfect Protein Cheesecake
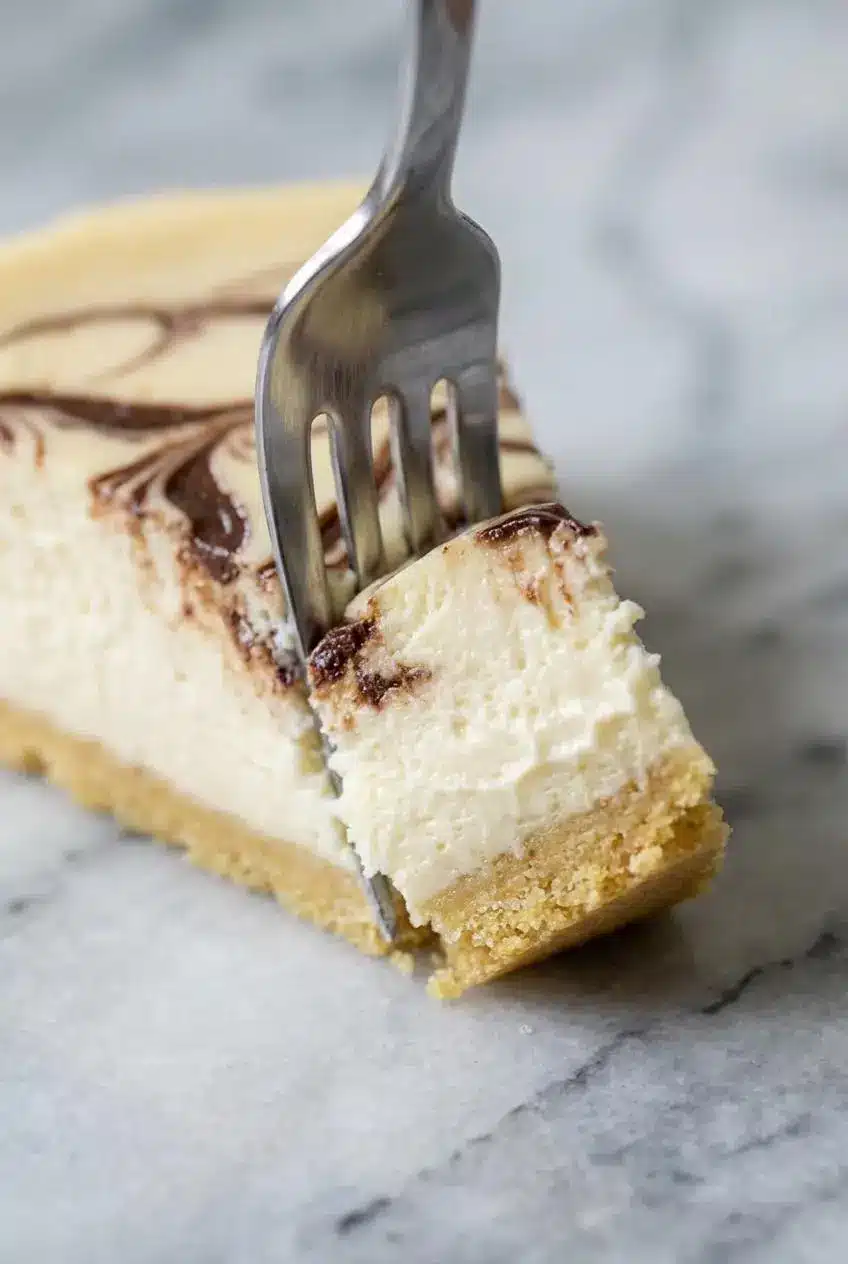
The biggest difference between a good protein cheesecake and a great one comes down to texture control. Cheesecake is not difficult, but it does reward patience and a light hand.
The Room Temperature Rule: Softened dairy mixes more smoothly and traps less air, which helps prevent cracks and keeps the crumb dense and creamy. If the cream cheese is still cold, you usually end up beating too aggressively just to chase out lumps.
The Cottage Cheese Trick: When I want an even silkier high-protein dessert, I blend cottage cheese until it is completely smooth, then fold it into the dairy base. The same trick works beautifully in other creamy treats, and my cottage cheese ice cream is proof of how much this simple step can transform texture.
The Power of the Blend: In baked desserts, whey protein and casein protein behave very differently. Casein gives structure and that dense cheesecake feel, while whey keeps the filling from becoming too heavy, which is why a blend tends to outperform either one on its own.
Respect the Wiggle: A cheesecake should not look fully firm when it leaves the oven. The edges can be set, but the center should still quiver a bit, because carryover heat finishes the job as it cools.
Choosing Your Protein: A Guide to the Best Cheesecake Texture
Protein powder is not just a nutrition add-in here, it acts like a structural ingredient. The type you choose affects moisture, density, tenderness, and whether the final slice feels creamy or oddly dry.
Whey Protein: Whey protein is great in shakes and quick batters, but in cheesecake it can sometimes tighten up too much in the oven. If you use only whey, the filling may lean springy instead of lush.
Casein Protein: Casein protein thickens beautifully and gives baked fillings a fuller, more custardy body. That is exactly why it is such a strong fit for cheesecake, pudding-style desserts, and other recipes where creaminess matters.
Whey-Casein Blends: This is my favorite option for protein cheesecake because it gives you the best of both worlds. You get the richness and structure from casein, with enough lightness from whey to keep every bite smooth and pleasant.
Plant-Based Protein: It can work, but expect a different result. Pea or rice blends tend to absorb liquid differently, so the filling may come out grainier or thicker unless you adjust the recipe carefully.
Pro Tips & Troubleshooting
Pro Tips
- Let the cream cheese, Greek yogurt, and eggs lose their chill before mixing, because room temperature ingredients create a smoother batter with less risk of lumps.
- Scrape the bowl well as you mix, especially around the bottom edges where pockets of cream cheese like to hide.
- If you want to experiment with the triple-protein method, blend cottage cheese until completely smooth before adding it so the filling stays silky.
- Keep the oven door closed while baking whenever possible. Sudden temperature swings can affect the rise and lead to surface cracks.
- Give the cheesecake enough chilling time. The flavor deepens and the texture becomes far creamier after several hours in the refrigerator.
Common Mistakes to Avoid
- Why did my cheesecake crack? This usually happens from over-mixing, especially after the eggs go in, or from baking it longer than needed. Cooling too quickly can also stress the surface.
- Why is my cheesecake grainy or lumpy? The dairy ingredients were likely too cold, or the batter was not mixed until fully smooth. If you use cottage cheese as a variation, it must be blended first.
- Why is the center runny? A slight wobble is right, but a liquid center means it needed more baking time or more chilling time. Overnight chilling is often what turns a soft filling into a clean, beautiful slice.
- Why does the texture feel dry? This is often a protein powder issue, especially with straight whey protein, or a sign that the cheesecake baked too long.
Serving & Storage
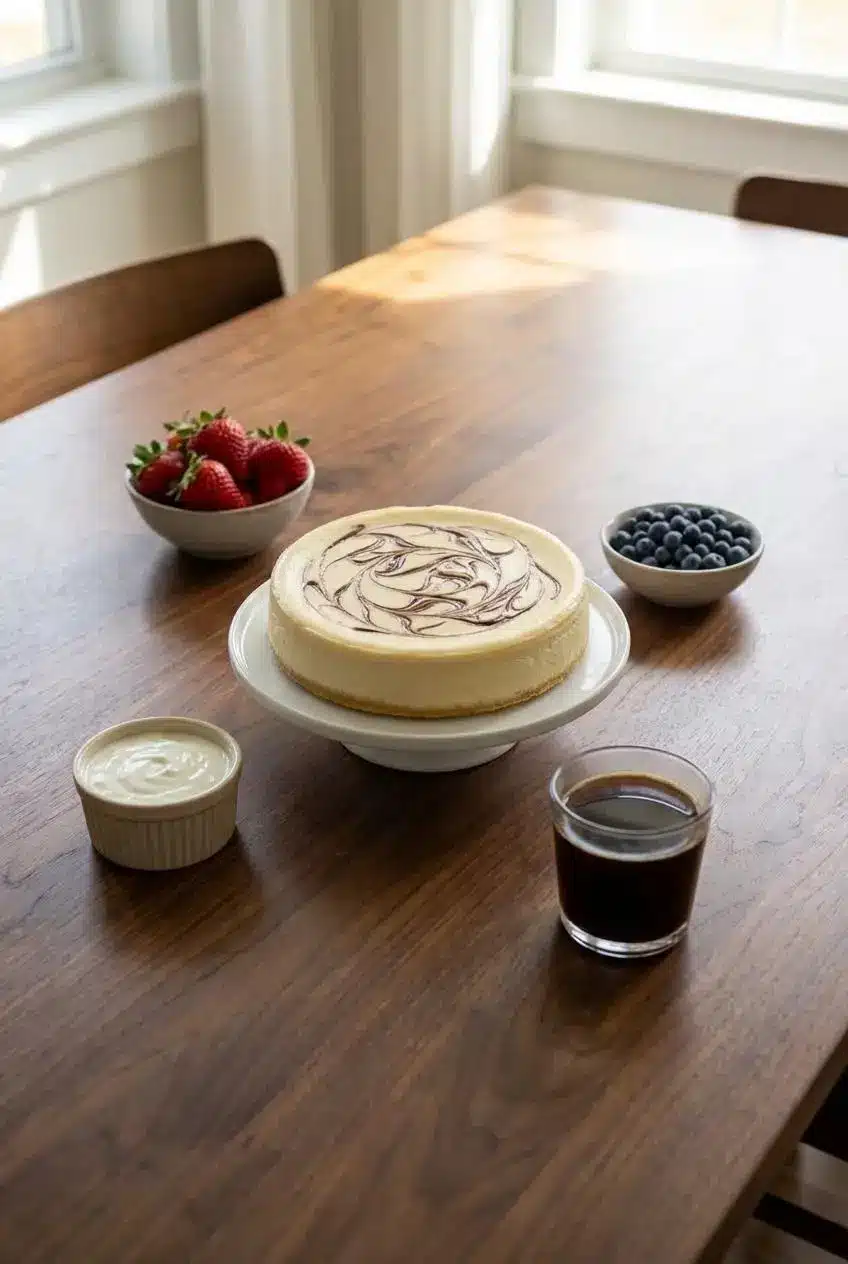
Serving Suggestions
This cheesecake shines with simple toppings. Fresh strawberries, raspberries, or blueberries add brightness, and a spoonful of Greek yogurt or sugar-free whipped cream makes each slice feel a little extra special.
A drizzle of melted dark chocolate, a ribbon of peanut butter, or a sprinkle of chopped nuts all work beautifully with the vanilla base. If you love wholesome baked treats that fit the same cozy dessert mood, this protein banana bread belongs on the same weekend baking list.
Storage and Make-Ahead Instructions
Store protein cheesecake in the refrigerator, covered well or in an airtight container, for up to 5 days. It slices best when fully chilled, so I usually serve it straight from the fridge and let it sit for a few minutes only if I want a softer bite.
It also freezes very well. Chill it completely, cut into slices, place the slices on a parchment-lined tray for about 1 hour to firm up, then wrap each one tightly in plastic wrap and foil before freezing for up to 2 months.
To serve from frozen, thaw a slice in the refrigerator overnight. That slow thaw keeps the texture creamy rather than weepy.
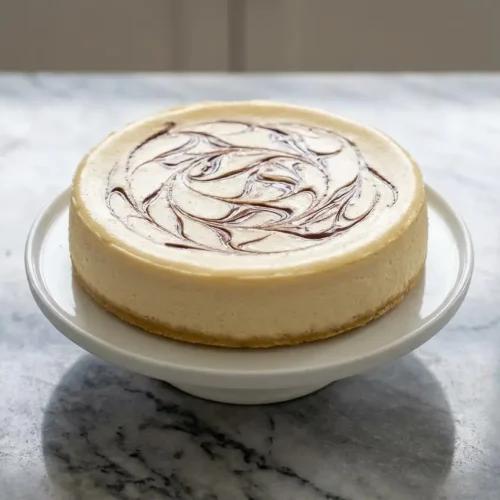
Protein Cheesecake

Equipment
- 6×2 inch pan
- Parchment Paper
- large bowl
- Microwave
Ingredients
Crust:
- 2 Tablespoons Butter or Coconut Oil
- ½ Cup Almond Flour
Cheesecake:
- 16 Ounces Cream Cheese, Reduced, Full, or Fat Free
- 2 Containers Greek Yogurt, Fat Free
- 2 Scoops Vanilla Protein Powder
- 1 Large Whole Egg
- 2 Large Egg Whites
- 2 Teaspoons Vanilla Extract
- ¼ Cup Sweetener of your choice
- 1-2 Tablespoons Semi-Sweet Chocolate Chips
Instructions
Prepare the Crust
- Preheat your oven to 350°F (176°C). Melt the butter or coconut oil. In a small bowl, stir the melted butter together with the almond flour until the mixture resembles damp sand.
- Line a 6×2 inch pan with parchment paper. Press the crust mixture firmly and evenly across the bottom. Bake for 8 to 12 minutes, until lightly browned and fragrant.
Mix the Filling
- In a large bowl, combine the cream cheese, Greek yogurt, vanilla protein powder, whole egg, egg whites, vanilla extract, and sweetener. Mix with an electric mixer or by hand until the batter is completely smooth and creamy, with no lumps.
- Pour the cheesecake filling over the pre-baked crust and use a spatula to smooth the top.
Create the Chocolate Swirl
- Place the semi-sweet chocolate chips in a microwave-safe bowl. Heat in 15-second intervals, stirring between each, until the chocolate is fully melted and glossy.
- Drizzle the melted chocolate in lines or dots over the surface of the cheesecake filling. Gently drag a knife or toothpick through the chocolate to create a marbled pattern.
Bake and Chill
- Reduce oven temperature to 325°F (162°C). Bake the cheesecake for 30 to 35 minutes, until the edges appear set.
- Lower the oven temperature again to 200°F (93°C) and continue baking for another 50 to 60 minutes. The center should no longer be liquid but should still have a slight wobble when the pan is gently nudged.
- Remove the cheesecake from the oven and let it cool completely at room temperature. Once cool, cover it and refrigerate for at least 4 hours or overnight to allow it to set fully.
Notes
Nutrition
Conclusion
This protein cheesecake proves you do not have to settle for dry, chalky “fitness desserts.” With the right dairy balance and a smart protein choice, you get a cheesecake that is rich, smooth, and every bit as satisfying as a classic slice.
Once you make it once, it is the kind of recipe you start tweaking with swirls, toppings, and crust options to make it your own. That is when a good recipe becomes a permanent part of your kitchen.
Frequently Asked Questions
What is the best protein powder for making cheesecake?
How can I prevent my protein cheesecake from cracking?
How do I know when my cheesecake is perfectly baked?
Can I make this recipe without a crust or with a different type of crust?
What are some topping and flavor variation ideas for protein cheesecake?
How should I store protein cheesecake and can it be frozen?