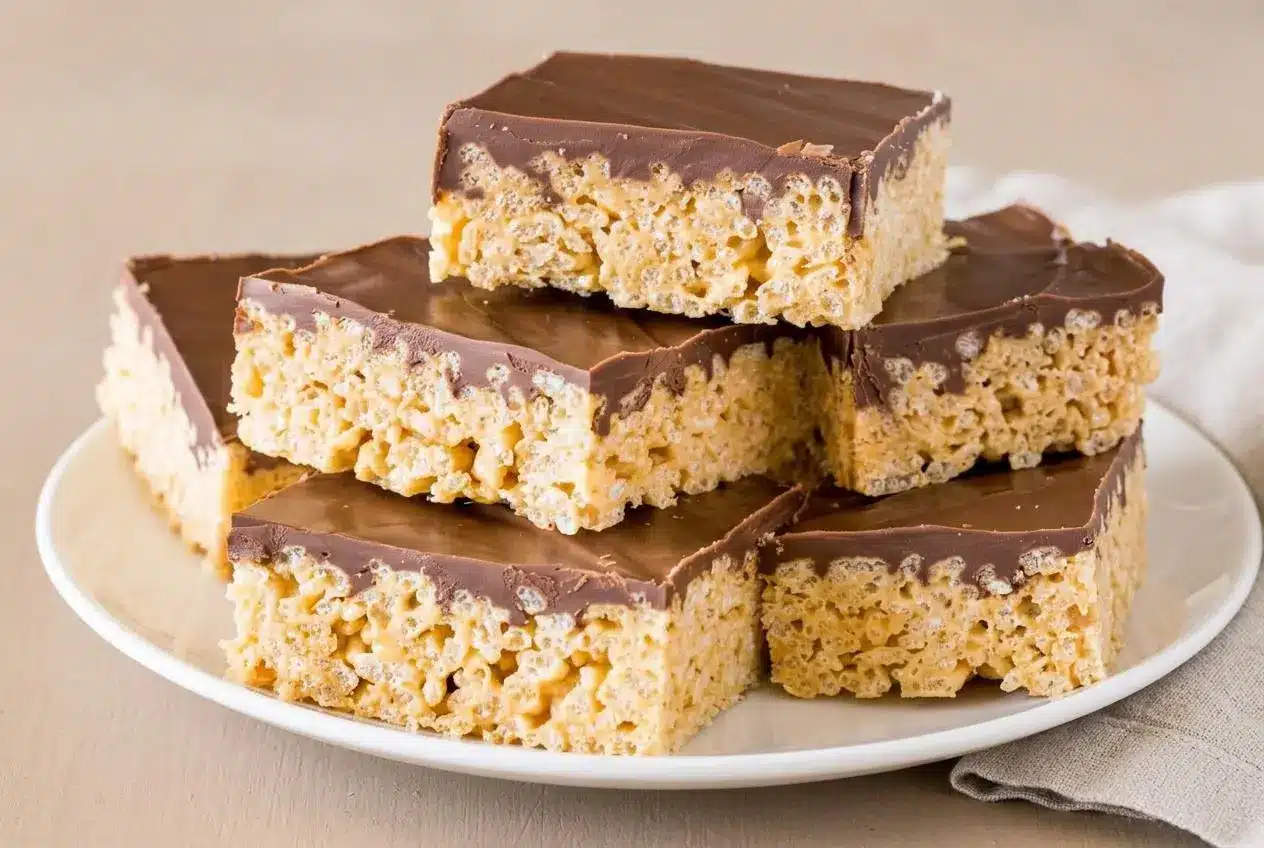
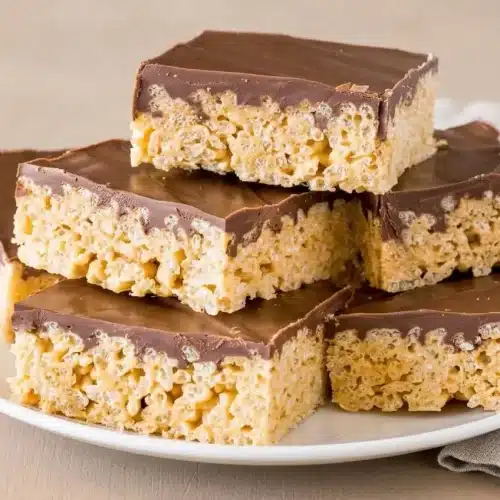
Peanut butter rice krispie treats are chewy no-bake squares made by gently melting butter, marshmallows, and peanut butter, then folding in crisp rice cereal and topping the bars with chocolate.
These peanut butter rice krispie treats bring together warm peanut aroma, gooey marshmallow, and that familiar cereal crunch. The key is gentle heat, which keeps the sugar mixture tender instead of stiff.
A smooth chocolate layer turns each square into a richer dessert without losing the light, crispy bite. The soft press is where the magic happens.
Set out the cereal before melting the marshmallows so it can be folded in as soon as the pan comes off the heat.
Essential Ingredients for Peanut Butter Rice Krispie Treats
Each ingredient supports the final texture: butter adds richness, marshmallows create the chewy binder, peanut butter adds body, cereal brings crispness, and chocolate gives the bars a smooth finish.
- 1/4 cup unsalted butter
- 1 10 oz bag mini marshmallows (about 5 cups)
- 1/2 cup peanut butter
- 6 cups Rice Krispie cereal
- 8 oz chocolate chips (about 1 1/3 cups)
- 2 teaspoons vegetable oil
Butter helps the marshmallow mixture stay rich and pliable while it coats the cereal. The peanut butter adds roasted flavor and extra fat, but the butter still matters because it keeps the mixture from feeling dry or overly dense.
Fresh mini marshmallows melt into a stretchy, glossy binder that holds the cereal together. The chocolate chips create the topping, while vegetable oil keeps that topping slightly flexible so it cuts with less cracking.
I use a fresh bag of mini marshmallows whenever possible because older marshmallows tend to melt thickly and leave the finished squares less tender.
Choosing the Right Peanut Butter
Use standard creamy peanut butter for the most dependable texture. It is emulsified, so the oils and peanut solids stay blended into a smooth spread that mixes evenly through the melted marshmallows.
- Standard creamy peanut butter: gives the bars a cohesive, chewy structure and a smooth peanut flavor throughout.
- Natural peanut butter: can separate into oil and solids, which may leave the mixture greasy, crumbly, or difficult to press into squares.
- Crunchy peanut butter: works as an optional variation when you want bits of roasted peanut in every bite, though the bars will be less smooth.
The recipe uses 1/2 cup peanut butter with 6 cups Rice Krispie cereal. That balance gives the cereal a clear peanut butter flavor without making the mixture heavy.
Marshmallow Freshness and Sizing Ratios
Fresh marshmallows are the difference between soft bars and dry, stubborn ones. As marshmallows sit for a long time, they lose moisture and can melt into a thicker sugar mixture that firms up quickly.
Mini marshmallows are especially useful here because they melt more evenly than larger marshmallows. Their smaller size lets the butter, peanut butter, and marshmallows blend smoothly over low heat before the sugars have a chance to overcook.
How to Make Peanut Butter Rice Krispie Treats
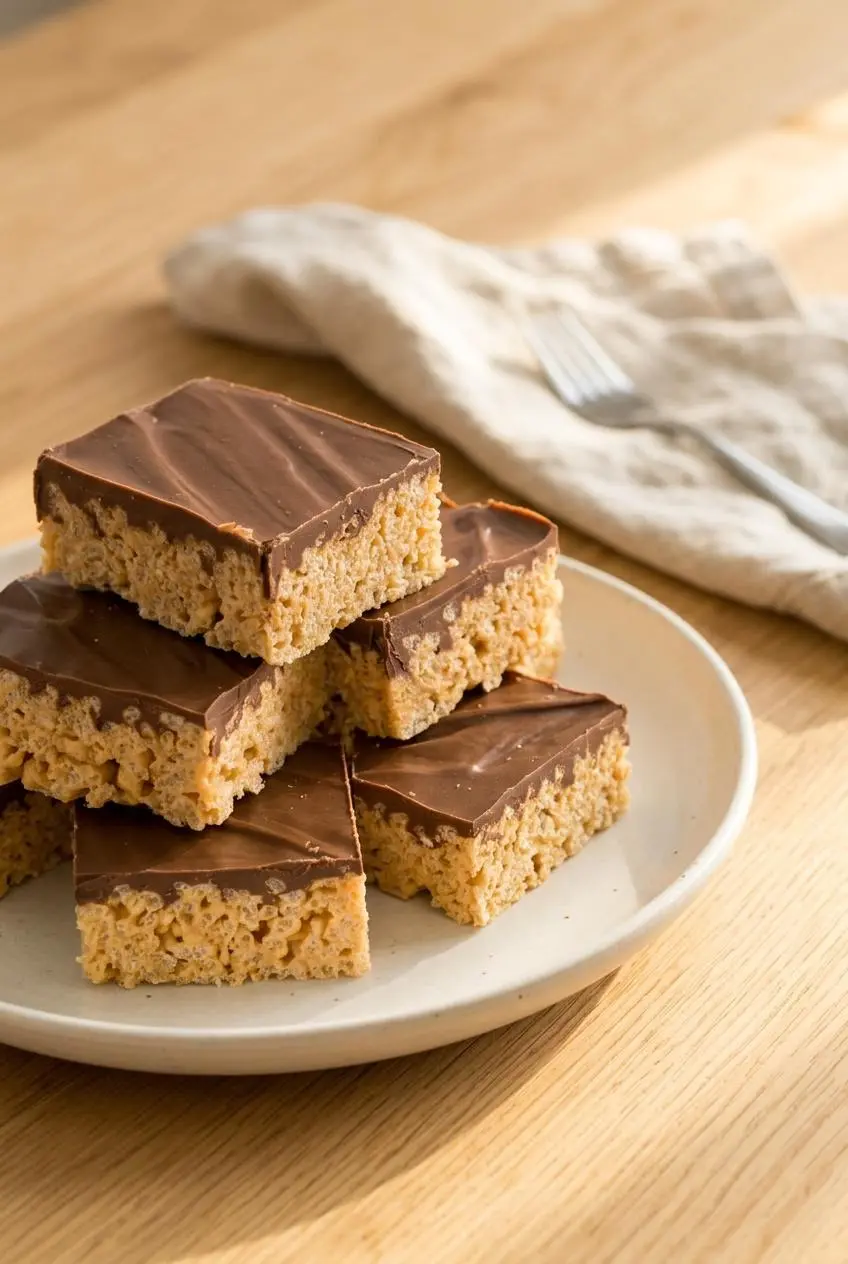
A lightly greased 9×13 inch pan makes 18 squares with a satisfying thickness. Keep the heat low and work steadily once the marshmallows melt so the cereal stays crisp and the mixture remains easy to spread.
Stovetop Method
- Coat a 9×13 inch pan lightly with butter or non-stick cooking spray.
A thin, even coating helps the finished slab release without tearing at the corners. - Place the butter, mini marshmallows, and peanut butter in a large saucepan over low heat, stirring gently as they warm.
Stop heating when the mixture becomes a puffy, glossy ribbon with no distinct marshmallow lumps remaining. - Take the saucepan off the heat and immediately fold in the Rice Krispie cereal.
The cereal should become evenly coated, with faint crackling as the warm marshmallow mixture reaches each piece. - Transfer the cereal mixture to the prepared pan and guide it into an even layer with lightly greased hands.
Use only enough pressure to fill the corners because a firmly packed layer bakes into dense, tough squares. - Put the chocolate chips in a medium-sized heatproof bowl and microwave in 45-second intervals at medium power, stirring after every interval.
The chips should look mostly melted before the final stirring, with a few soft pieces still visible. - Stir the chocolate until completely smooth, then blend in the vegetable oil.
The topping should look glossy and flow easily from the spoon rather than sit in a thick lump. - Spread the chocolate over the cereal layer and leave the pan at room temperature for about 2 hours.
The chocolate is ready when it holds a soft sheen and no longer shifts when the pan is gently moved. - Slice the slab into squares and place them in an airtight container at room temperature.
Use a sharp knife and wipe the blade between cuts if the chocolate begins to drag.
Quick Microwave Alternative
For the marshmallow mixture, use a large microwave-safe bowl and heat the butter, mini marshmallows, and peanut butter at 50 percent power in 30-second bursts. Stir gently between bursts and stop as soon as the mixture turns smooth and glossy.
Do not use high power for this stage. Marshmallow sugar can scorch or stiffen quickly, and that heat can turn a promising batch into hard bars before the cereal even goes in.
Secrets to Unbelievably Soft and Chewy Squares
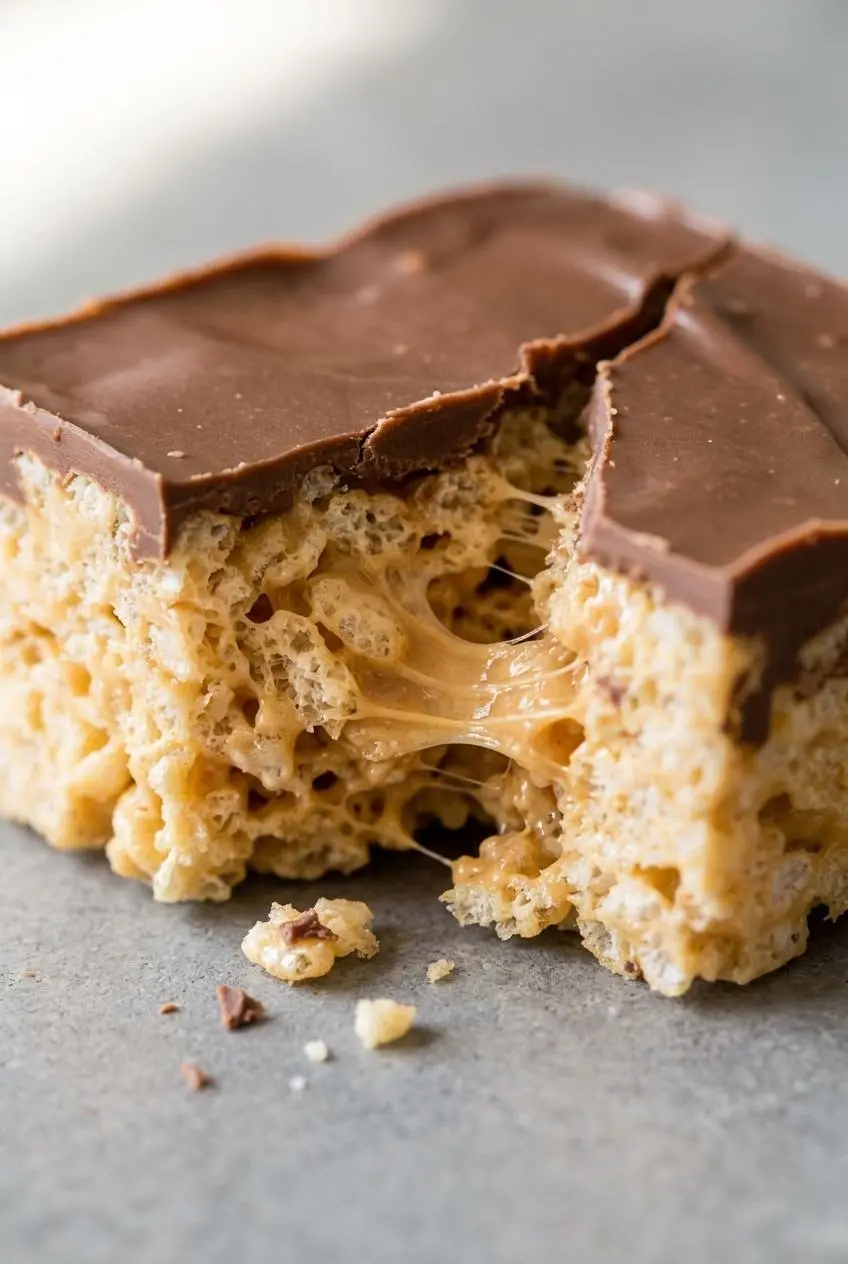
The light press matters as much as the melting step. Peanut butter adds richness, but it also makes the warm cereal mixture a little more compact than classic rice krispie treats, so heavy pressing can quickly make the bars dense.
Use greased palms or a lightly greased sheet of parchment paper to nudge the mixture into the pan. Start at the corners, then smooth the center with a gentle patting motion. Think of guiding the cereal into place rather than flattening it.
The cereal pieces contain tiny air pockets that create the pleasant chew-and-crisp contrast. When the mixture is compressed too firmly, those pockets collapse and the marshmallow binder tightens around the cereal. The result is a bar that feels hard instead of soft.
Let the chocolate set at room temperature. Cold temperatures make the fats and sugars firm up too much, which works against the tender texture you worked for.
Troubleshooting Common Texture Mistakes
Most texture problems come from heat control, peanut butter choice, or pressing pressure. These quick fixes can help pinpoint what happened.
- Hard or brittle squares: Marshmallows likely got too hot, causing their sugars to tighten and firm as they cool. Melt them slowly over low heat, and keep the mixture from bubbling aggressively.
- Dense, jaw-stretching bars: The cereal mixture was probably packed firmly into the pan. Use greased hands or parchment and press with a light touch next time.
- Crumbly bars: Too much cereal can leave too little marshmallow binder around each piece. Fill measuring cups with a gentle scoop rather than pressing cereal down.
- Oily or loose mixture: Natural peanut butter may have separated during melting. Choose a conventional creamy peanut butter for a more stable blend.
- Chocolate that turns grainy or scorched: The microwave setting was too strong or the intervals were too long. Use medium power and stir often, even when the chips still look partly whole.
- Firm squares after setting: Warm one square in the microwave very briefly, about 5 to 7 seconds, to soften the marshmallow layer before eating.
Delicious Variations and Chocolate Toppings
The chocolate layer is already a peanut butter cup-style finish, but optional add-ins can shift these squares toward salty, festive, or extra-chocolatey territory. Keep every change separate from the main method so the original balance stays intact.
Melted Chocolate Topping
The chocolate chips and vegetable oil make a supple topping that is easier to slice than plain melted chocolate. The neutral oil softens the set chocolate slightly, helping it bend with the chewy cereal layer instead of snapping into shards.
For a dessert tray with more chocolate-and-peanut flavor, pair these squares with chewy peanut butter bars. They offer a different texture while keeping the same crowd-pleasing flavor direction.
Holiday Candy and Mix-In Options
- Chocolate peanut butter cup style: Fold chopped mini peanut butter cups into the cereal mixture after it cools slightly, so the candy stays in distinct pieces instead of melting away.
- Crunchy peanut butter and pretzel crunch: Use crunchy peanut butter for roasted peanut bits, then add crushed salted pretzels after the mixture has cooled slightly for a sweet-salty crunch.
- Candy mix-in celebration bars: Stir colorful chocolate candies into the warm mixture after it loses some heat, keeping their shells from melting or streaking.
- Cocoa cereal variation: Replace part of the crisp rice cereal with cocoa rice cereal for a deeper chocolate flavor and a darker, more dramatic slice.
- Browned butter finish: Brown the butter gently before adding the marshmallows for a nuttier flavor, then finish the top with a small pinch of flaky salt if you enjoy stronger sweet-salty contrast.
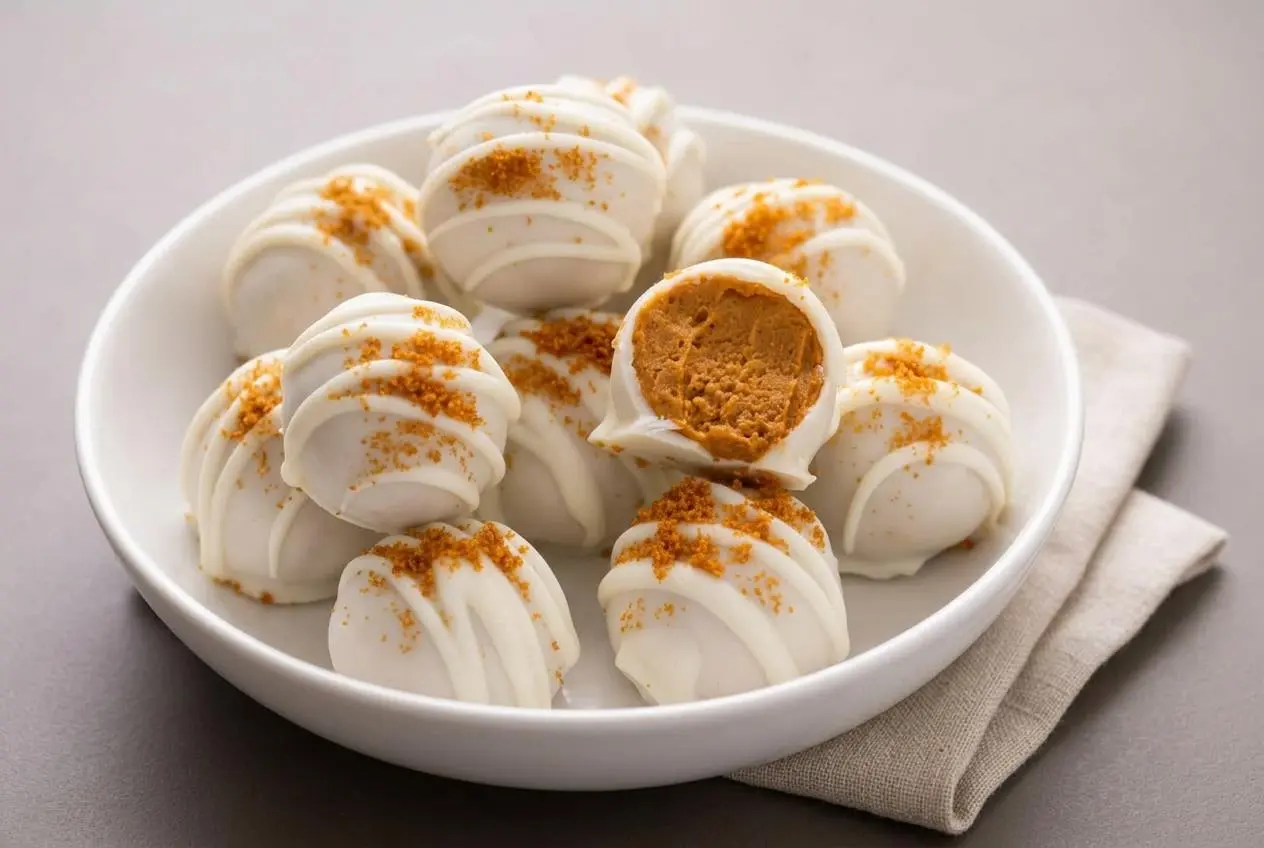
For holiday platters or gift tins, peanut butter balls make a natural companion to these chocolate-topped squares.
Storage and Freshness Guidelines
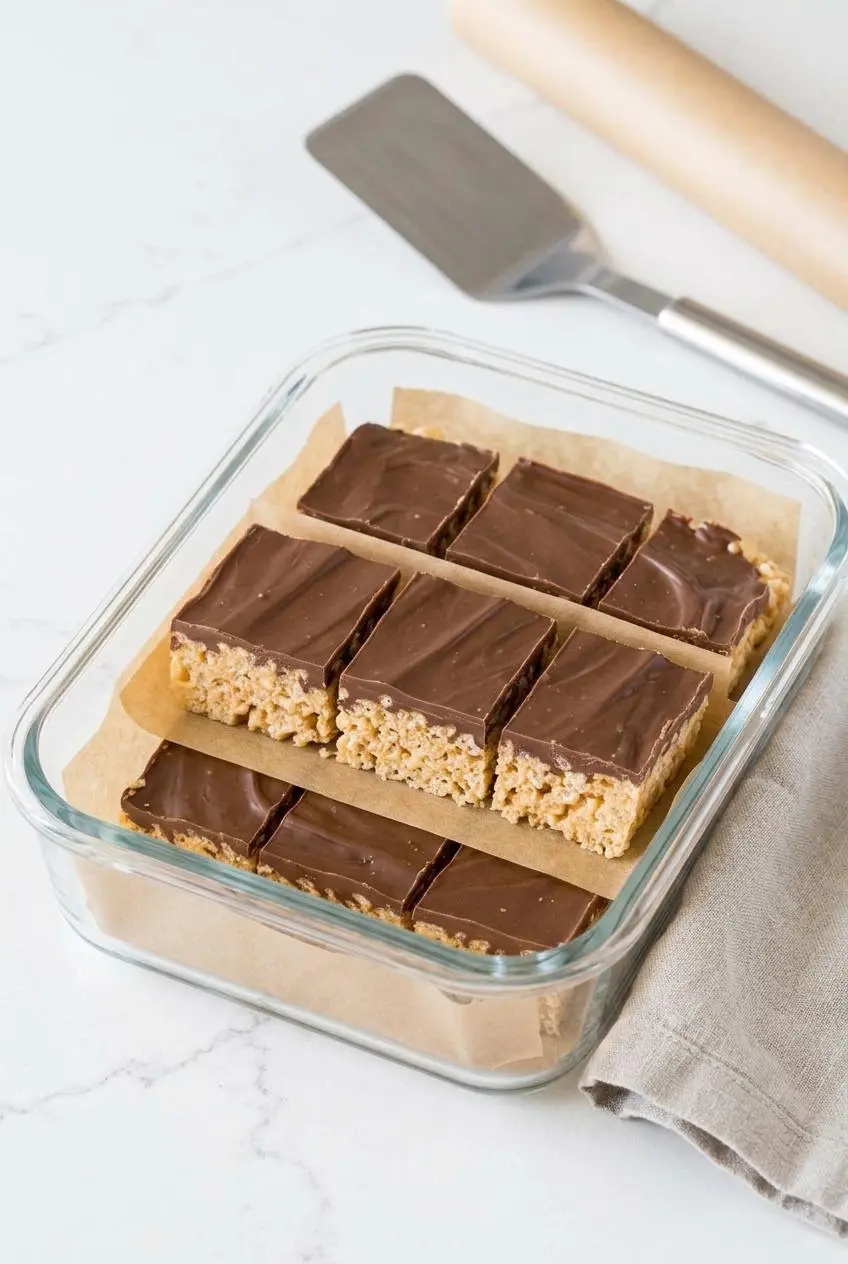
Keep the cut squares in an airtight container at room temperature, with parchment between layers if stacking. This protects the chocolate topping and helps the cereal stay pleasantly crisp rather than picking up moisture.
Avoid refrigerating ready-to-eat squares unless you have a specific reason to chill them. Refrigerator temperatures firm the butter, marshmallow sugars, and chocolate, leaving the bars stiffer and less chewy. Let chilled squares sit at room temperature before serving so the texture can soften.
For the best texture, keep the container tightly closed and out of direct heat or humidity. If the chocolate surface becomes soft in a warm kitchen, move the container to a cooler spot rather than sealing it while the topping is still warm.
Conclusion
Gentle heat, fresh mini marshmallows, and a featherlight press give these squares their soft, chewy center and crisp cereal bite. The glossy chocolate topping adds an easy peanut butter cup finish.
Keep the saucepan heat low, resist the urge to pack the pan, and let the chocolate set at room temperature. Those small choices make every square more tender and satisfying.
Frequently Asked Questions
Can I Use Natural Peanut Butter for These Treats?
No. Natural peanut butter can separate into oil and peanut solids as it warms. That extra oil can make the cereal mixture greasy and prevent the bars from holding together cleanly. Use standard creamy peanut butter for the most reliable structure.
Why Did My Peanut Butter Rice Krispie Treats Turn Out Hard?
Hard treats usually come from overheating the marshmallows or pressing the cereal mixture too firmly into the pan. Use low heat until the marshmallows are just melted, then pat the mixture into place lightly. Compressed cereal loses the airy texture that keeps the squares chewy.
Should Peanut Butter Rice Krispie Treats Be Refrigerated?
Refrigeration is not the best choice for serving texture. Cold temperatures make the butter, chocolate, and marshmallow layer noticeably firmer. Keep the squares airtight at room temperature instead, and let any chilled leftovers warm up before serving for a softer bite.
Can Peanut Butter Rice Krispie Treats Be Frozen?
This method does not include tested instructions for that approach. For the intended chewy texture, store finished squares airtight at room temperature. If you need to hold them for later, protect the chocolate surface and cereal layer from moisture by keeping the container tightly sealed.
Peanut Butter Rice Krispie Treats

Equipment
- 9×13-inch Pan
- Large saucepan
- medium-sized heatproof bowl
Ingredients
- 1/4 cup unsalted butter
- 1 10 oz bag mini marshmallows (about 5 cups)
- 1/2 cup peanut butter
- 6 cups Rice Krispie cereal
- 8 oz chocolate chips (about 1 1/3 cups)
- 2 teaspoons vegetable oil
Instructions
- Coat a 9×13 inch pan lightly with butter or non-stick cooking spray. A thin, even coating helps the finished slab release without tearing at the corners.
- Place the butter, mini marshmallows, and peanut butter in a large saucepan over low heat, stirring gently as they warm. Stop heating when the mixture becomes a puffy, glossy ribbon with no distinct marshmallow lumps remaining.
- Take the saucepan off the heat and immediately fold in the Rice Krispie cereal. The cereal should become evenly coated, with faint crackling as the warm marshmallow mixture reaches each piece.
- Transfer the cereal mixture to the prepared pan and guide it into an even layer with lightly greased hands. Use only enough pressure to fill the corners because a firmly packed layer bakes into dense, tough squares.
- Put the chocolate chips in a medium-sized heatproof bowl and microwave in 45-second intervals at medium power, stirring after every interval. The chips should look mostly melted before the final stirring, with a few soft pieces still visible.
- Stir the chocolate until completely smooth, then blend in the vegetable oil. The topping should look glossy and flow easily from the spoon rather than sit in a thick lump.
- Spread the chocolate over the cereal layer and leave the pan at room temperature for about 2 hours. The chocolate is ready when it holds a soft sheen and no longer shifts when the pan is gently moved.
- Slice the slab into squares and place them in an airtight container at room temperature. Use a sharp knife and wipe the blade between cuts if the chocolate begins to drag.