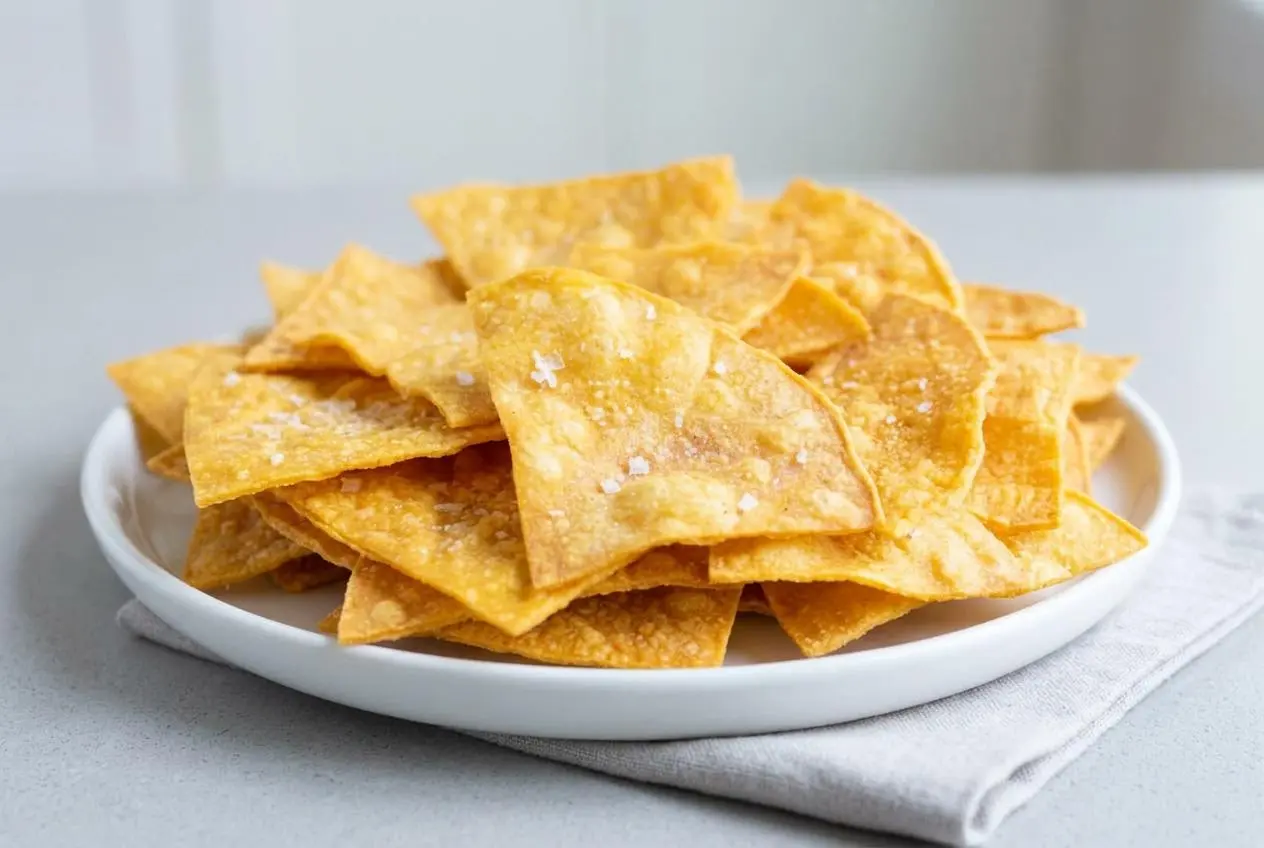
Baked tortilla chips come together by lightly brushing corn tortillas with oil, lime juice, and salt, cutting them into triangles, and baking at 375°F until golden and crisp.
These baked tortilla chips give you that satisfying snap without standing over a pot of hot oil. The key is a thin, even coating and enough space for moisture to escape.
Fresh from the pan, they smell toasty and feel almost too warm to wait for. The crunch is worth it.
Use two large baking sheets so the triangles have room to dry and brown instead of steaming each other.
Key Ingredients and Essential Tools for Sturdy Chips
Each ingredient supports the final texture: tortillas provide structure, oil encourages browning, salt sharpens flavor, and lime adds a bright finish without overwhelming the corn.
- 12 corn tortillas (5 to 6-inch, yellow or white)
- 1 tablespoon olive oil
- ½ teaspoon salt (plus more to taste)
- 1 teaspoon lime juice (optional)
Corn tortillas create the sturdy structure needed for dipping into thick guacamole, roasted tomato salsa, or warm queso blanco. A light coating of olive oil helps the surface toast evenly, while salt sticks best before baking, when the tortillas are still lightly damp with oil.
The optional lime juice adds a clean, zesty edge. Keep the amount light, since too much liquid can slow crisping and leave the centers softer than you want.
I prefer brushing rather than pouring the oil because it gives every triangle a thin, even sheen without leaving oily pockets that bake up chewy.
Corn vs Flour Tortillas for Baking
Yellow corn tortillas tend to make the heartiest chips, with a bold corn flavor and enough body for chunky dips. White corn tortillas bake into a slightly lighter, more delicate crunch while still holding their shape well.
Flour tortillas behave differently. They puff and blister in the oven, making flaky, pastry-like crisps that work especially well for sweet toppings or lighter dips. For classic savory chips and sturdy sheet pan nachos, corn tortillas are the better choice.
Slightly dry tortillas often crisp faster because they carry less surface moisture into the oven. If your tortillas feel unusually soft or steamy from the package, separate them and let them sit uncovered briefly while the oven heats.
Choosing the Right Oil and Salt
Olive oil brings a mild savory flavor and browns well at this oven temperature. Avocado oil or a neutral cooking spray can also work when you want a more neutral taste. The goal is coverage, not saturation: the tortillas should look lightly glossy, never wet.
Fine sea salt distributes evenly, while flaky salt adds occasional little bursts of seasoning. Coarse kosher salt works well too, especially if you like a more noticeable crunch. Heavy table salt can land unevenly and make a small area taste overly salty.
For an optional seasoned batch, stir lime zest and toasted ground cumin into avocado oil before brushing. Dry seasonings infused into the oil stay on the tortilla better than a wet mixture and keep the surface from turning soggy.
How to Make Baked Tortilla Chips Step by Step
The process is quick, but even cutting and careful pan spacing make the difference between pale, bendy wedges and crisp golden chips.
- Heat the oven to 375°F.
Give the oven time to fully heat so the tortillas begin drying and browning as soon as they go in. - Whisk the olive oil, salt, and optional lime juice in a small bowl, then brush a thin layer over both sides of every tortilla.
The tortillas should have a light sheen, with no puddles of oil collecting on the surface. - Cut each coated tortilla into 4 or 6 evenly sized triangles with a sharp knife or pizza cutter.
Uniform pieces brown at a similar pace, so small pointed corners are less likely to darken before the centers crisp. - Spread the triangles across two large baking sheets in one layer, allowing only minimal overlap where necessary.
Leave open spaces where you can so steam can escape and tiny bubbles can form on the tortilla surface. - Bake on light-colored baking sheets for 12 to 14 minutes, or on darker baking sheets for 8 to 11 minutes.
Look for curled edges, a toasted-corn aroma, and light amber color before removing the pans from the oven. - Leave the chips on the baking sheets for 5 minutes before serving.
They may seem slightly flexible while hot, then firm into a rigid, crisp snap as they cool.
Dark Pan vs Light Pan Bake Times
Dark metal absorbs more heat, so it browns the bottoms and edges more quickly. Start checking dark baking sheets at 8 minutes and expect a total baking time of 8 to 11 minutes.
Light aluminum reflects more heat and usually needs 12 to 14 minutes for the same golden finish. Check at the early end of either range, especially if the triangles are cut small. Pale centers need more time; deeply browned tips mean the batch has gone a little too far.
Sheet Pan Rotation and Single Layer Rules
A true single layer lets hot air reach the surface of each triangle. A little edge contact is manageable, but heavy overlapping creates trapped steam, and trapped steam is the enemy of crunch.
- Keep the triangles mostly separate, especially through the center of each pan.
- Use two pans rather than crowding one large pan.
- Swap the top and bottom sheets halfway through baking if your oven has noticeable hot spots.
- Keep pans away from the very bottom rack, where the undersides can brown before the tops fully dry.
If one pan is coloring faster, rotate it front to back when you swap positions. Listen for a faint sizzle from the oil early in baking, then watch for that sound to quiet as the tortillas dry.
Troubleshooting Chewy Chips and Texture Mistakes
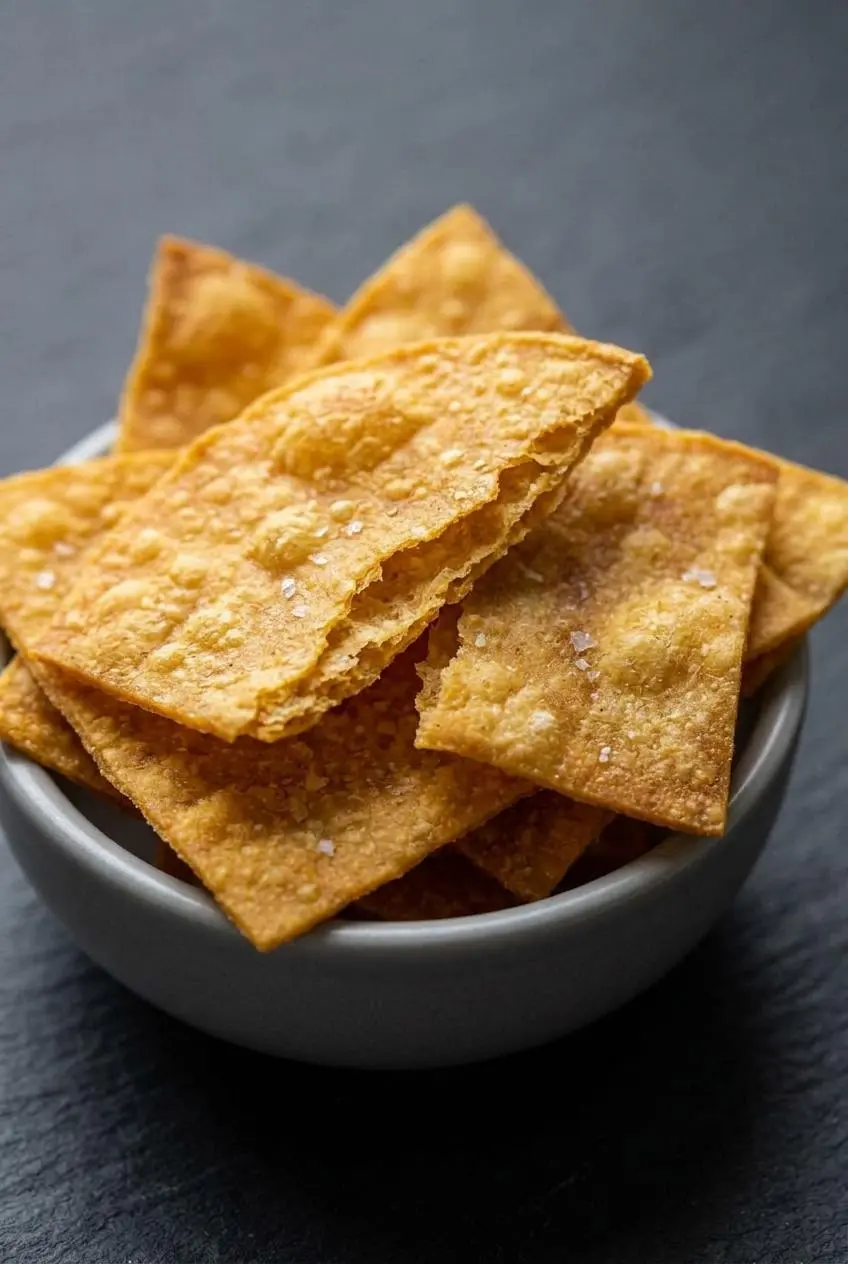
Chewy chips usually come down to excess moisture, too much oil, or uneven heat. A few small adjustments can bring back the crisp, sturdy texture.
- The chips feel oily and soft: Too much oil can coat the tortillas so heavily that their centers struggle to dry. Brush a thinner layer next time, and spread any oily batch farther apart before returning it to the oven briefly.
- The centers are chewy: Crowding traps steam under overlapping pieces. Arrange the triangles with more space and bake until the centers no longer look pale.
- The edges browned but the middle stayed limp: The pieces may be unevenly cut or the pan may run hot. Cut consistent triangles and move the pan to a middle rack position.
- The chips seem soft when they leave the oven: Warm chips can be deceptive. Let them rest on the baking sheet for 5 minutes, then tap one with a spatula. A finished chip gives a rigid, hollow snap.
- The flavor seems flat: Add a small extra pinch of salt while the chips are warm, rather than trying to salt them once they have fully cooled.
Don’t blame the oven right away. Compare one triangle from the pan edge with one from the middle. If the outer pieces brown much faster, rotating the pans and opening the spacing will often solve the issue.
Flavor Variations and Seasoning Ideas
Keep the main batch as written, then use these optional ideas when you want a different flavor or texture. Add dry seasonings sparingly so they complement the toasted corn instead of masking it.
Zesty Chili Lime and Taco Spice
For chili lime chips, stir smoked paprika, chili powder, cumin, and dried lime peel into the oil before brushing the tortillas. The spices disperse more evenly in the oil than when scattered directly onto dry tortilla pieces.
For a taco-style flavor, use chili powder, ground cumin, smoked paprika, garlic powder, and onion powder. Dust a final light pinch over the chips immediately after baking so it clings to the warm surface.
If you want a quick alternative for small batches, air fryer tortilla chips offer another way to make crunchy wedges without heating the whole oven.
Cinnamon Sugar Dessert Chips
Use soft flour tortillas for a sweet version. Cut them into triangles, brush them lightly with melted butter or neutral oil, then coat with cinnamon sugar before baking.
Flour tortilla pieces puff more than corn tortillas, creating delicate layers and browned bubbles. Watch closely near the end, since the sugar can darken quickly. Serve these dessert chips with fruit, a creamy dip, or a scoop of ice cream.
Oil-Free Baked Corn Tortilla Chips
Oil-free chips are optional and turn out firmer, drier, and more cracker-like than the olive oil version.
- Cut corn tortillas into even triangles.
- Mist them very lightly with water or lime juice so a small amount of salt can adhere.
- Arrange in a single layer on baking sheets.
- Bake at 375°F until dry, crisp, and lightly golden, checking closely because they can move from pale to overbrowned quickly.
- Cool on the pan until the chips harden into a clean snap.
Storage and Re-Crisping Guide
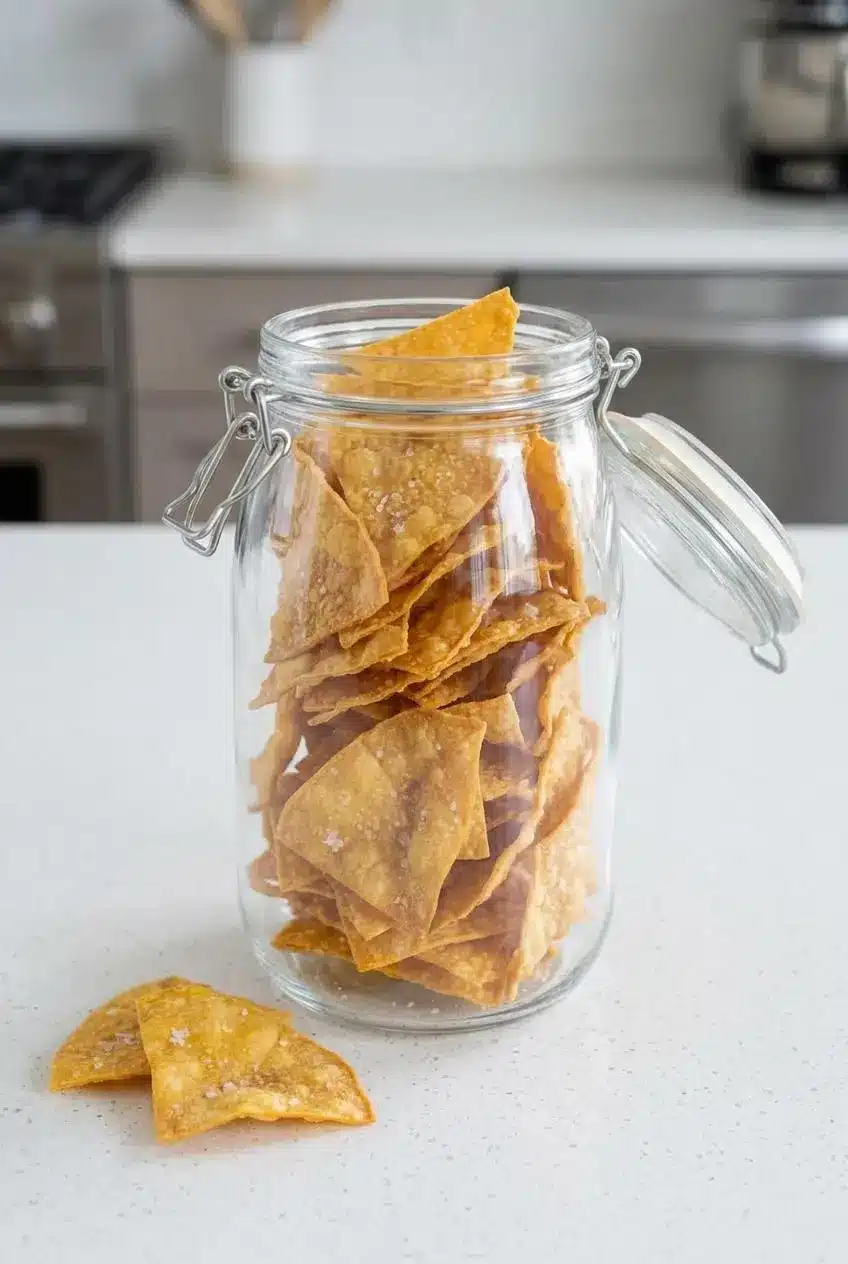
Cool the chips completely to room temperature before packing them away. Any lingering warmth can create condensation in the container, which quickly softens the crisp surface.
Store fully cooled chips in an airtight container or zip-top bag at room temperature and keep them away from humidity. Avoid refrigerating them, since refrigerator moisture tends to make chips lose their snap.
When chips soften, spread them in one layer on a baking sheet and warm them briefly in the oven until they feel dry and crisp again. Let them cool before testing the texture, since the crunch strengthens as the chips lose their remaining warmth.
Best Dips and Serving Pairings
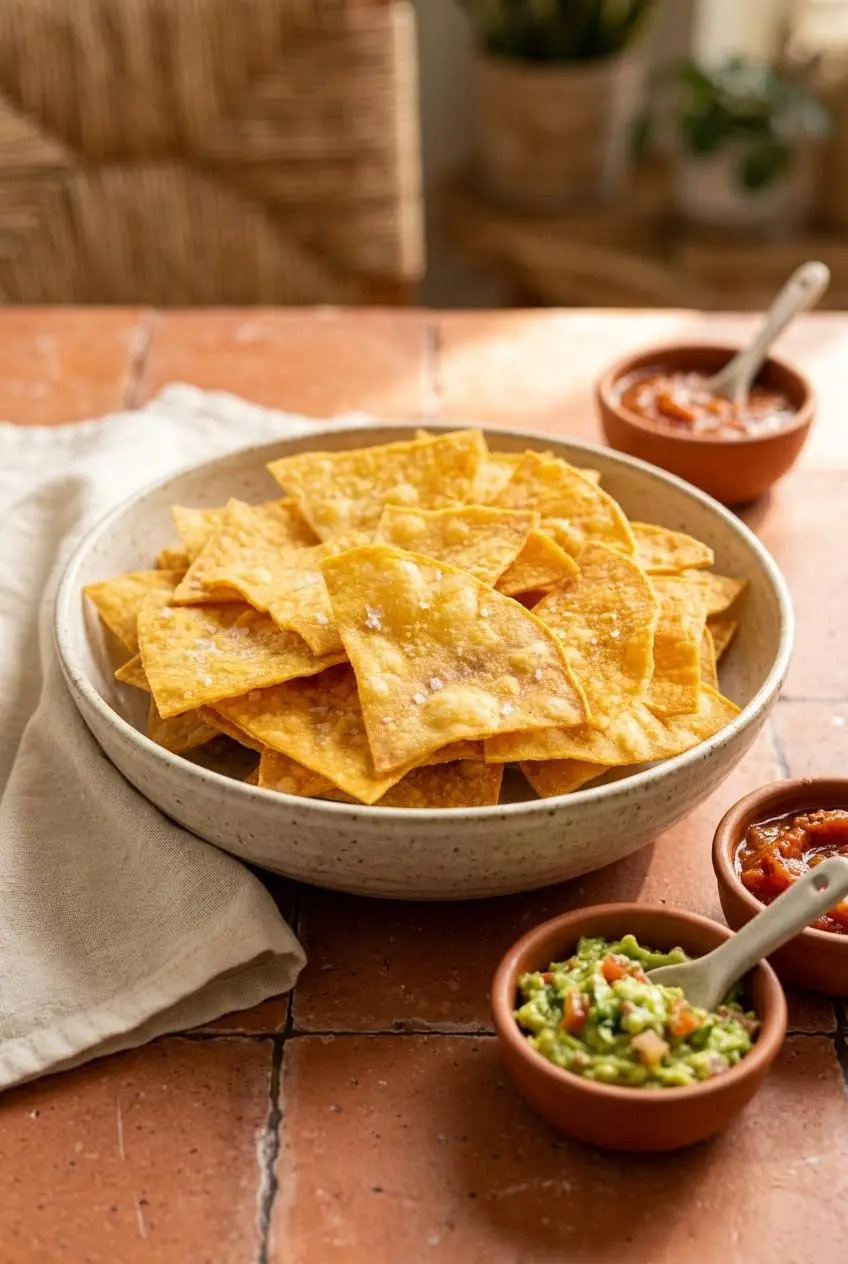
These chips are sturdy enough for dips that would overwhelm thin store-bought chips. Their golden corn flavor also makes them useful beyond the snack bowl.
- Chunky guacamole: The thicker texture stays put on a sturdy corn chip.
- Roasted tomato salsa: The bright acidity plays well with the toasted edges.
- Warm queso blanco: Serve the chips while they are freshly crisp for the best contrast with the creamy dip.
- Black bean dip: The hearty texture makes this a filling snack or casual appetizer.
- Soup topping: Crumble broken pieces over warm tortilla soup for a salty, crunchy finish.
- Sheet pan nachos: Use the firmest chips as a base so they hold toppings more reliably.
Conclusion
Homemade chips give you control over the salt, lime, seasoning, and final crunch. Lightly coated corn tortillas bake into golden wedges that stand up to serious dipping.
Give the chips room on the pan, watch the color closely, and let them cool for 5 minutes before judging their texture. That final wait delivers the snap you want.
Frequently Asked Questions
Why Did My Baked Tortilla Chips Turn Out Chewy?
Chewy chips usually had too much oil, too little space on the pan, or not enough baking time. Brush rather than soak the tortillas, avoid heavy overlap, and wait for light amber edges and dry-looking centers. They can also feel softer while hot. Let the chips cool on the baking sheet for 5 minutes before deciding whether they need more time.
Can You Bake Tortilla Chips Without Any Oil?
Yes. Cut corn tortillas into triangles, use a very light mist of water or lime juice if you want salt to stick, and bake them in a single layer at 375°F. The result is crisp but firmer and less richly browned than chips brushed with oil.
How Long Do Homemade Baked Tortilla Chips Stay Fresh?
For the best texture, cool them completely, seal them in an airtight container or zip-top bag, and keep them at room temperature away from humidity. If they lose their crunch, warm them briefly in the oven in a single layer, then cool them again before serving.
Which Tortillas Make the Crispiest Homemade Chips?
Standard yellow corn tortillas make the sturdiest chips for thick guacamole and bean dips. They have a hearty texture and a pronounced toasted-corn flavor. White corn tortillas produce a lighter, more delicate crunch. For sweet chips, flour tortillas create flaky, puffed edges instead of the classic corn-chip snap.
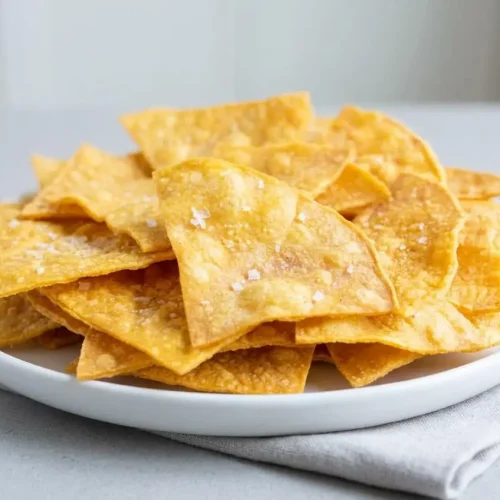
Baked Tortilla Chips

Equipment
- Pastry brush
- Pizza Cutter
- Large baking sheets
Ingredients
- 12 corn tortillas (5 to 6-inch, yellow or white)
- 1 tablespoon olive oil
- 1/2 teaspoon salt (plus more to taste)
- 1 teaspoon lime juice (optional)
Instructions
- Heat the oven to 375°F. Give the oven time to fully heat so the tortillas begin drying and browning as soon as they go in.
- Whisk the olive oil, salt, and optional lime juice in a small bowl, then brush a thin layer over both sides of every tortilla. The tortillas should have a light sheen, with no puddles of oil collecting on the surface.
- Cut each coated tortilla into 4 or 6 evenly sized triangles with a sharp knife or pizza cutter. Uniform pieces brown at a similar pace, so small pointed corners are less likely to darken before the centers crisp.
- Spread the triangles across two large baking sheets in one layer, allowing only minimal overlap where necessary. Leave open spaces where you can so steam can escape and tiny bubbles can form on the tortilla surface.
- Bake on light-colored baking sheets for 12 to 14 minutes, or on darker baking sheets for 8 to 11 minutes. Look for curled edges, a toasted-corn aroma, and light amber color before removing the pans from the oven.
- Leave the chips on the baking sheets for 5 minutes before serving. They may seem slightly flexible while hot, then firm into a rigid, crisp snap as they cool.